This is a tutorial on how to use use Cloudflare as a DDNS provider. All of the information and settings can be found at the original Github Repository: https://github.com/oznu/docker-cloudflare-ddns
Cloudflare API Key
First you’ll need to get your Cloudflare API key
Go to the following link https://dash.cloudflare.com/profile/api-tokens
Click “Create Token”

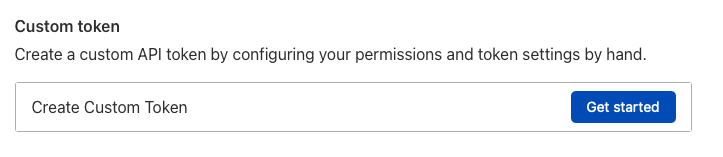
At the bottom, click “Get Started” under Create Custom Token
Set the settings as the following:
Permissions
Zone - Zone Settings - Read
Zone - Zone - Read
Zone - DNS - Edit
Zone Resources
Include - All Zones
Your token should look something like this:
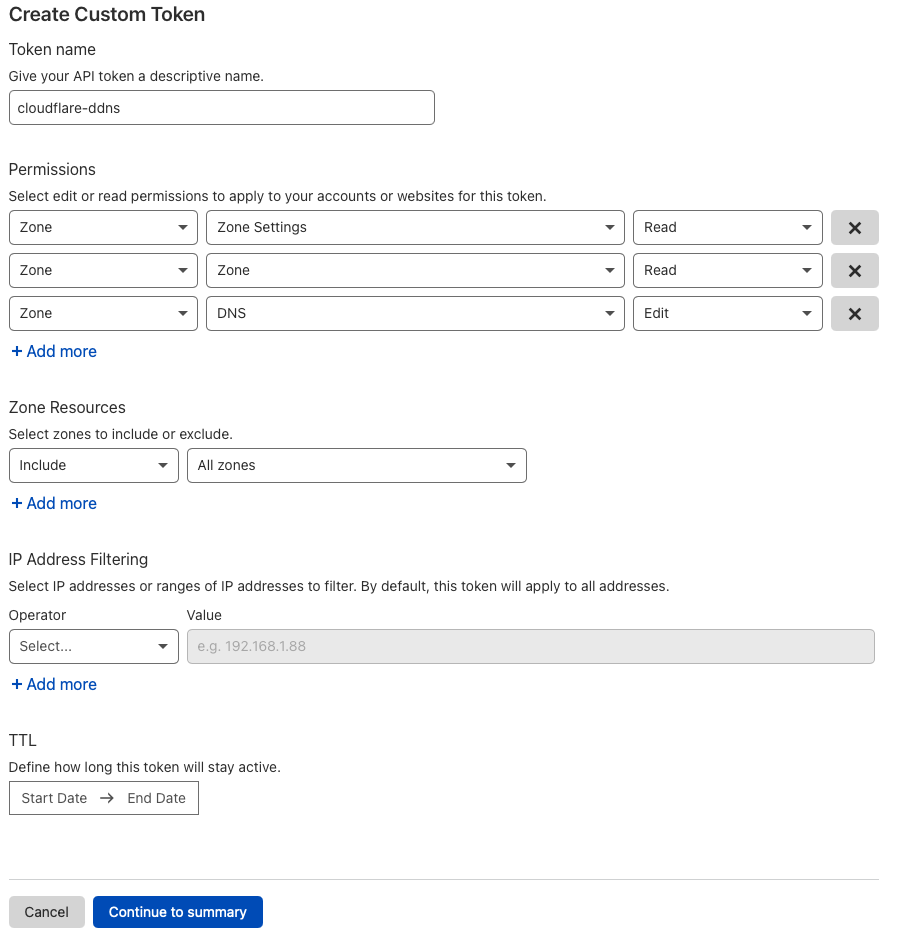
After verifying that the settings are correct, click Continue to summary. You should get your API key.
Creating Docker Container
In Portainer navigate to the Stacks menu and click Add stack
Name your stack and paste in the following into the web editor:
---
version: '2'
services:
  cloudflare-ddns:
    image: oznu/cloudflare-ddns:latest
    restart: always
    environment:
      - API_KEY=xxxxxxx
      - ZONE=example.com
      - SUBDOMAIN=subdomain
      - PROXIED=true
You’ll want to change the coloured text with your information. The API_KEY should be the one you created earlier.
You may want to delete the subdomain line if you wanted to change the IP of your root domain only. You can then create CNAME records that point to the root of your domain for other subdomains. If you don’t want the A record to be proxied, set it to false.
After adjusting your config file, scroll down to the bottom and click “Deploy the stack”
You should see your container running, you can check the log to see what the container is doing.