Introduction
I wanted to improve the quality of my 3D prints. I finally added white lithium grease to my Z-axis rod which reduced squeaking and seems to have imporved the ringing. I learned about pressure advance and inputing shaping with Klipper and how they could improve print quality. I bought a Raspberry Pi Zero 2 W on Kijiji and started preparing for Klipper. I followed MostlyPoorDecisions’ guide for Kipperizing an Aquila.
Setting up SD Card
First I downloaded the latest release of FluiddPI from GitHub. I then downloaded Raspberry Pi Imager. I opened up the imager and selected the unzipped FluiddPI image. I selected the SD I was going to format.
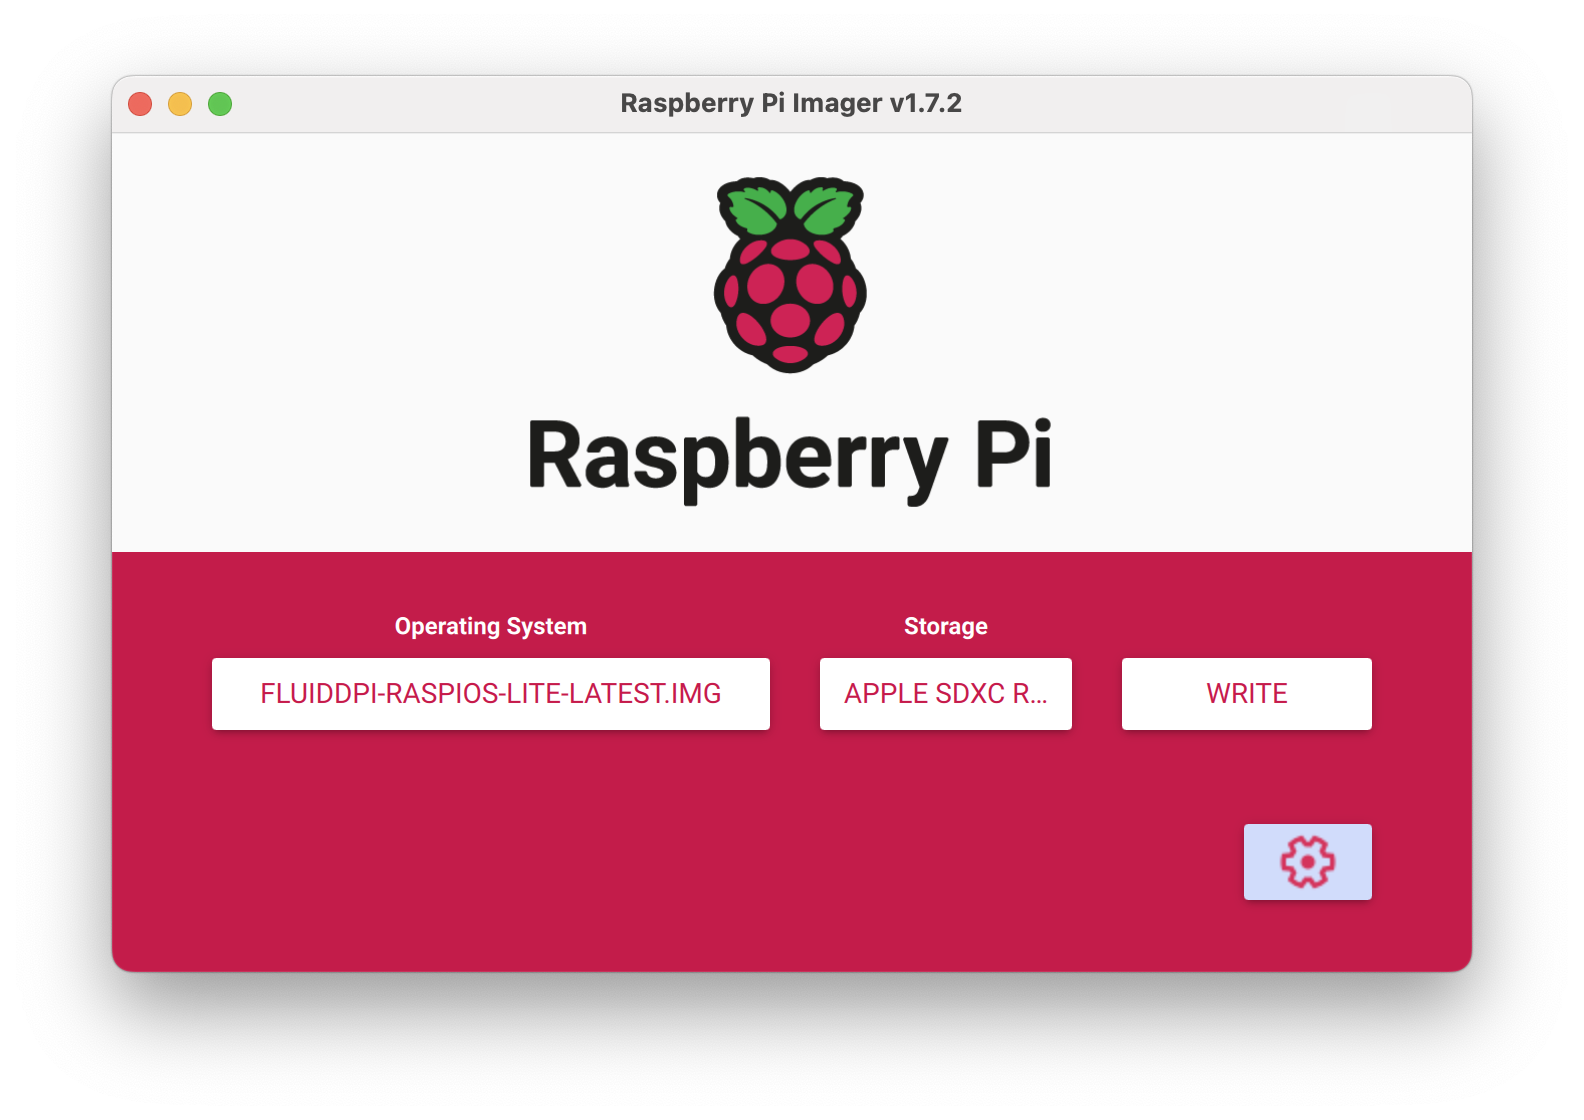
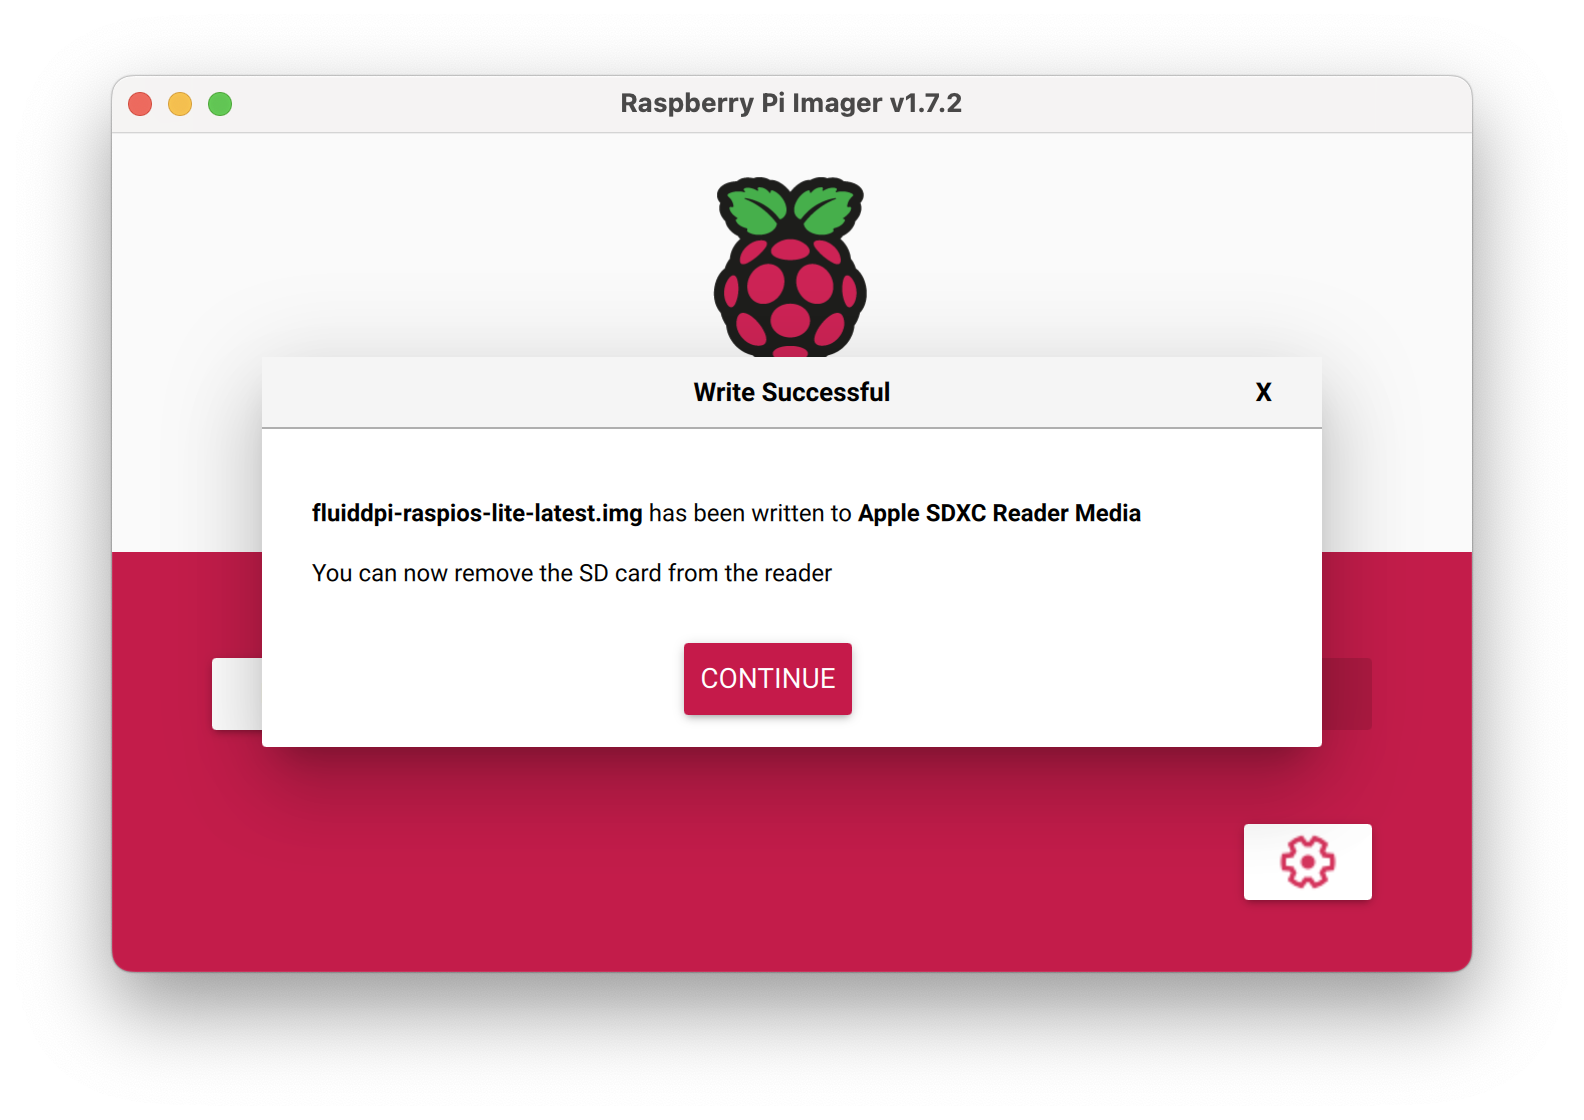
I then selected WRITEand waited until it was done.

I then opened up fluiddpi-wpa-supplicant.txt and uncommented along with my Wifi credentials.
network={
  ssid="put SSID here"
  psk="put password here"
}
I saved the text document and then plugged the SD card into the Raspberry Pi.
Configuring the Pi
I plugged in power and let the Raspberry Pi boot up until the LED stayed a constant green. https://fluiddpi.local didn’t work for me, so I went into my DHCP leases and found the IP for Klipper.
I then SSH’d into the Pi with credentials pi for username and raspberry for the password.
I then inputted:
cd ~/klipper

make menuconfig

I then went into Micro-controller Architecture and selected GD32F103. I then went into Bootloader offset and selected 28KiB. Fianlly, I went to Communication interface and seleted serial (on USART1 PA10/PA9). Below is a screeenshot of my config.

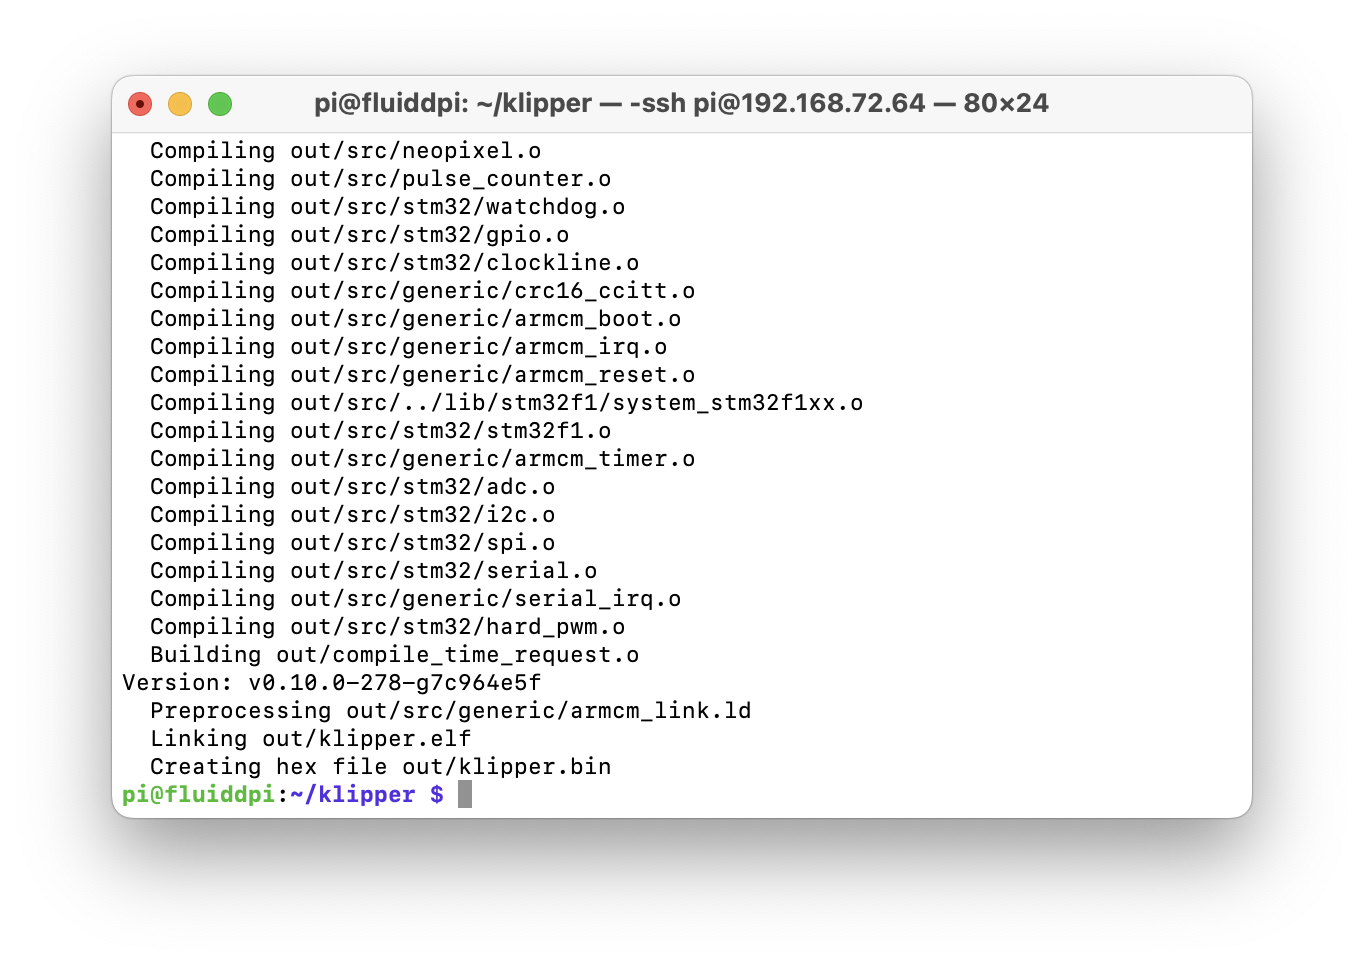
I hit ESC to exit and Y to save. I then inputted make and waited for it to finish compiling.
I then ran cp ~/klipper/out/klipper.bin ~/klipper_logs/ and cp ~/klipper/config/printer-creality-ender3-v2-2020.cfg ~/klipper_config/printer.cfg.
I then went into the Fluidd dashboard and in {...}} on the left, under Other Files I clicked on klipper.bin and Download.

I was running the Pi off a battery pack, so I did sudo shutdown -h now to shutdown and relocated it to my Aquila.
Flashing the Printer
I removed the SD card from my printer and followed my previous blog on flashing the firmware. I created a folder called firmware. I placed the klipper.bin file inside the new folder.
I ejected the SD card and plugged it into the printer. I powered on the printer and let it flash for a few minutes.
Finalizing
I then connected the Pi to the printer with an OTG Micro USB cable and went to it’s IP. there were a lot of warnings, but that was supposed to happen.
I went into the {...} configuration again and clicked fluidd.cfg. I pasted in all the code boxes from inital setup.
I still got errors, so I put [include fluidd.cfg] at the bottom of the printer.cfg file.
BL-Touch Troubles
I had a BL-Touch installed on my Aquila, so I wanted to configure it as well. Luckily there is a very good documentation on how to do so.
I added the following to my fluidd.cfg file:
[bltouch]
sensor_pin: ^PB1
control_pin: PB0
z_offset: 0

[safe_z_home]
home_xy_position: 117.5, 117.5 # Change coordinates to the center of your print bed
speed: 50
z_hop: 10                 # Move up 10mm
z_hop_speed: 5
I didn’t read the line for homing the Z axis and forgot to add endstop_pin: probe:z_virtual_endstop. This would show problems very quickly.
I ran the debug test and everything went well with the probes. I tried G28 and the nozzle crashed into the bed. I tried again, but this time I manually clicked the Z-end stop switch. I searched around and reread the documentation. I realized that I skipped the virtual endstop.
I went into my printer.cfg and commented out the endstop_pin and position_endstop. I then added the new endstop_pin line.
endstop_pin: probe:z_virtual_endstop
# endstop_pin: ^PA7
# position_endstop: 0.0
I did the tests again and it homed fine. Due to me not entirely reading the documentation, I now have a hole in my bed.
PID-Tuning
I did PID-tuning of my extruder with the following command:
PID_CALIBRATE HEATER=extruder TARGET=170
After the extruder was done, I did the following to tune the bed:
PID_CALIBRATE HEATER=heater_bed TARGET=60
When the bed finished, I did SAVE_CONFIG.
Z-offset
I used Klipper’s Documentation on how to set the Z-offset.
I did PROBE_CALIBRATE and then lowered the nozzle with the Tool in the Fluidd dashboard. I did the paper test and TESTZ Z=-.1 until I found a good offset. I tried to save the config, but I got an error instead. So, I manually set the Z-offset in the fluidd.cfg file under [bltouch]. I used the Z-offset value I knew worked beforehand in Marlin which was -2.38. I removed the negative since that’s how Klipper wanted it.
[bltouch]
sensor_pin: ^PB1
control_pin: PB0
z_offset: 2.38
X-offset and Y-offset
I used the same documentation from the Z-offset to set my X-offset and Y-offset. I homed my printer and then issued PROBE. I put a piece of tape with the corner where the probe’s point was. I then used GET_Position and noted the toolhead: position. I issued multiple G1 commnands until I got the nozzle above the corner of the paper. Example of G1 command:
G1 F300 X100 Y110 Z2
Once I got the nozzle in position, I did another GET_POSITION command and subtracted the new x and y values by the original. I then got my X-offset of -49 and Y-offset of -11.
I went into my fluidd.cfg file and added x_offset: -49.0 and y_offset: -11.0 above the z_offset under [bltouch].
Manual Leveling
My BL-touch was too far away from the nozzle and unable to probe every corner of my bed. I used Klipper’s documentation on manual leveling. I added the following to my fluidd.cfg file with the position of my bed screws:
[bed_screws]
screw1: 25.5, 25.5
screw2: 194.5, 25.5
screw3: 194.5, 194.5
screw4: 25.5, 194.5
I then ran BED_SCREWS_ADJUST and did the paper test on the first point. I had to adjust the screw, so I did ADJUSTED and moved to the next point. I repeated this until I didn’t need to adjust the screws and did ACCEPT for each of the points.
Bed Mesh
I used Klipper’s Documentation to create my bed mesh. I adjusted the configuration to the following and added it to fluidd.cfg:
[bed_mesh]
speed: 120
horizontal_move_z: 5
mesh_min: 25.5, 25.5
mesh_max: 160.5, 198.5
probe_count: 5, 5
mesh_pps: 2,2
algorithm: bicubic
bicubic_tension: 0.2
move_check_distance: 5
split_delta_z: .025
Since my probe couldn’t do every screw, I decided on the max by doing BED_SIZE(235) + X_OFFSET(-49) - SCREW_DISTANCE_FROM_EDGE(25.5). I did the same for the y-axis.
After saving the configuration, I did BED_MESH_CALIBRATE PROFILE=default METHOD=automatic to create the mesh. I then did SAVE_CONFIG after it was done. It should load the configuration every time Klipper starts up.
Clearing Warnings
I still had multiple warnings on my dashboard and many were for Moonraker.
I did a quick search and Conscious_Board5007’s advice to SSH and run ~/moonraker/scripts/set-policykit-rules.sh got rid of most of the warnings.
The remaining warnings said, “This may indicate that PolicyKit is not installed”, so I did some more searching and will solve that another time.
Calibrating Rotation Distance
I’ve heard about calibrating e-steps when changing nozzles, so I wanted to recalibrate my rotation distance. I thought this would solve my issue of !! Move exceeds maximum extrusion (0.649mm^2 vs 0.640mm^2) in my console, but I think I solved it by changing nozzle_diameter under [extruder] in printer.cfg to 0.800.
I took my digital calipers and measured 70mm from the intake of my extruder. I put a mark at that distance and then did a G91 command. I then did G1 E50 F60 to extrude 50mm. I remeasured the distance from the intake to the mark and got 20.2mm. Using these numbers I was able to calculate my rotation distance (34.406*(70-20.2)/50). I got 34.268376, but since my actual extrude distance was so close to the requested, I kept the original rotation distance.
Pressure Advance
I was getting oozing whenever my printer made a turn, so I wanted to try pressure advance. I followed Klipper’s documentation to tune pressure advance. First, I downloaded the square test tower and put it into Cura. I adjust my print speed to 100m/s, set 0% infill, and a coarse layer height. My coarse layer height was 0.6mm since I had a 0.8mm nozzle.
I then ran the following G-Code commands to prepare for the test:
SET_VELOCITY_LIMIT SQUARE_CORNER_VELOCITY=1 ACCEL=500

TUNING_TOWER COMMAND=SET_PRESSURE_ADVANCE PARAMETER=ADVANCE START=0 FACTOR=.020
With the setup done, I then printed the test tower.
Unfortunately, I had severe underextrustion so I printed a PLA+ Temperature Tower. Every layer looked very similar, so I tried with a 0.4mm layer height.
I tried the tower again with 80m/s print speed and the gear ended up chewing my filament. I’ll try again when I have more reliable prints.
Conclusion
I still need to configure input shaper and pressure advance, but I’ll do that another day. The ability to control the printer from my computer and see it’s thermals are very nice. I’d definitely do this again if I had to choose between Klipper and Marlin.