Introduction
I wrote in a previous blog post about my journey to printing a city. There were two issues with my approach, the base of the files varied and it required SketchUp, which is a paid software. I wanted to find a method that used both free and easy to find software to create consistent models.
Preparing Model with SketchUp for Web
As with the previous method, I got my models from the City of Toronto Open Data Portal. There were issues with using Google Chrome, so I downloaded the files with FireFox. I’ve only tested my method with the SketchUp Simplified files.
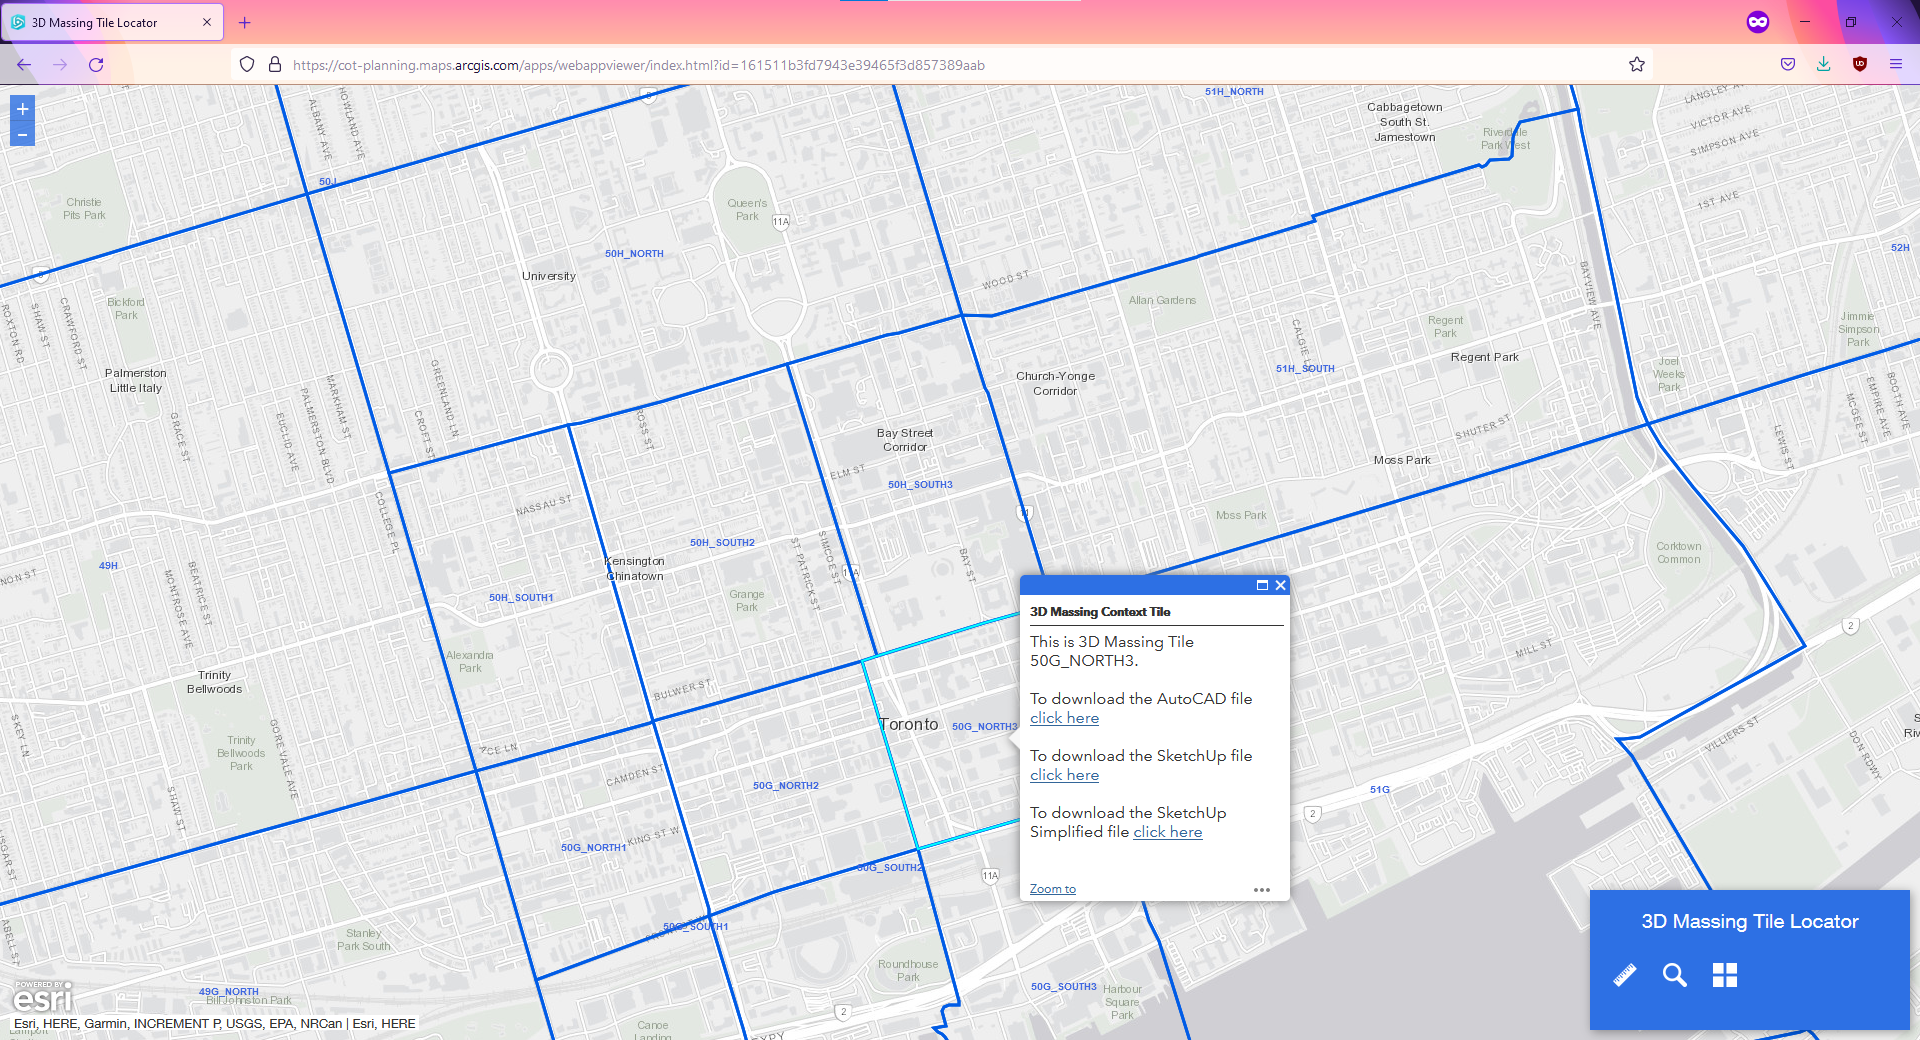
I selected the 50G_NORTH3 SketchUp Simplified file The web application of SketchUp can be used freely and is what I’ll be using to create the base for the model.
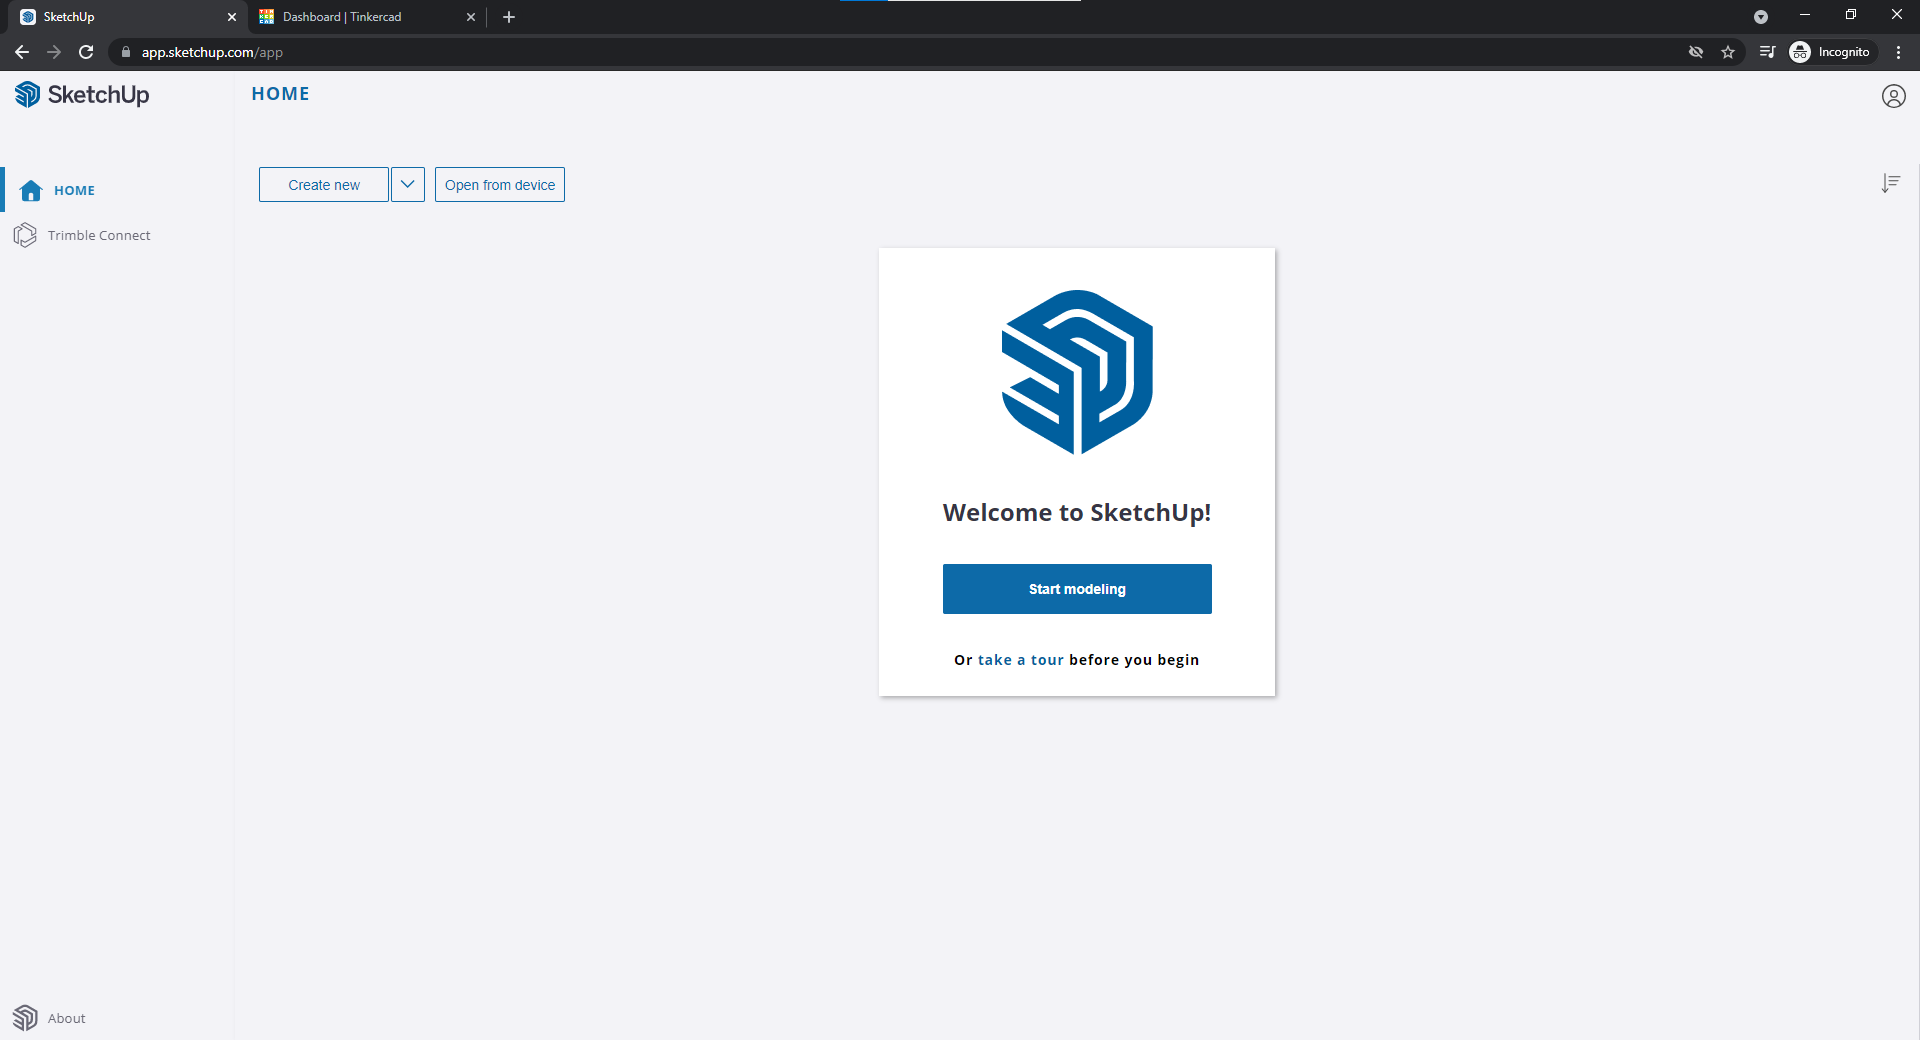
Click Create new
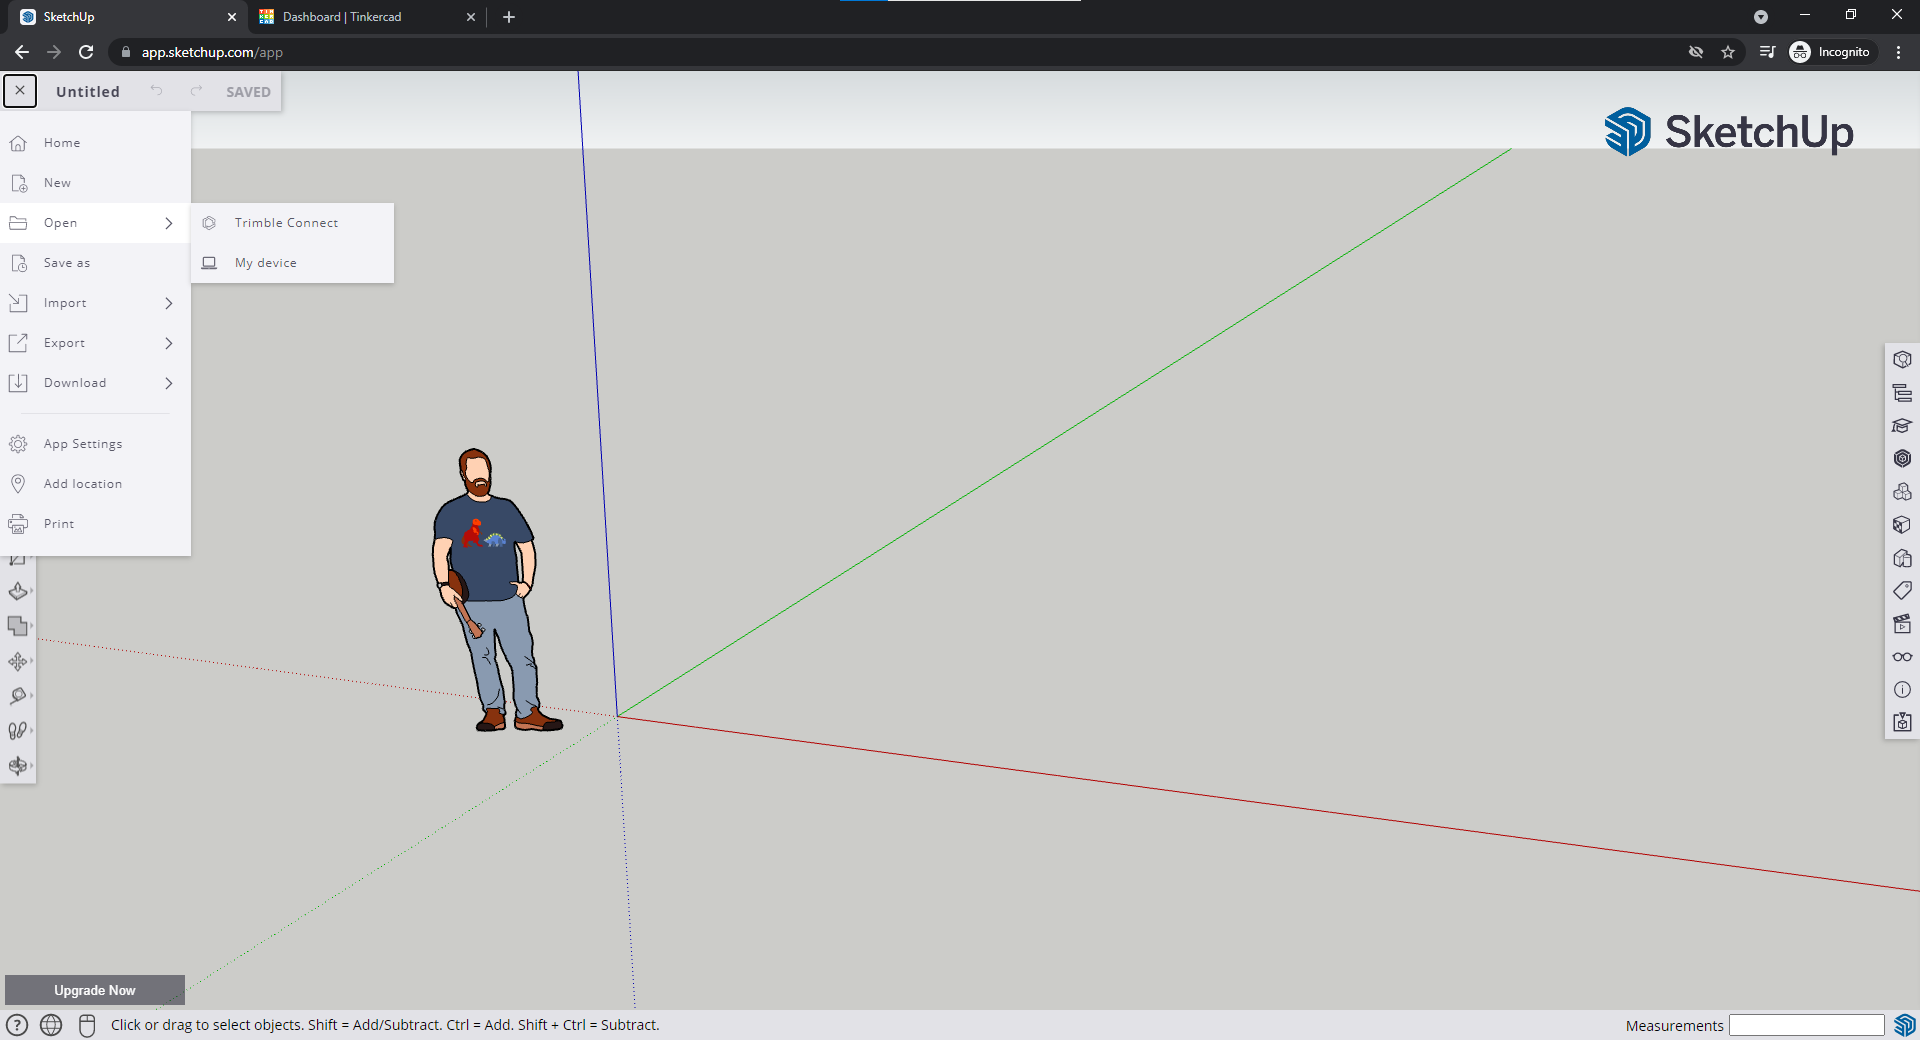
Open your file from My Device
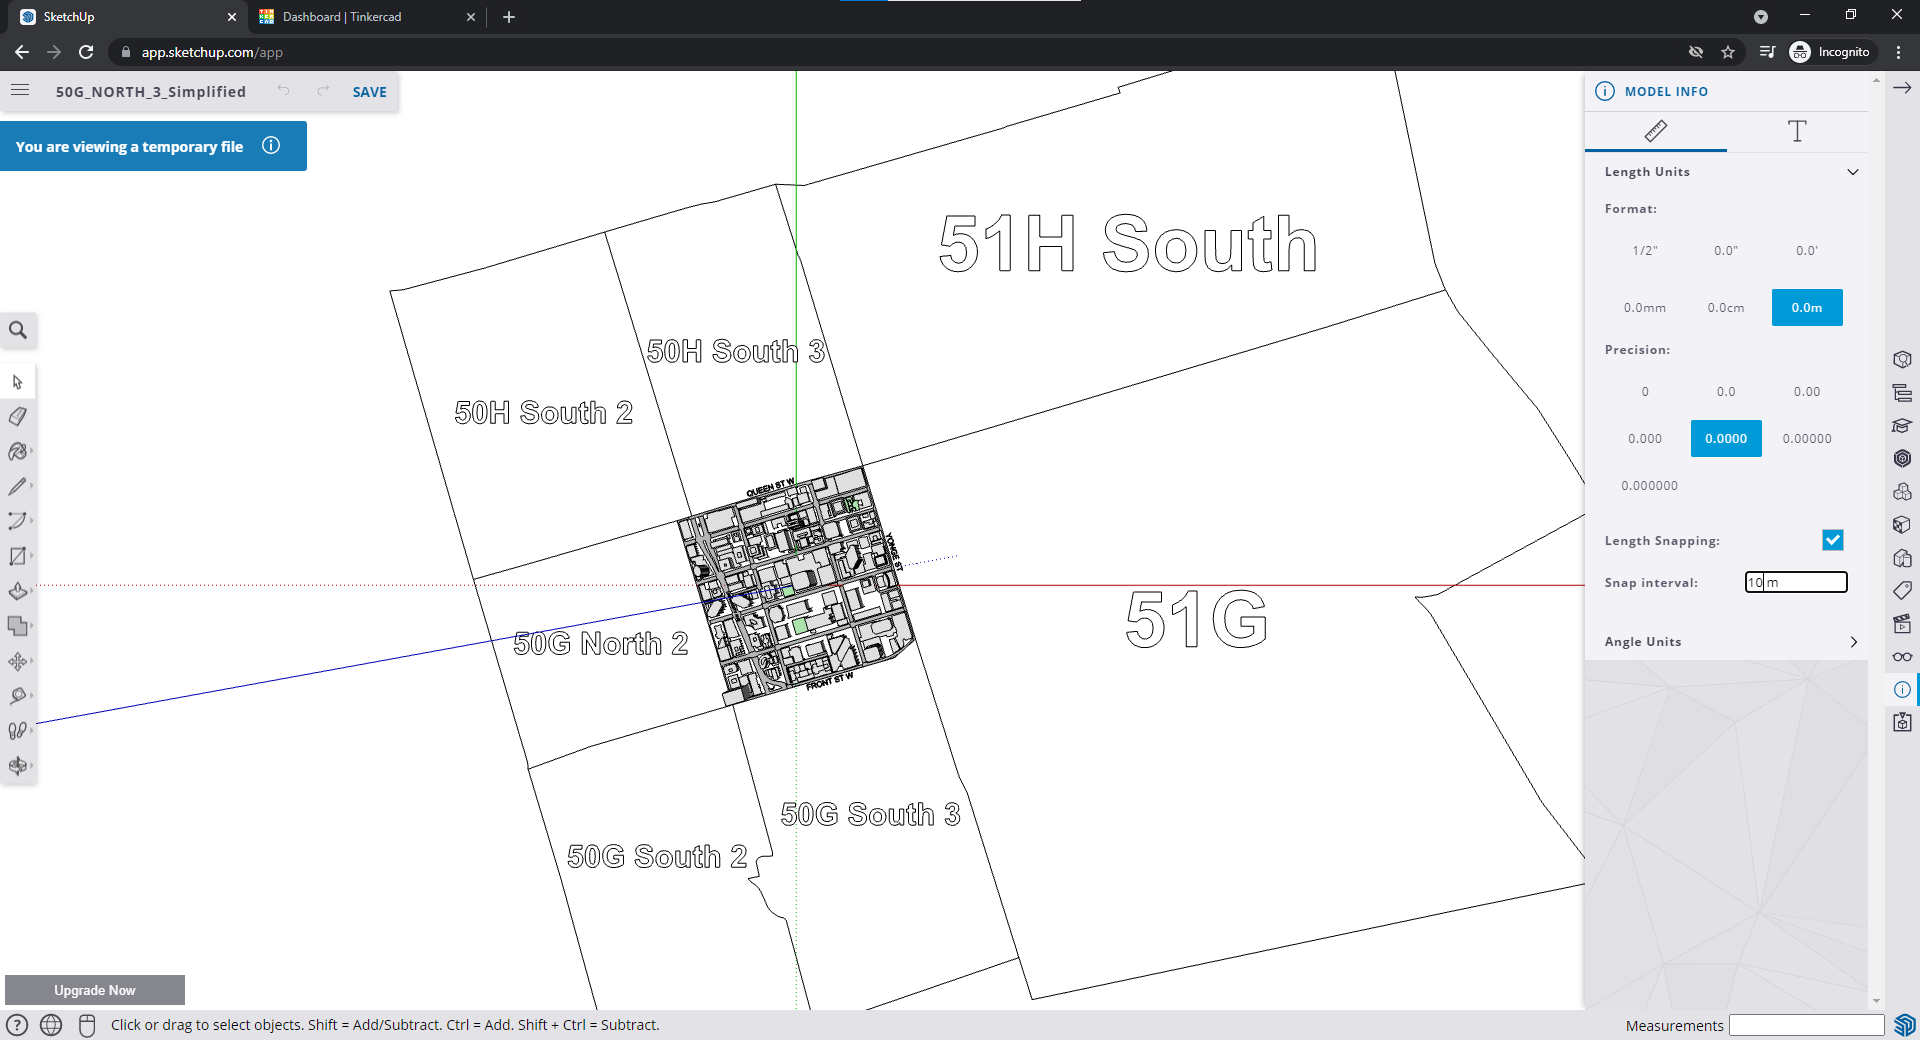
Click the I with a circle on the right and set Snap interval to 10m
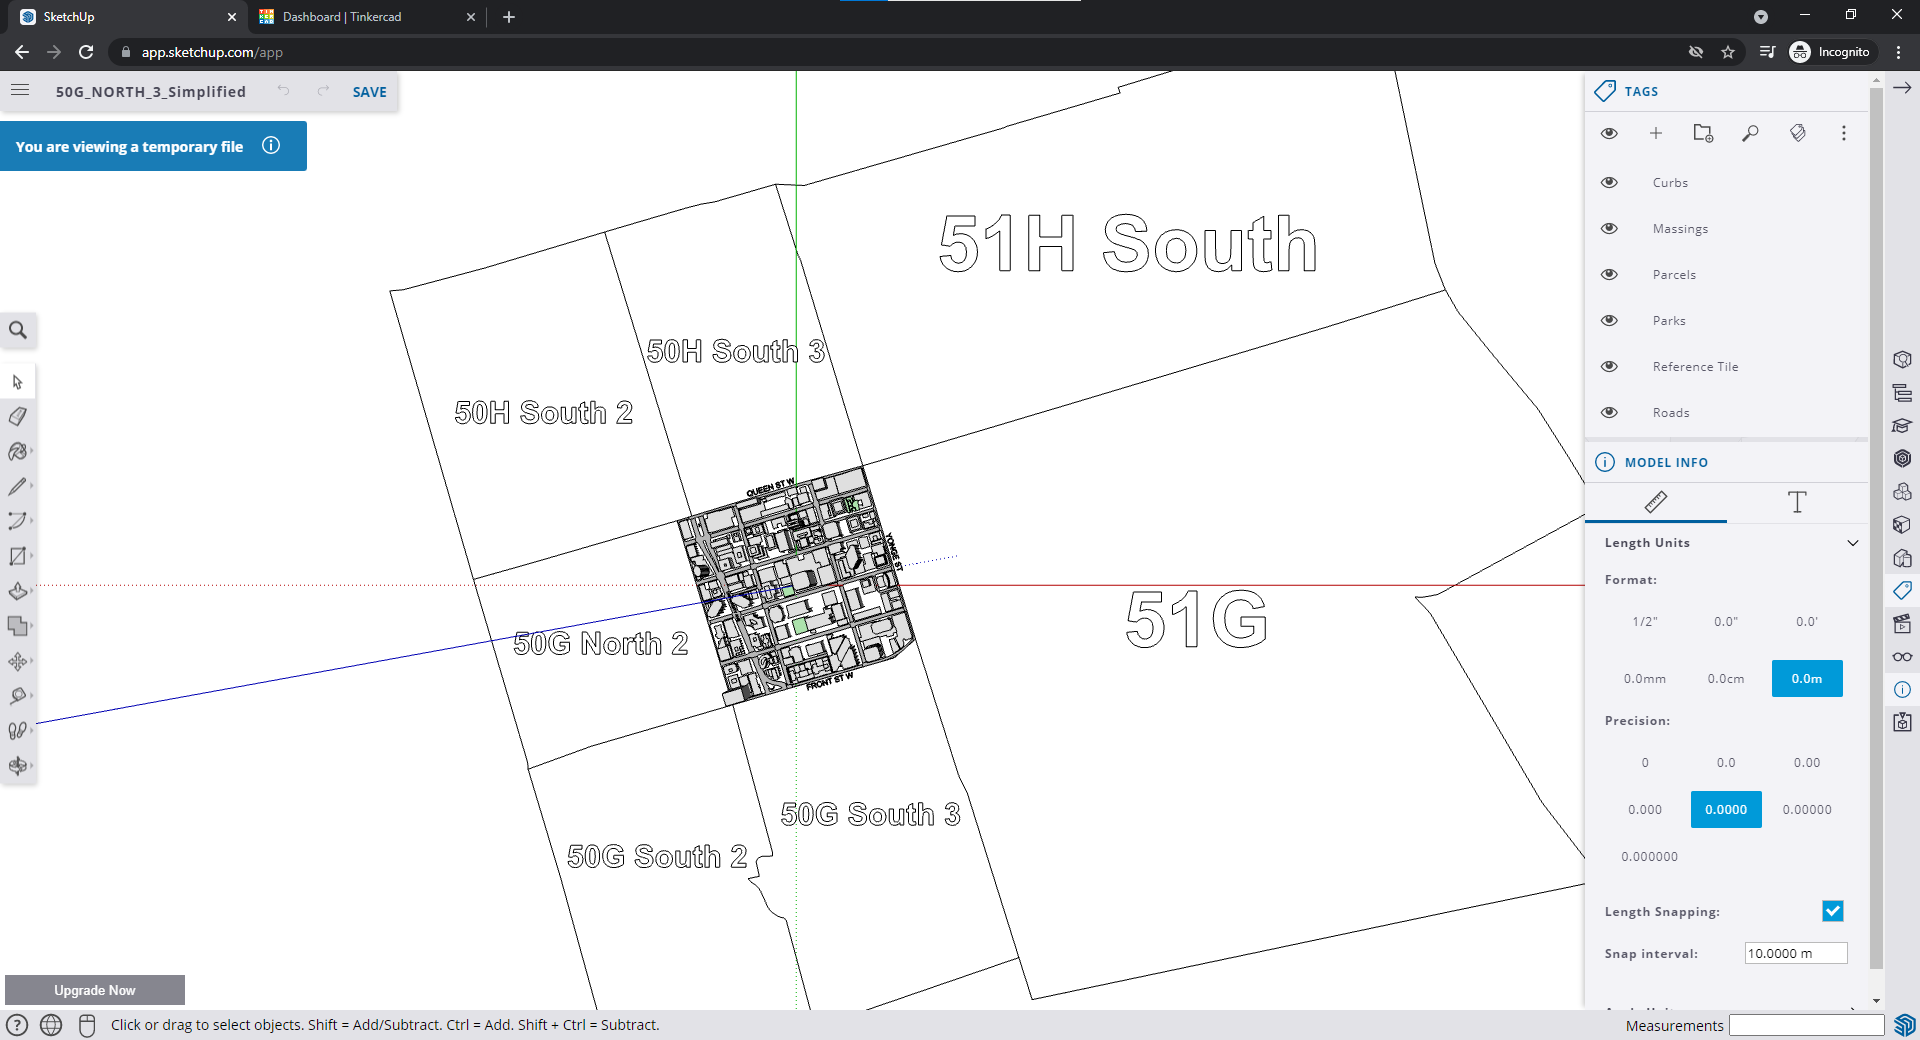
Click the tag button on the right to list the layers

The only layers you need are Massings and Roads
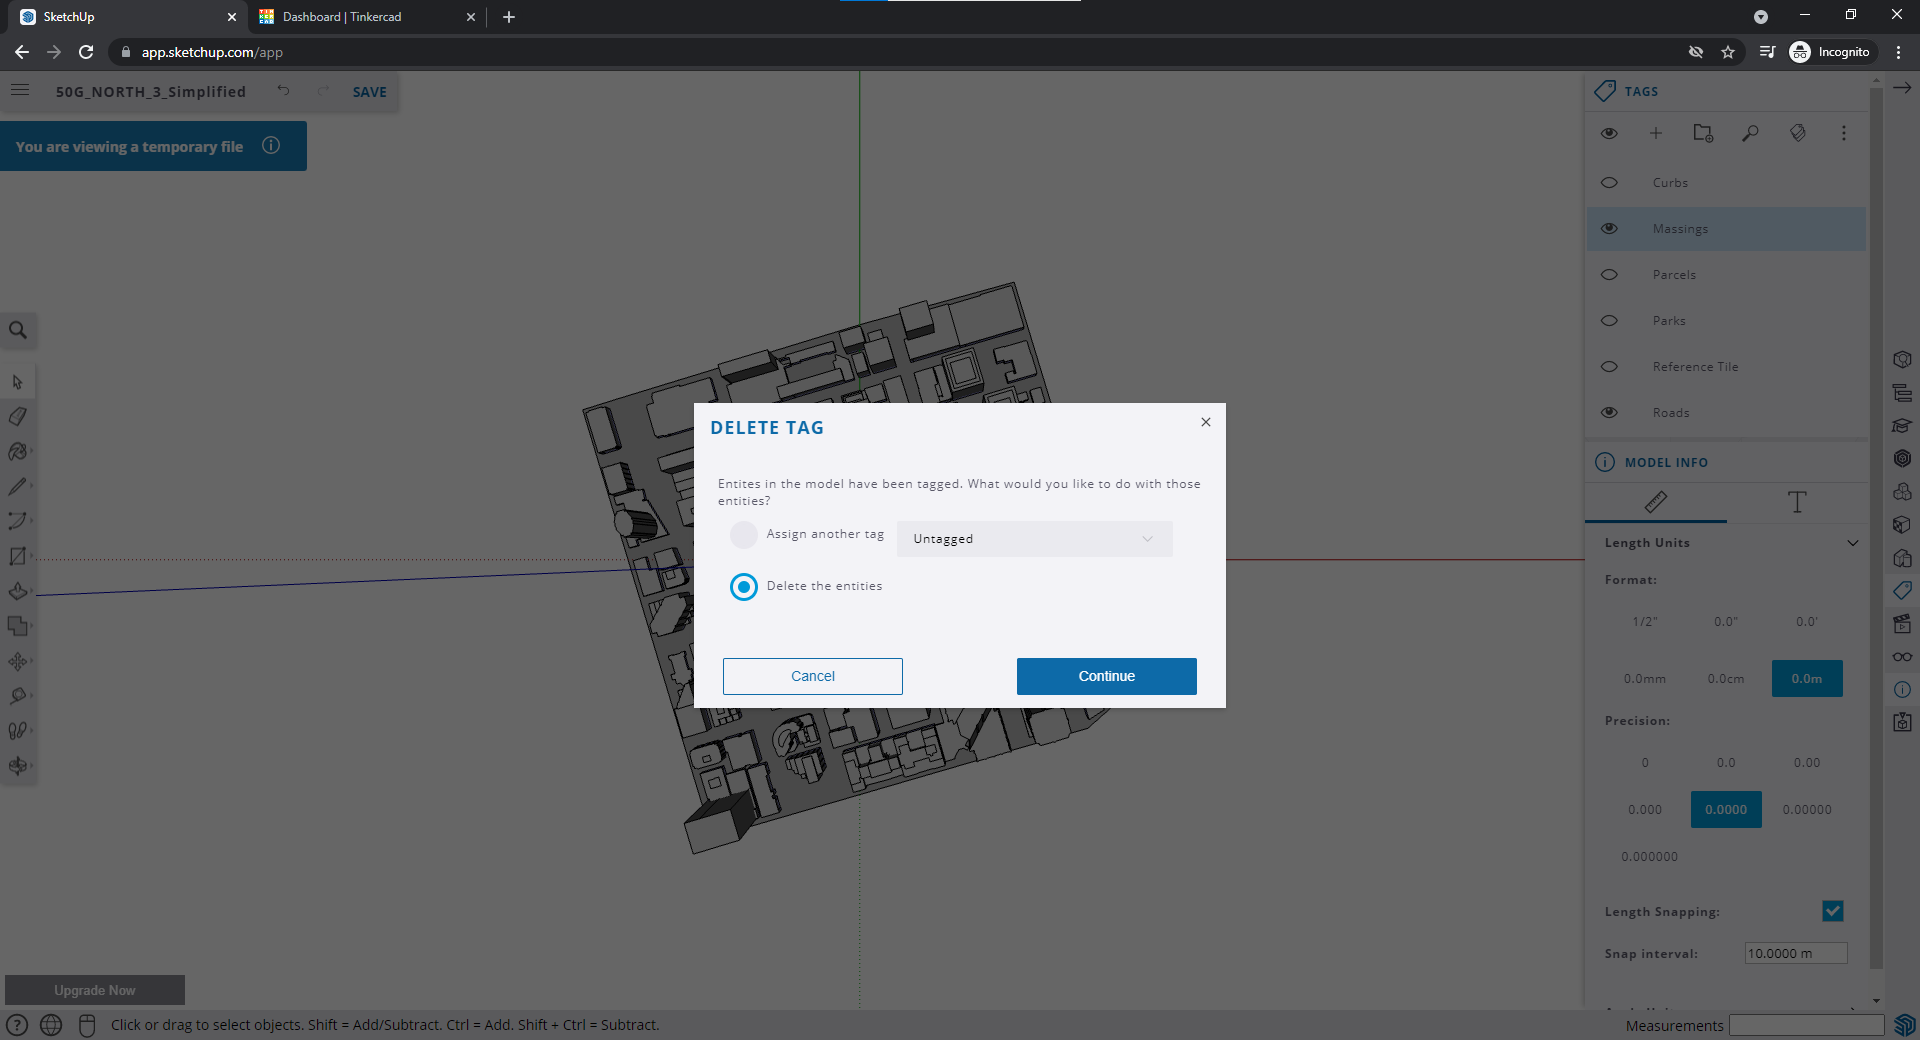
Delete the other layers
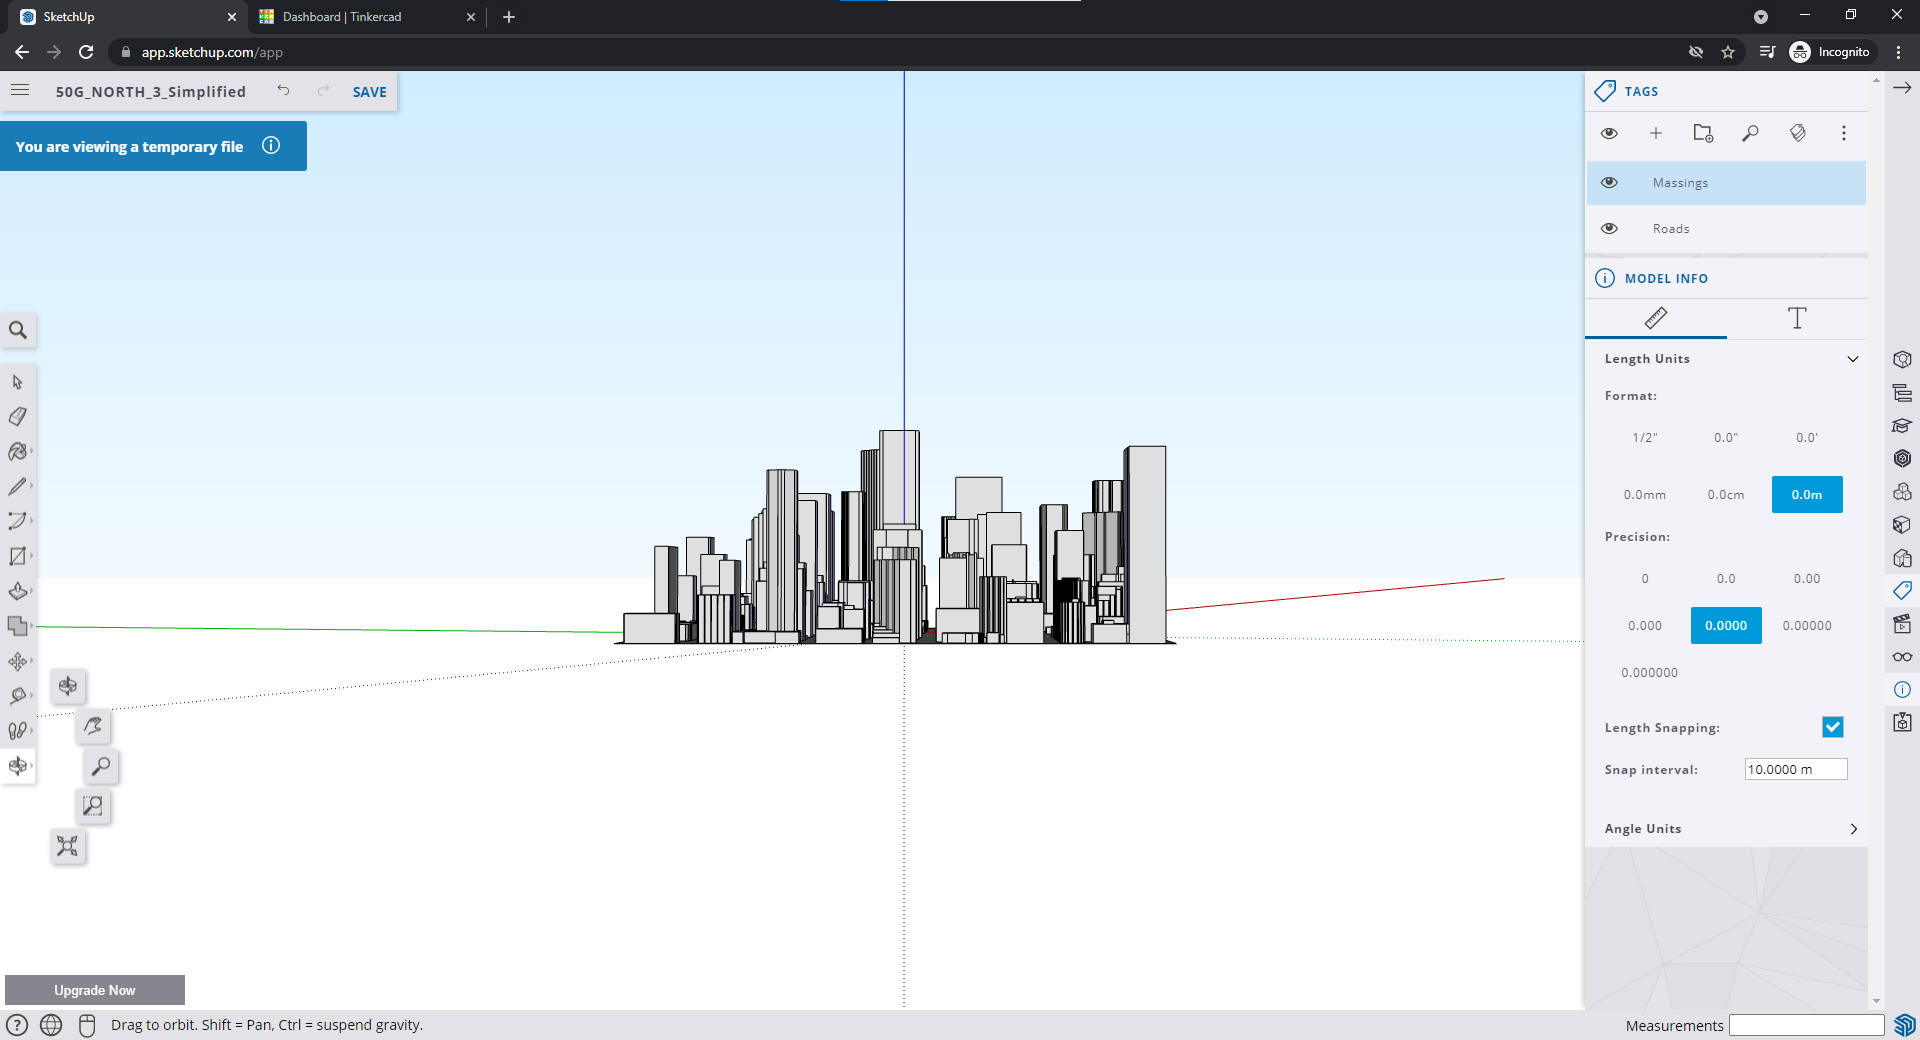
Use the orbit tool on the left to maneuver around the object

Select the line tool on the left
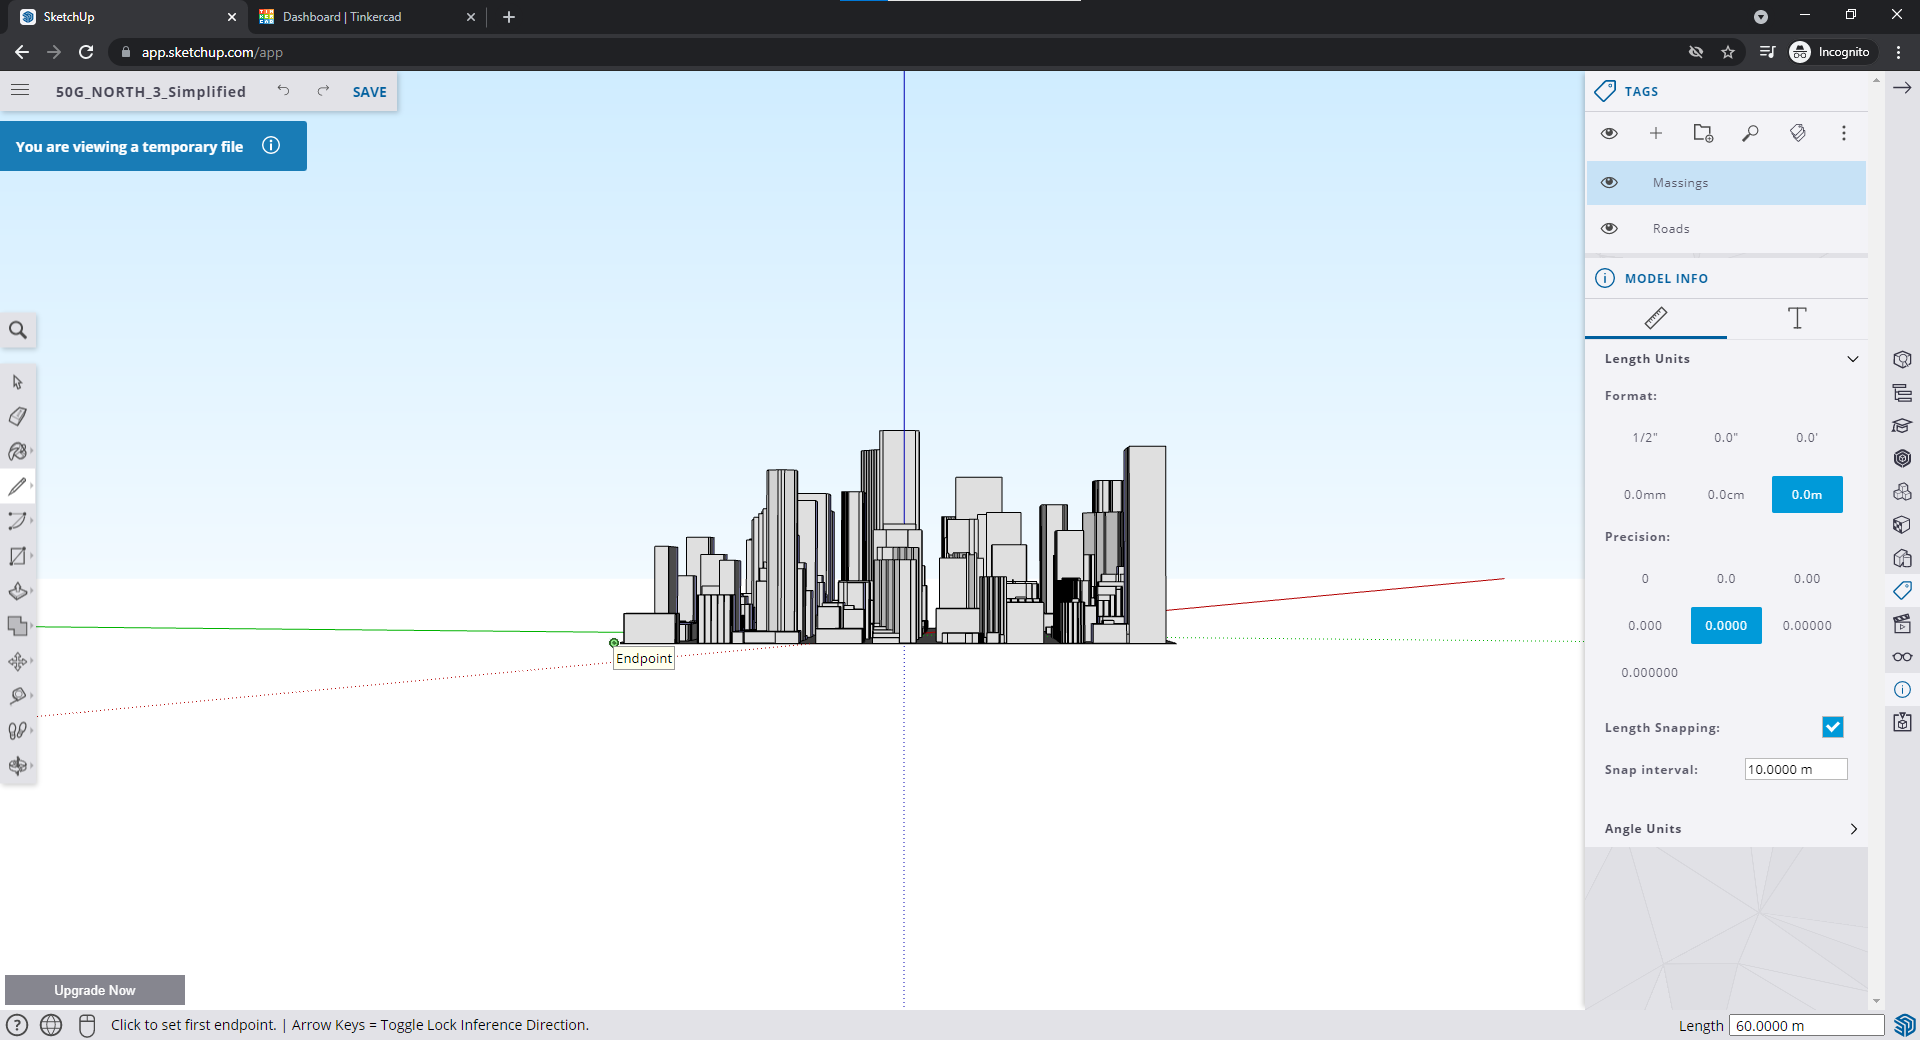
Click the corner and set an Endpoint
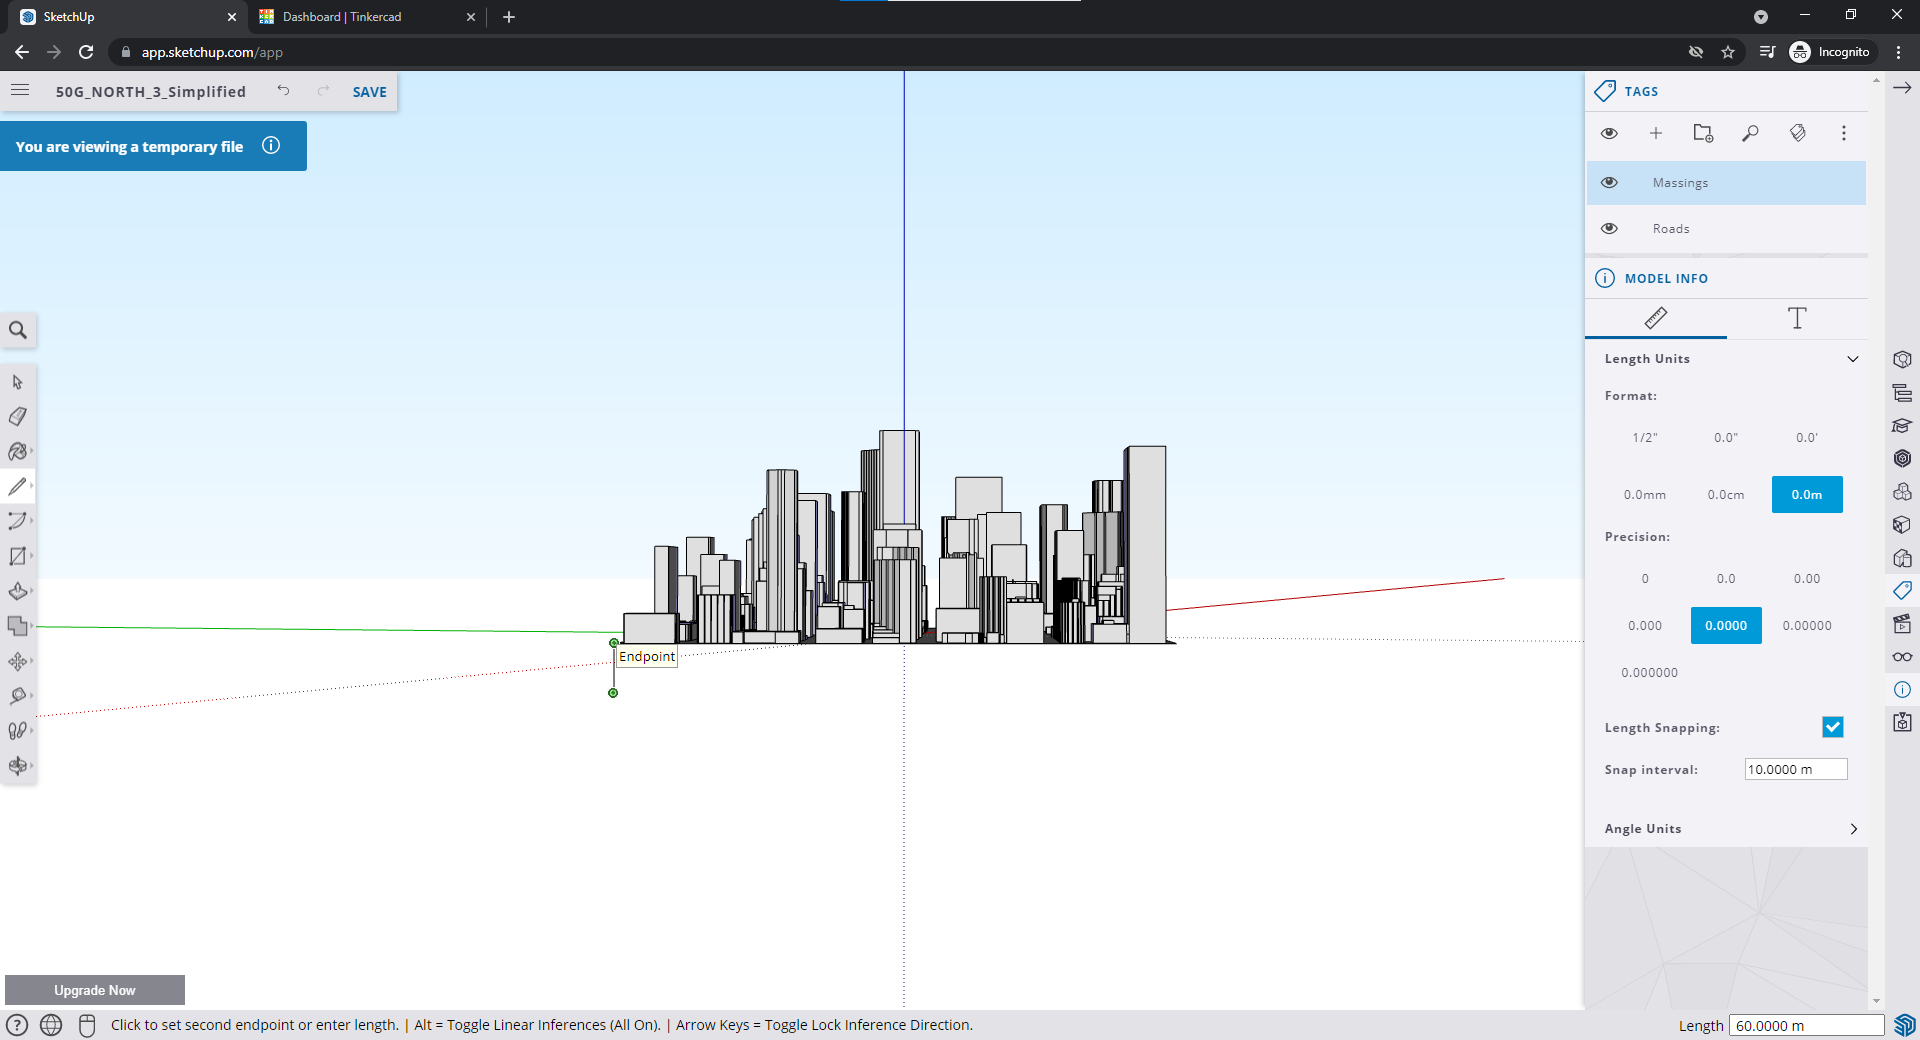
Go straight down however long you want the base to be, the height of your base is displayed on the bottom right. Click to set a second Endpoint then click your first Endpoint again.
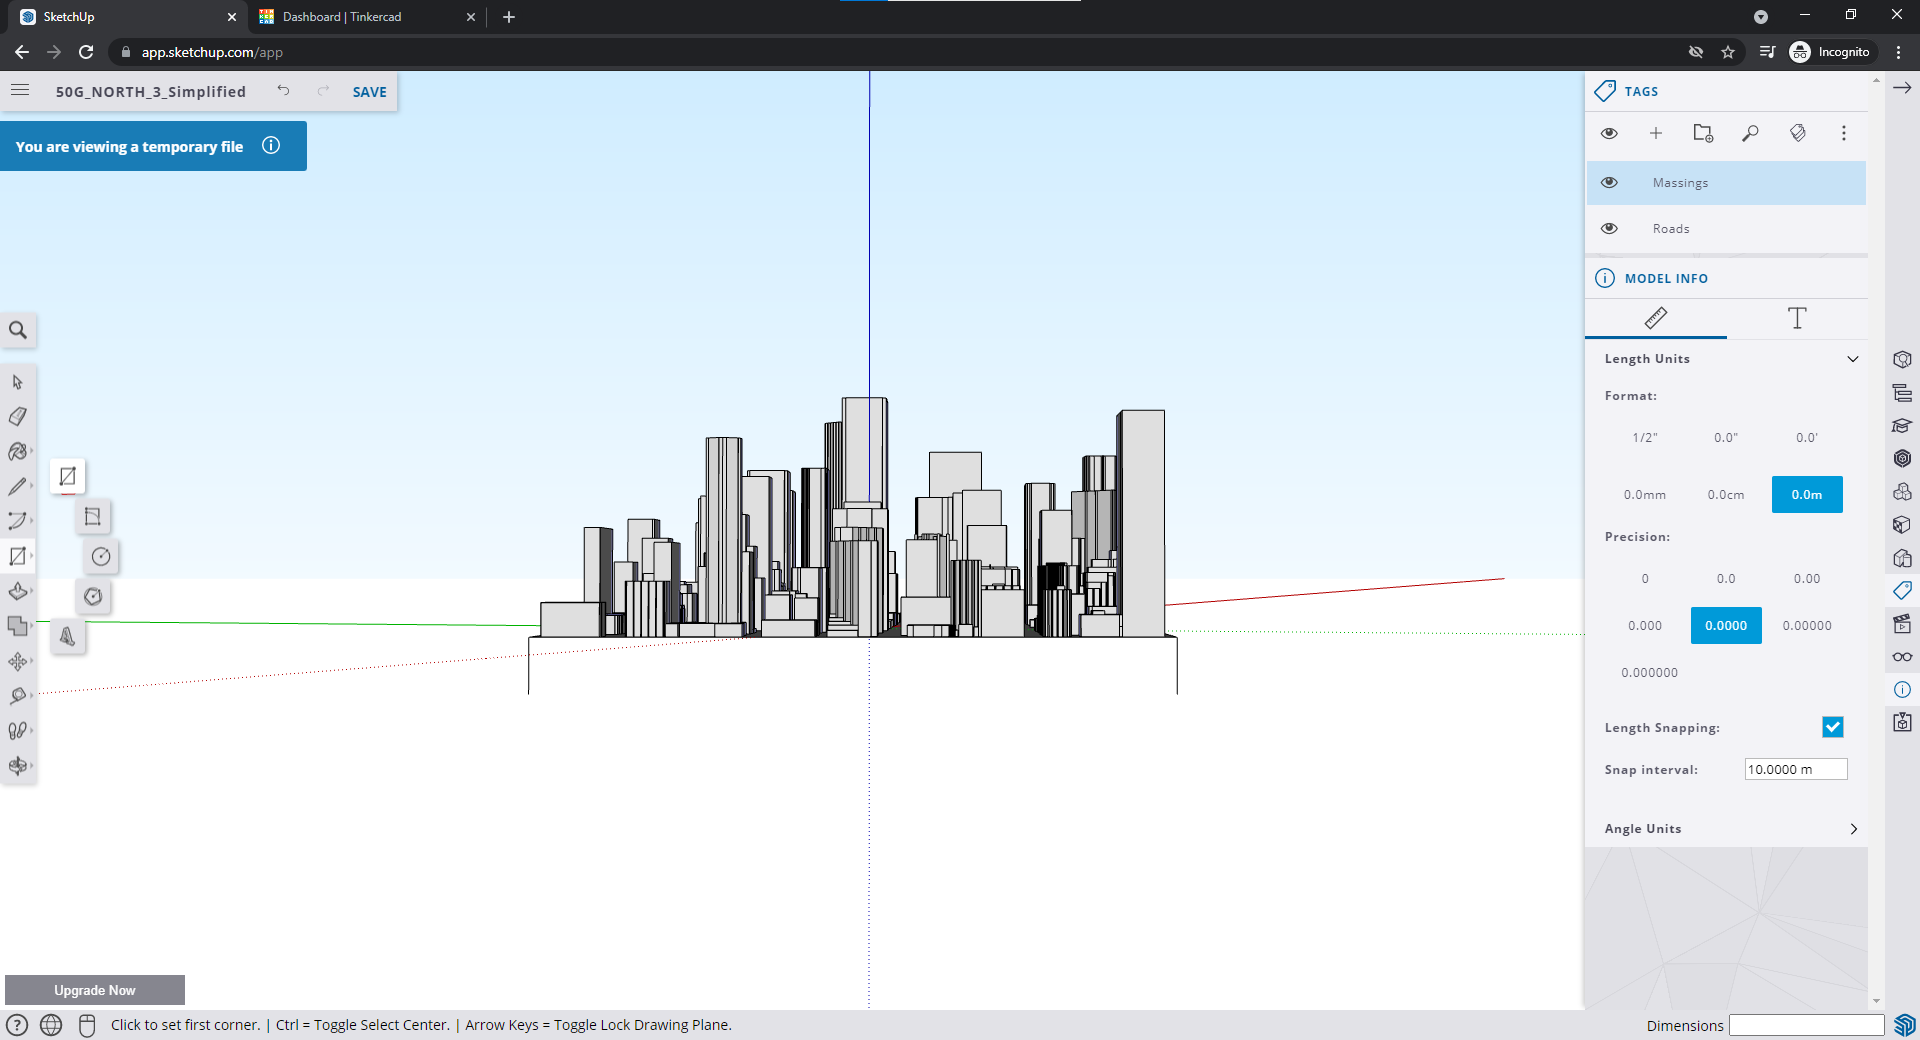
Do the same for another corner and then select the rectangle tool on the left
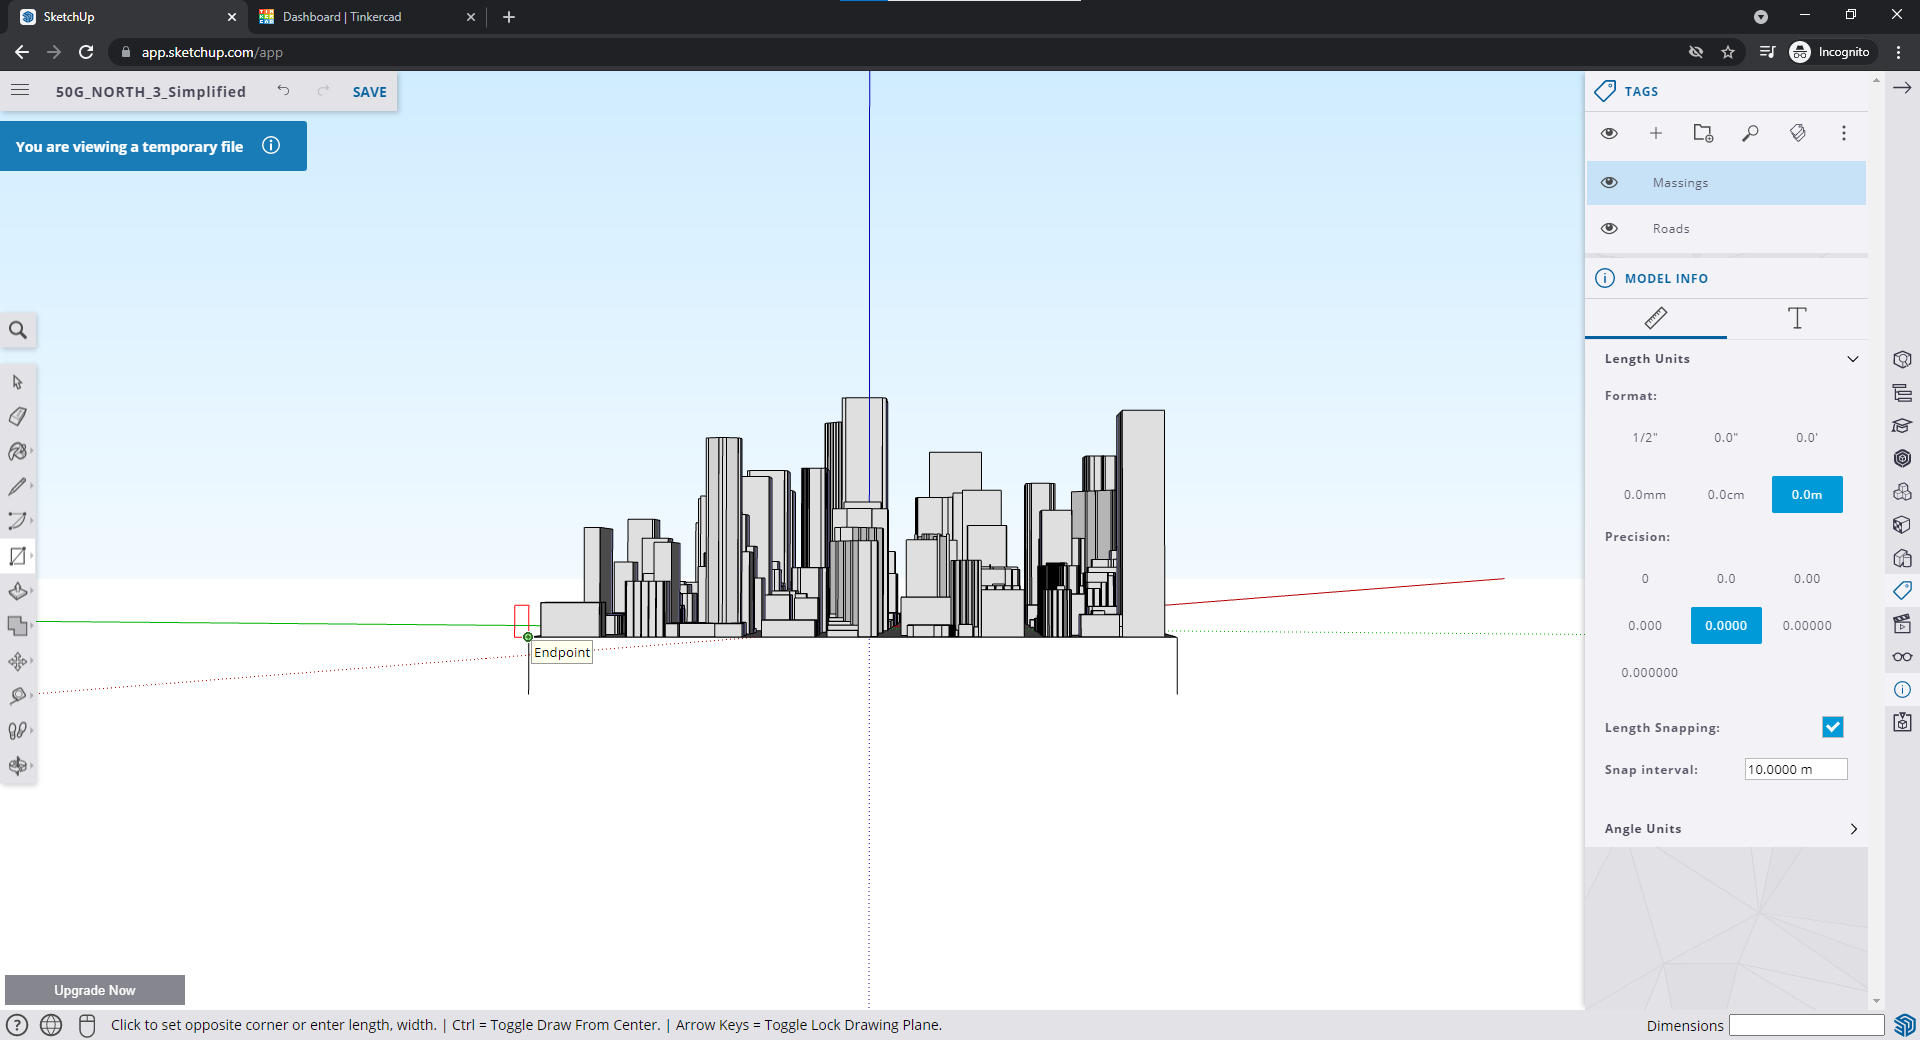
Click one of the Endpoints you set
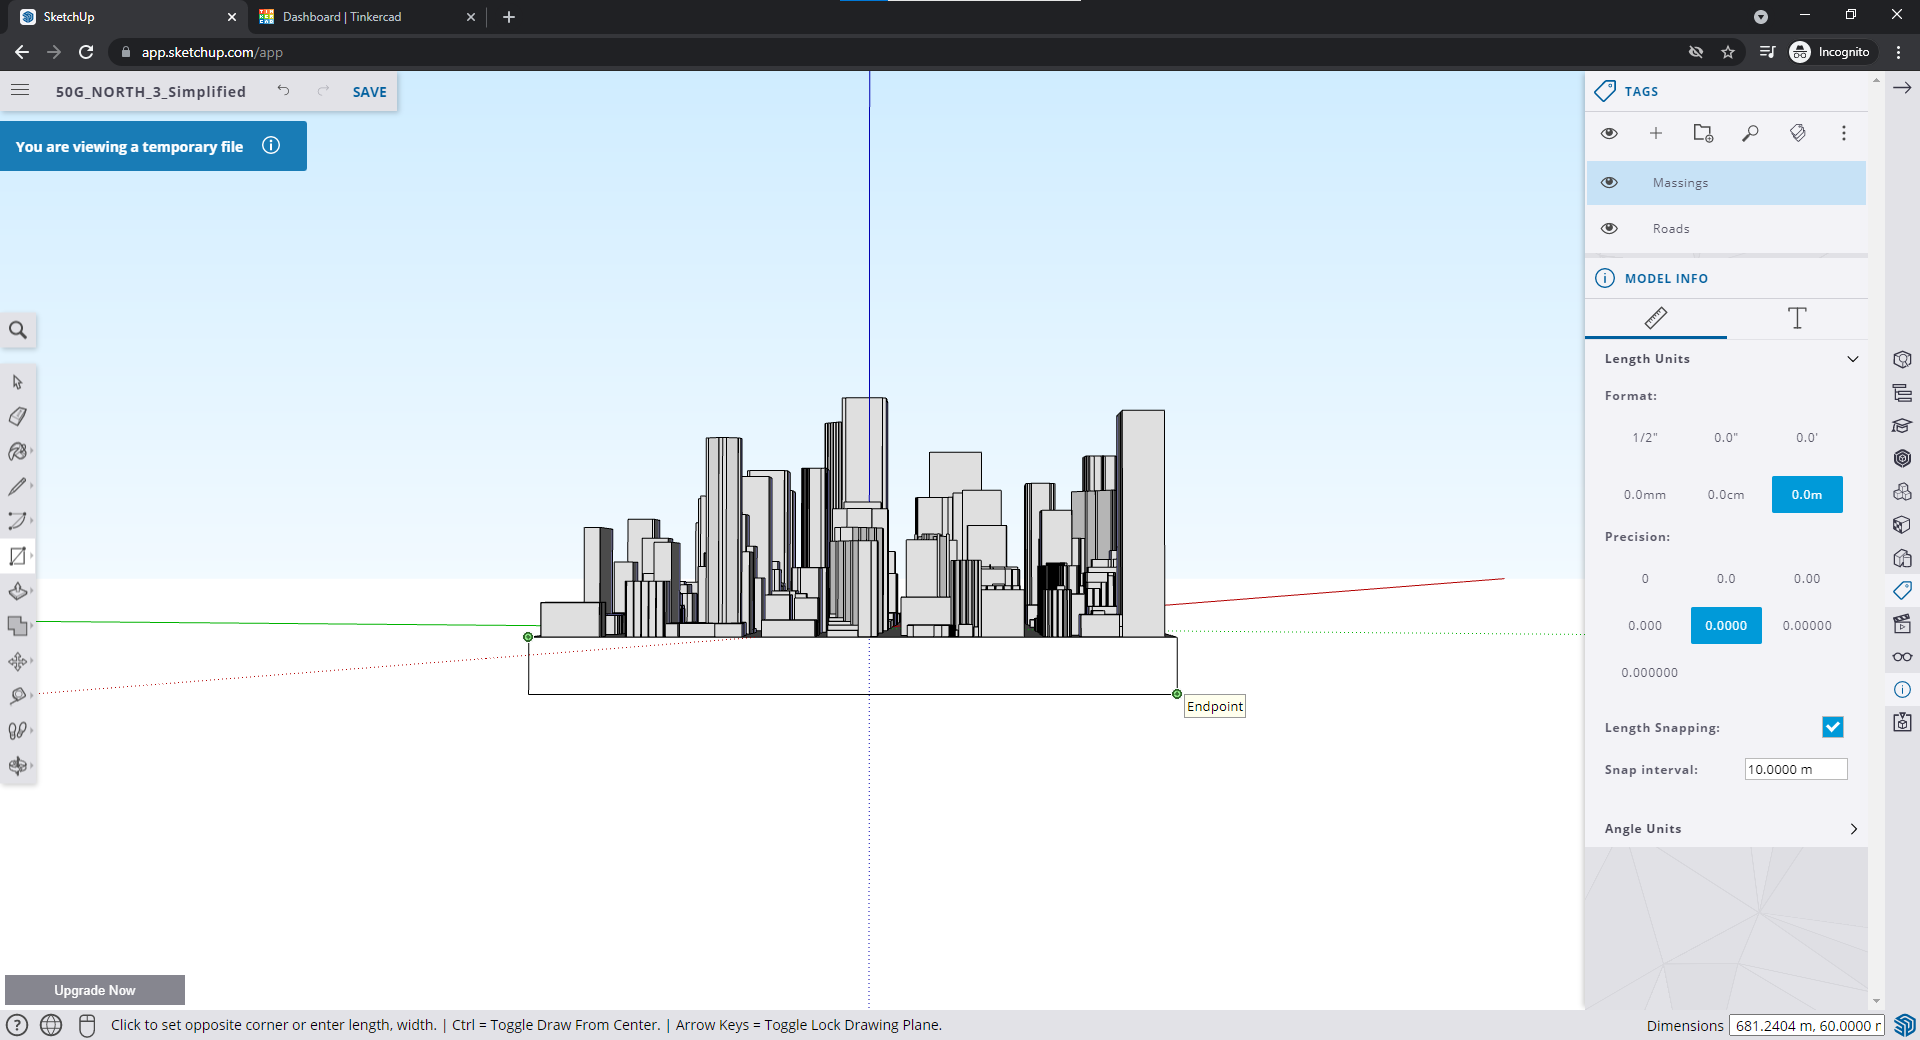
Then click the on the opposite corner
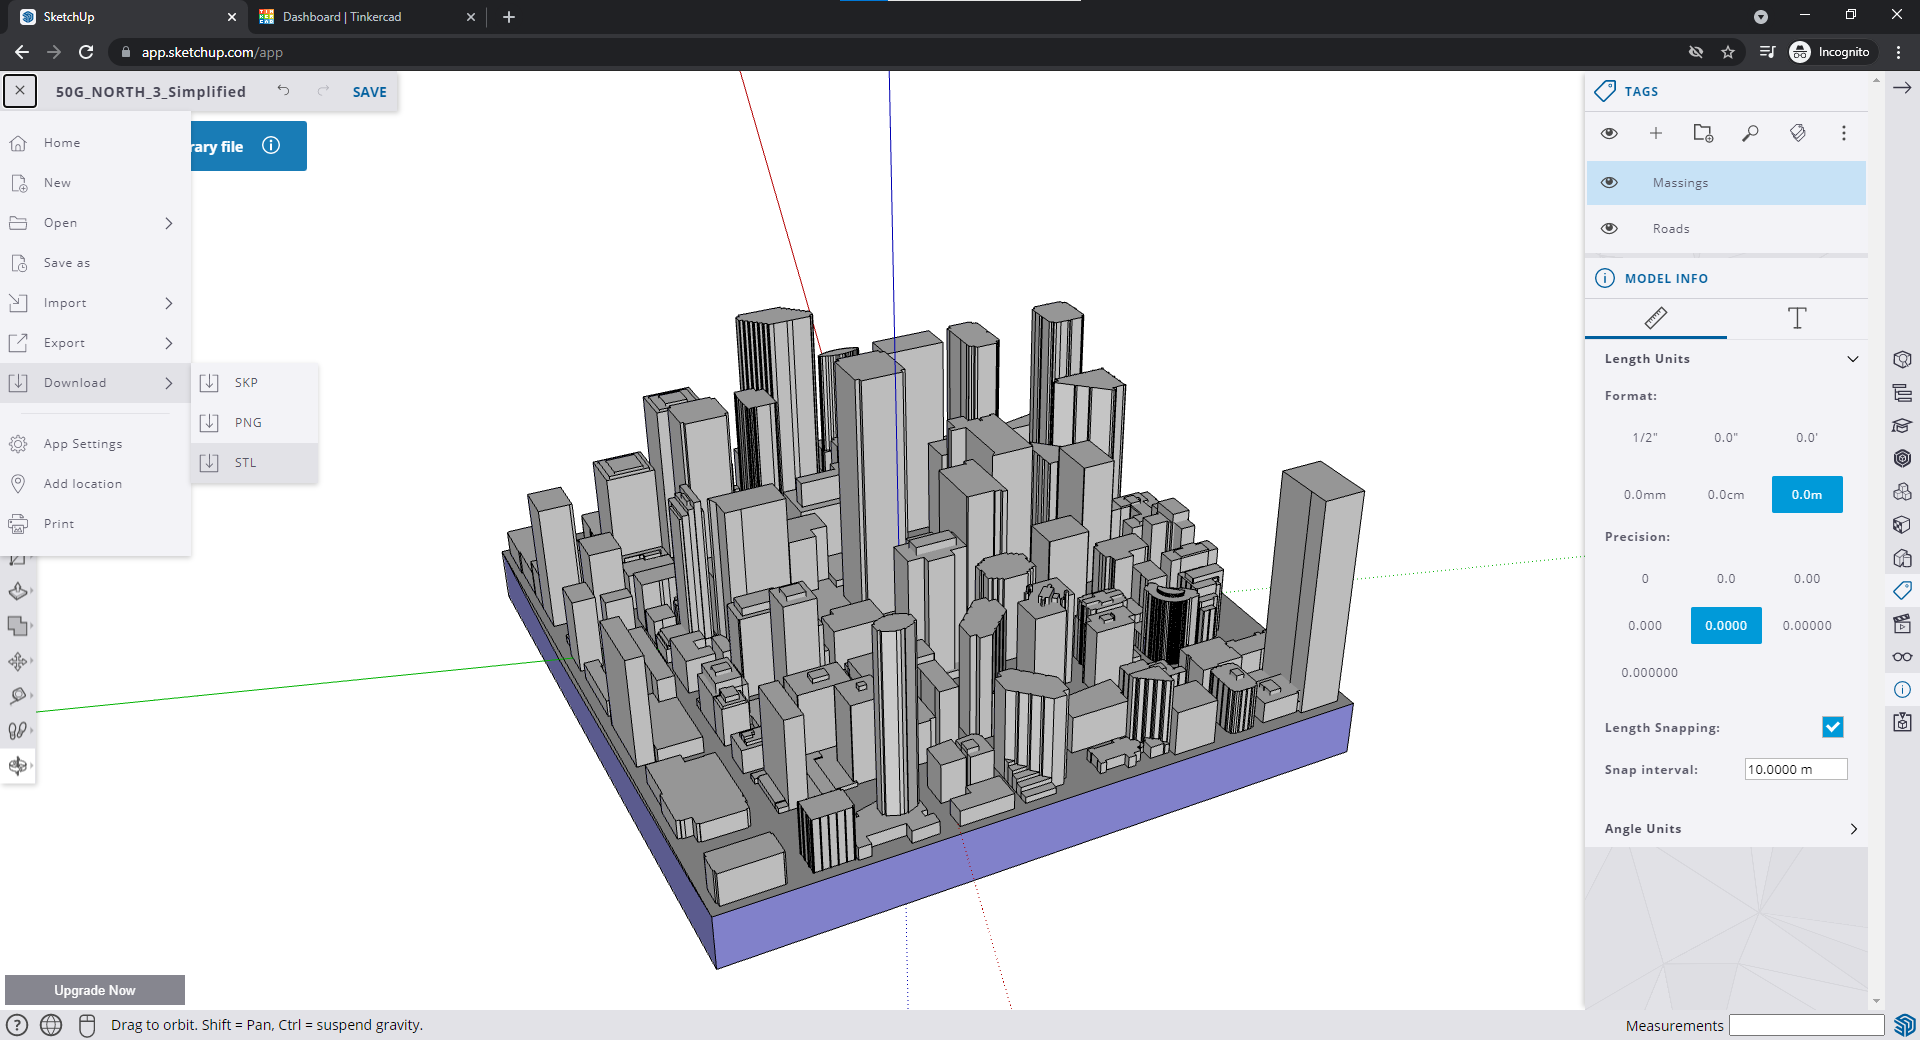
Repeat on all sides. The bottom will automatically fill once you fill in all the sides. Download the model as an STL.
Fixing the model with Prusa Slicer
Unfortunately, throwing the STL from above into Cura will result in the buildings not being printed. To fix this, I used NetFabb to repair the STL. The tool is included in Prusa Slicer.
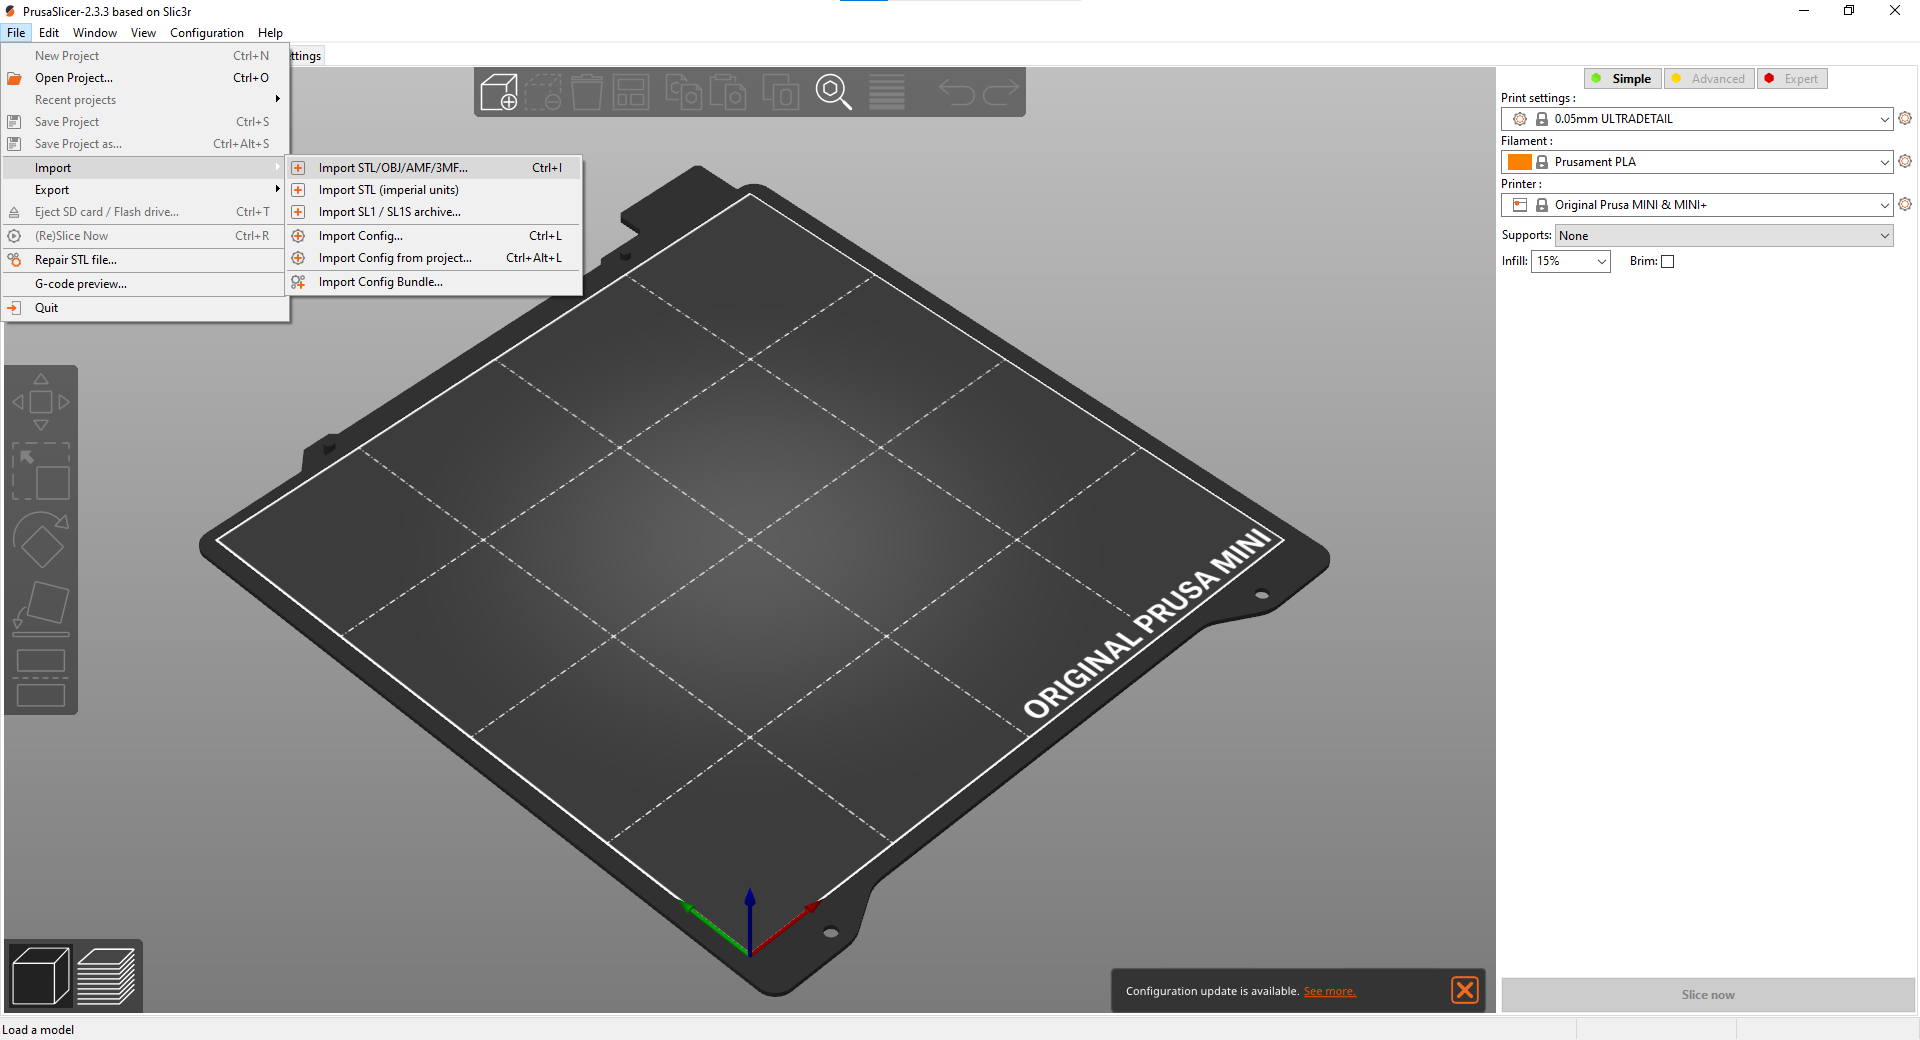
Import the STL
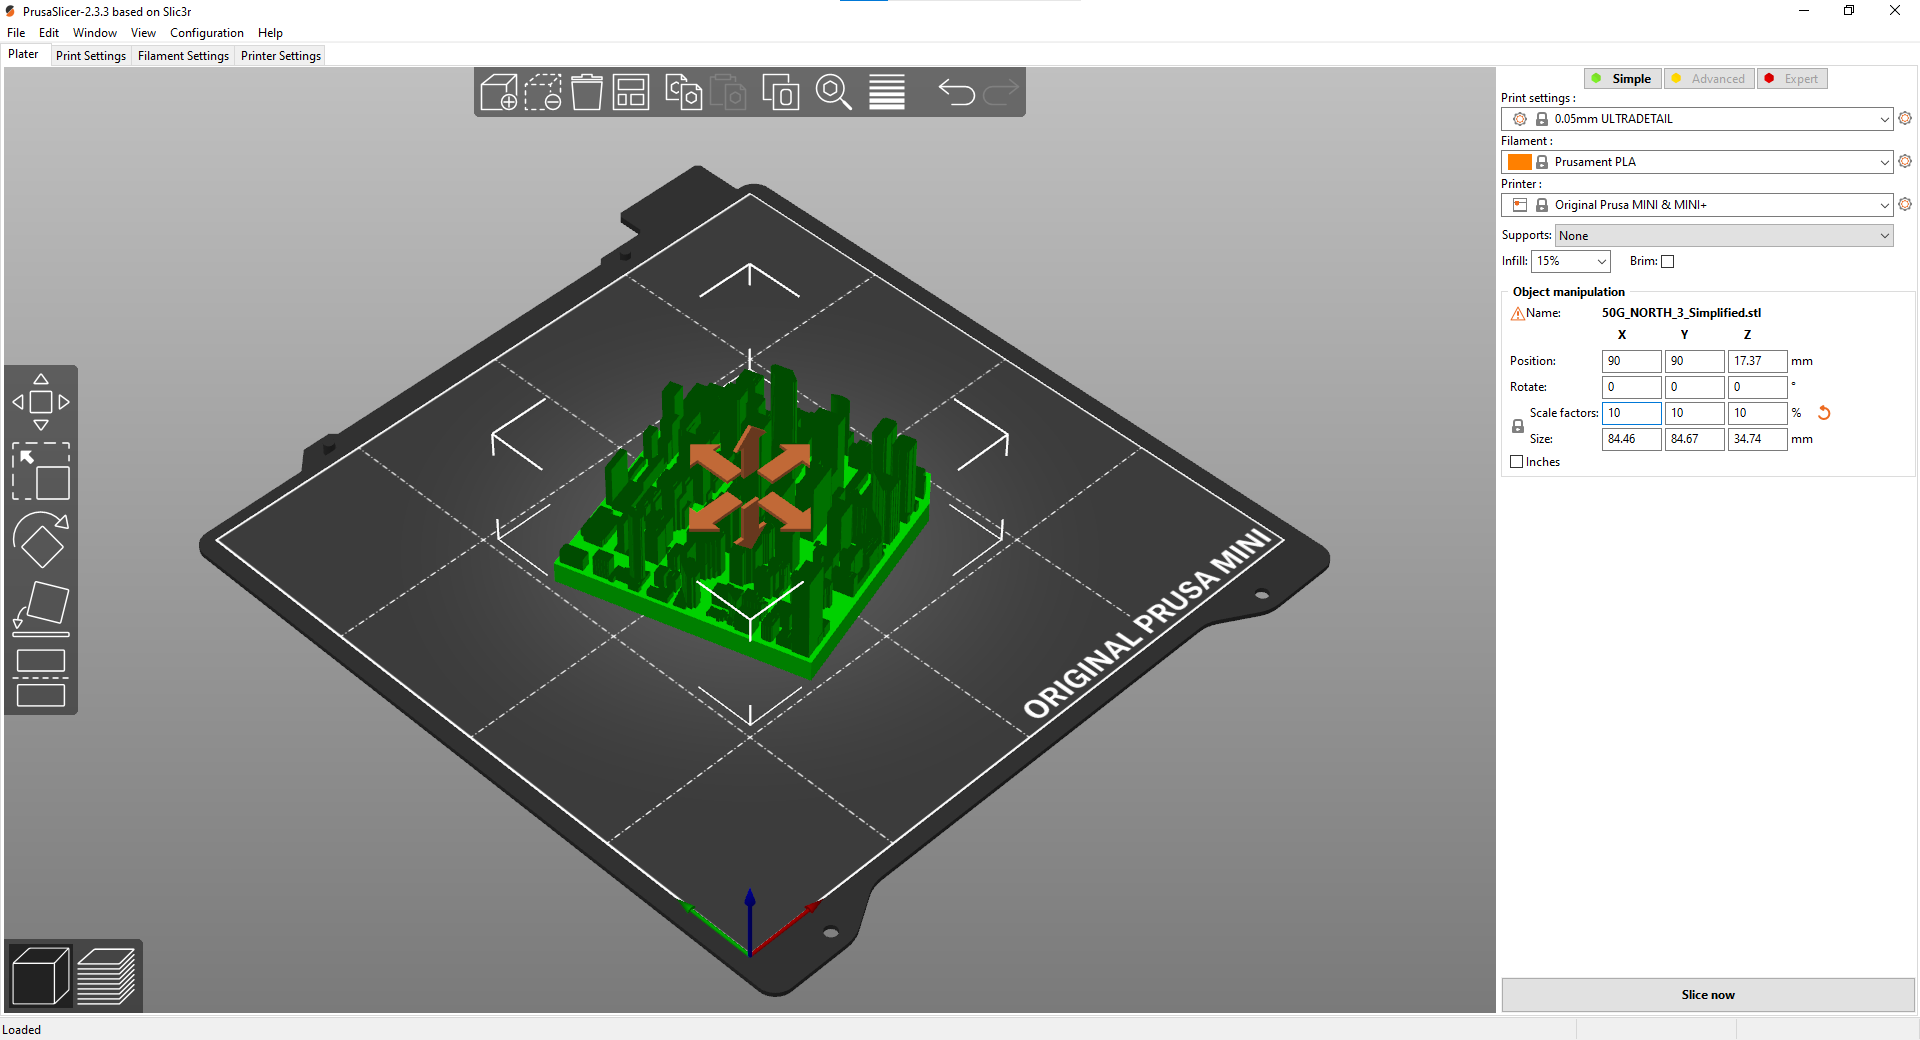
Set the scale factor to whatever you want. I set it to 10% of the original
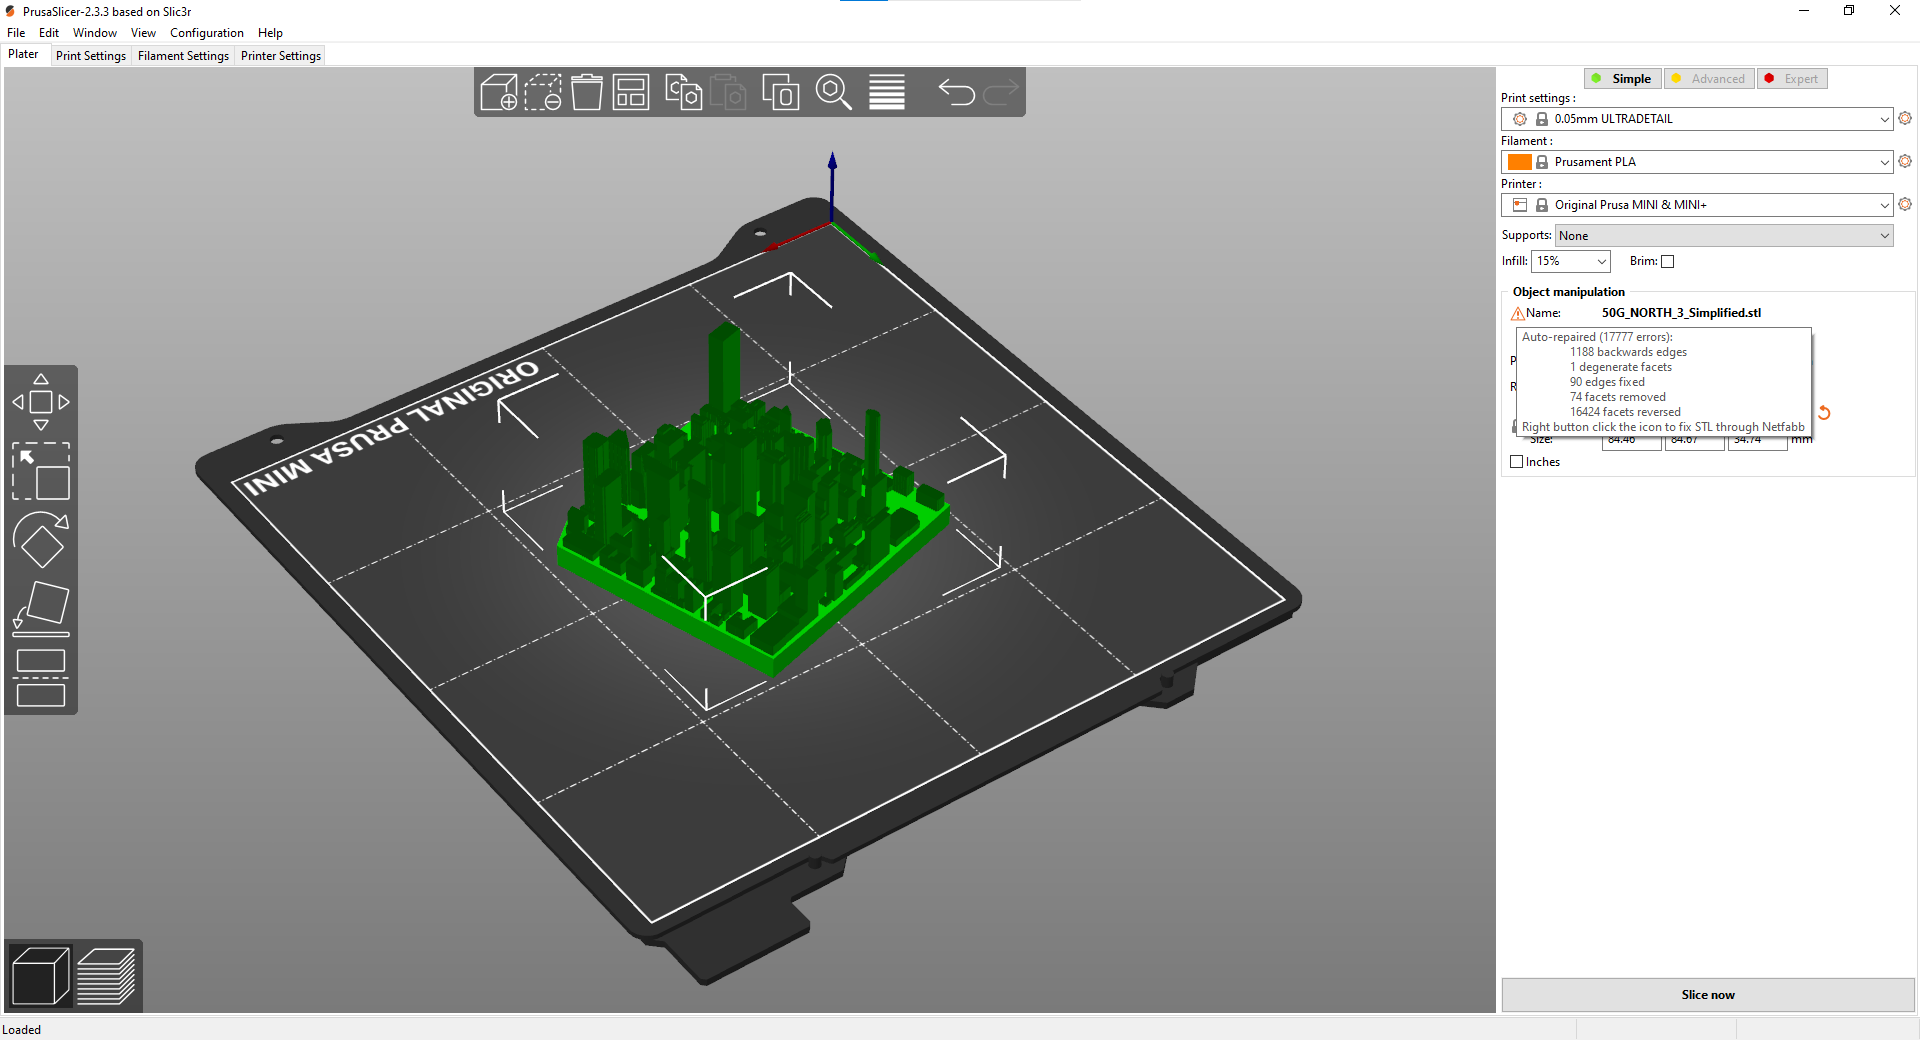
Right click on the orange triangle under Object manipulation to repair the STL
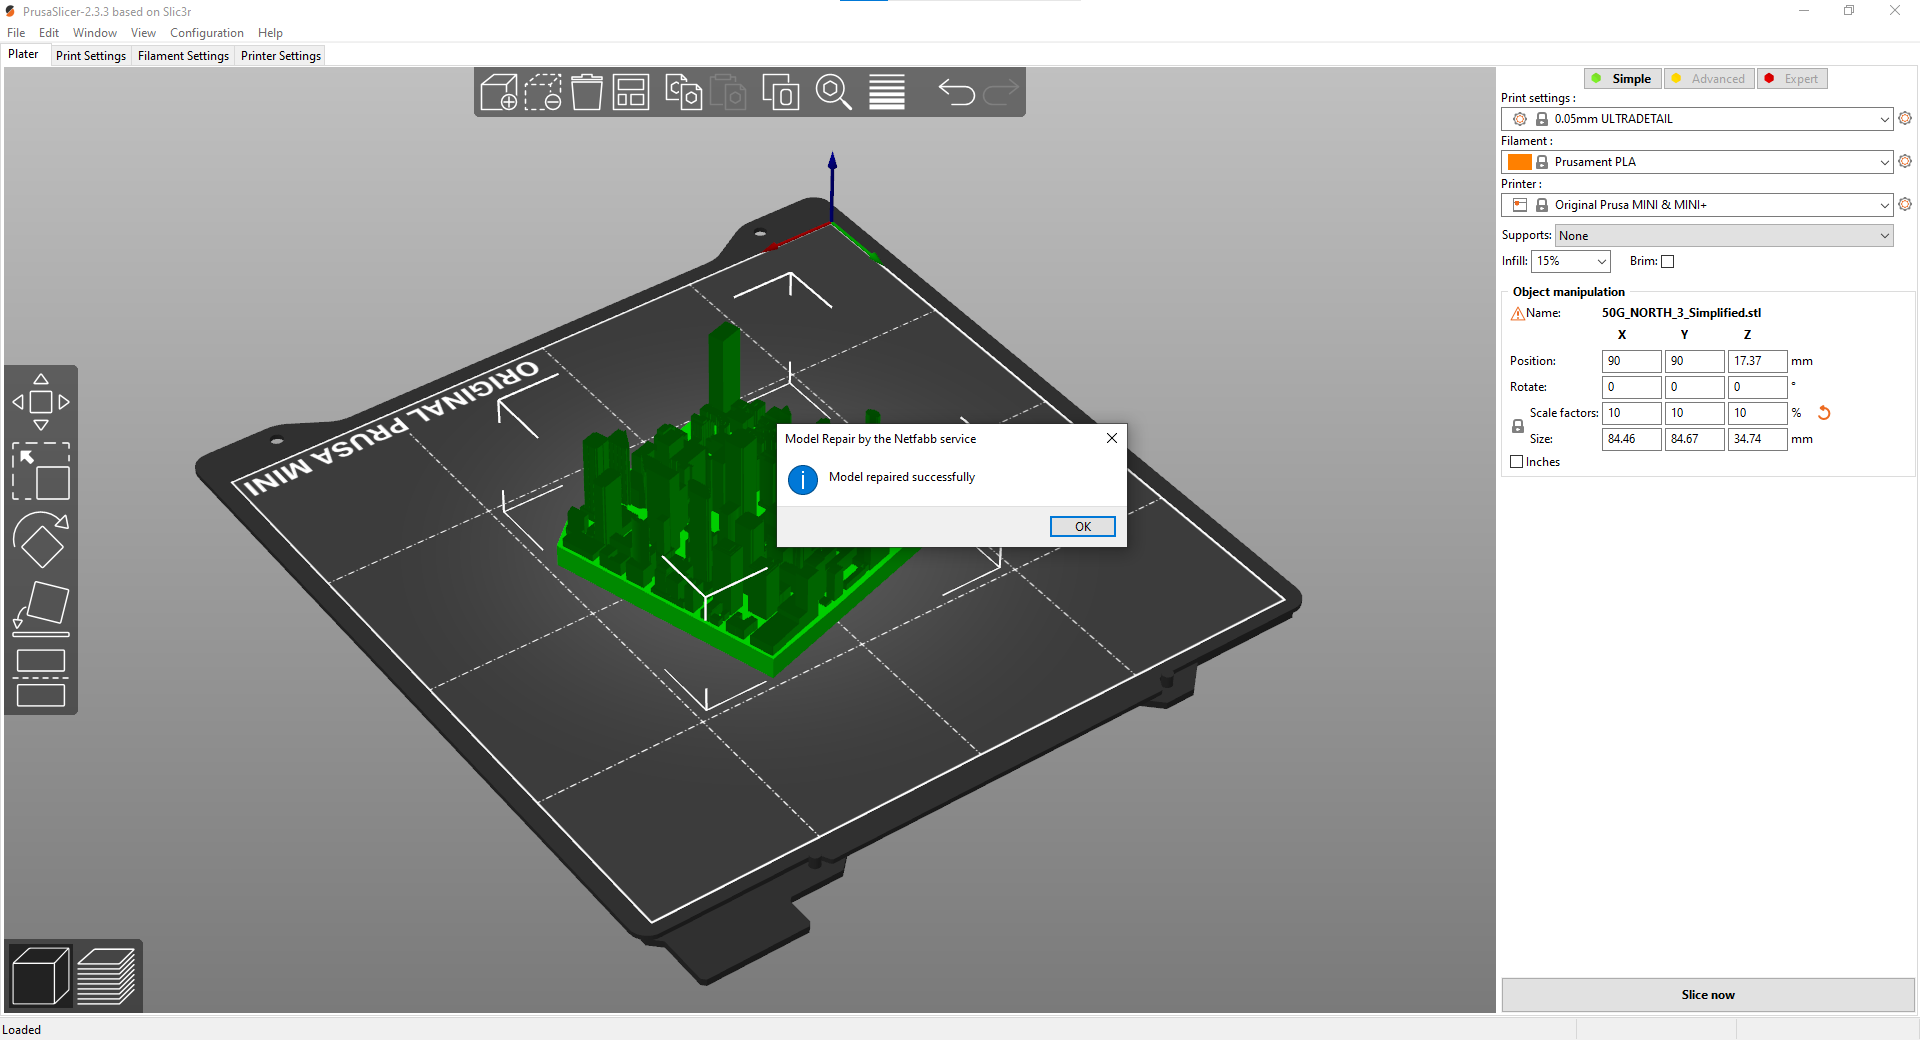
Once the model is repaired, it is ready to be printed in Prusa Slicer or exported as an STL to print elsewhere That’s it! That is how I was able to utilize free software and create consistent STL models of Toronto.
Conclusion
I started this attempt to fix the base heights of my models. I thought I’d need to learn an entire software and create a completely new method. Luckily for me, I was able to use my experience from previous attempts to find a new and effective method. I’ll upload the STLs I’ve created on Thingiverse and linked to it when created.