Introduction
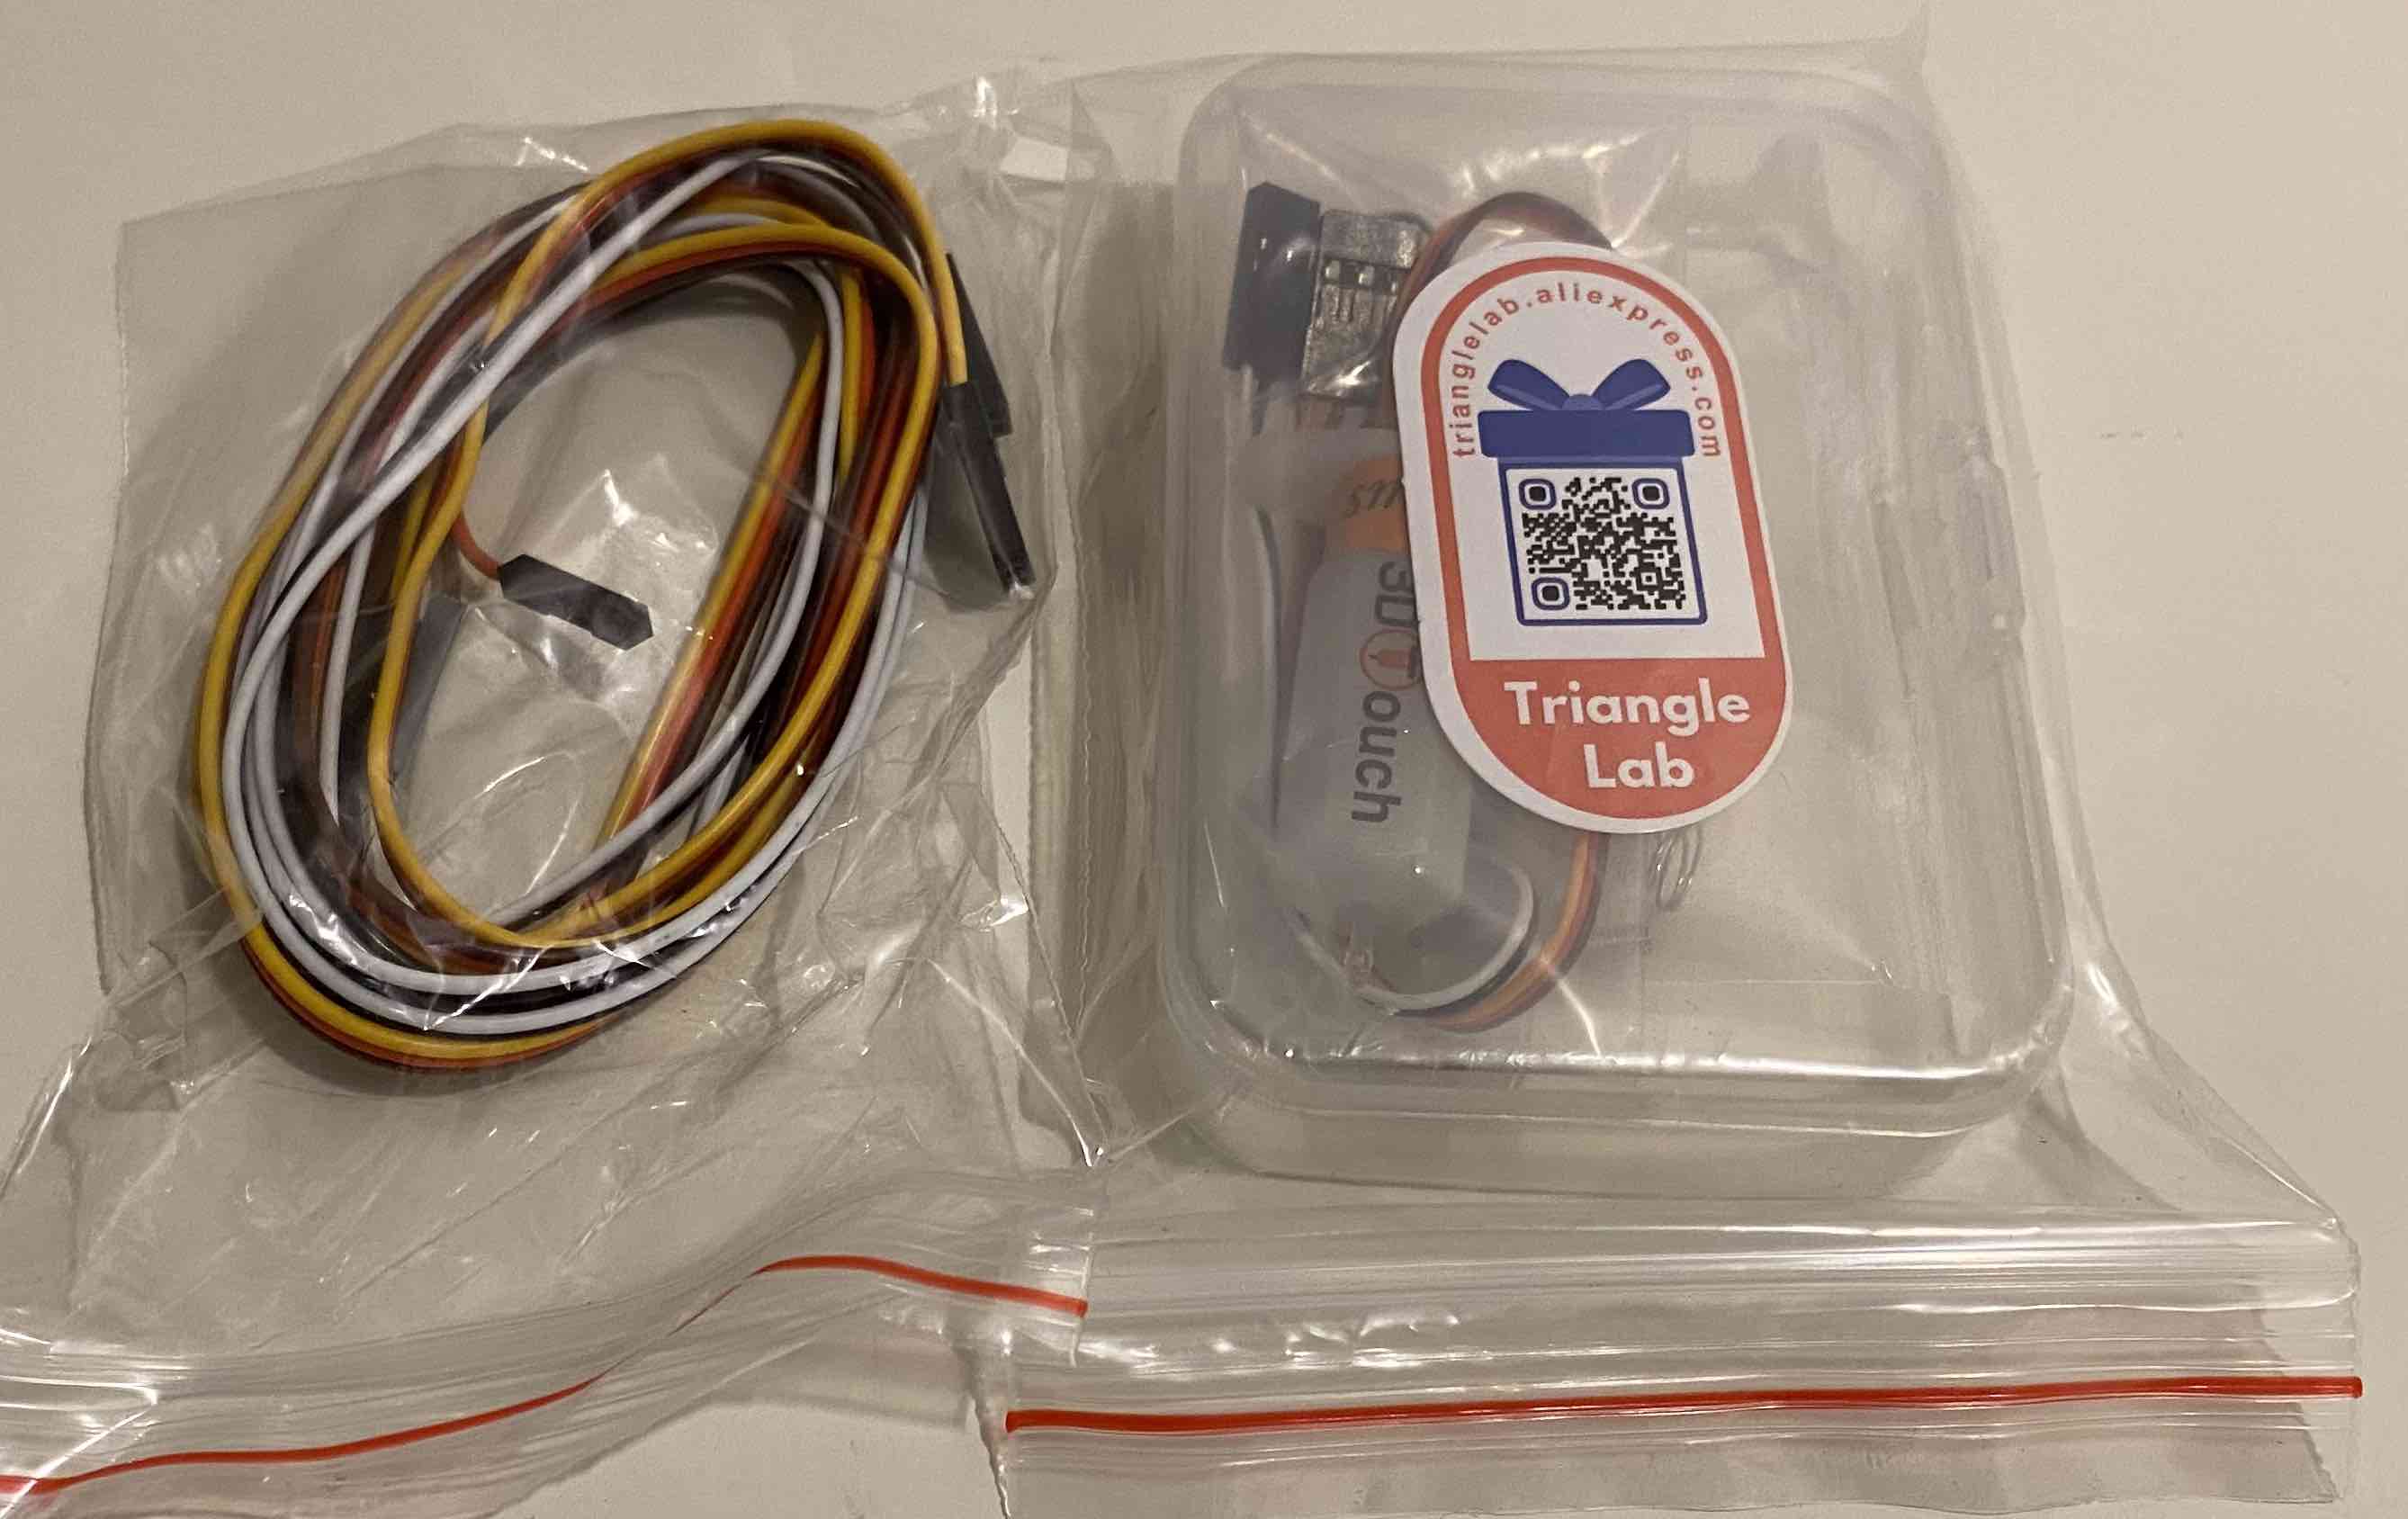
Levelling the printer isn’t very hard and it doesn’t take very long. I’m not very good at levelling and it has caused me headaches in the past. I considered getting a genuine BL Touch from AliExpress, but the 3D Touch from Trianglelab is much cheaper. Functionally, both sensors are very similar and I couldn’t justify getting the more expensive product. It arrived with the items below.
Mounting the 3D Touch
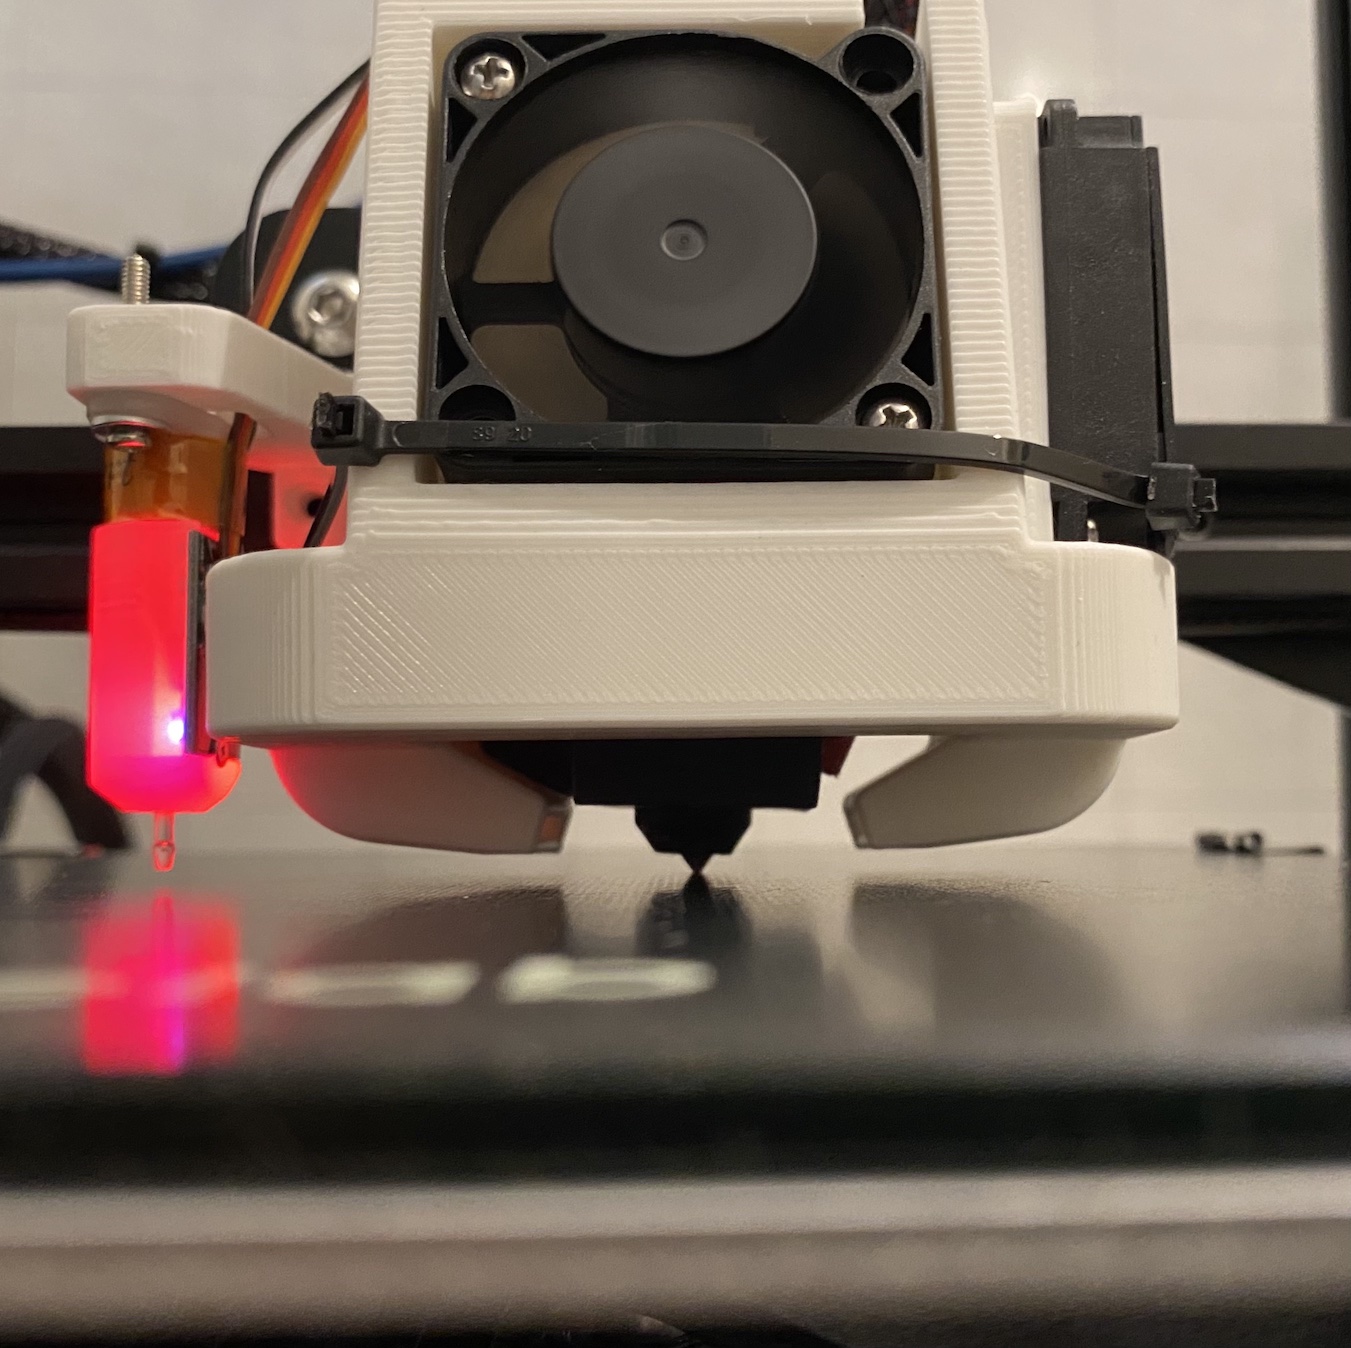
The Satsana shroud I installed has an included BL Touch mount. I was able to mount it easily, but the wire extensions weren’t long enough to reach the main board. I ran the wires up the side and and hoping it won’t unplug itself.
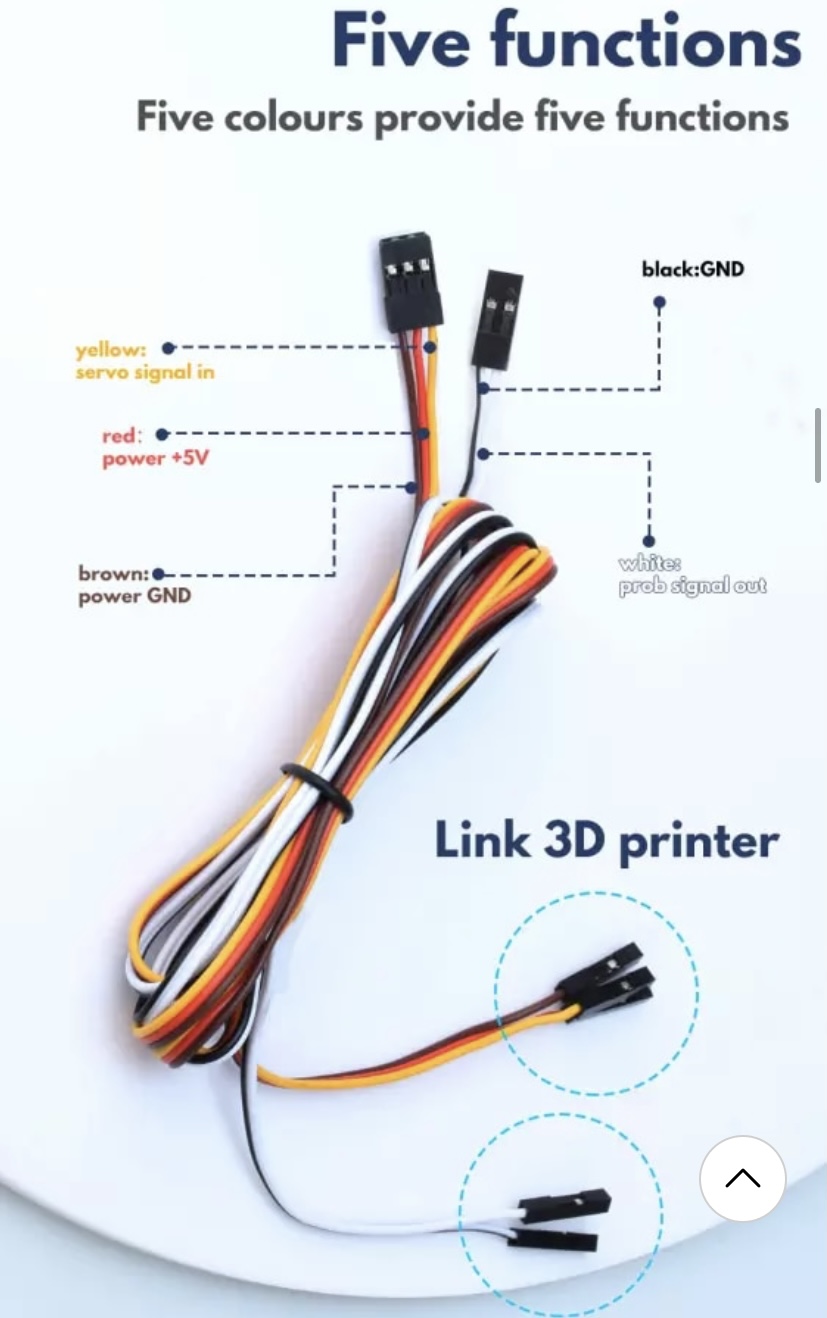
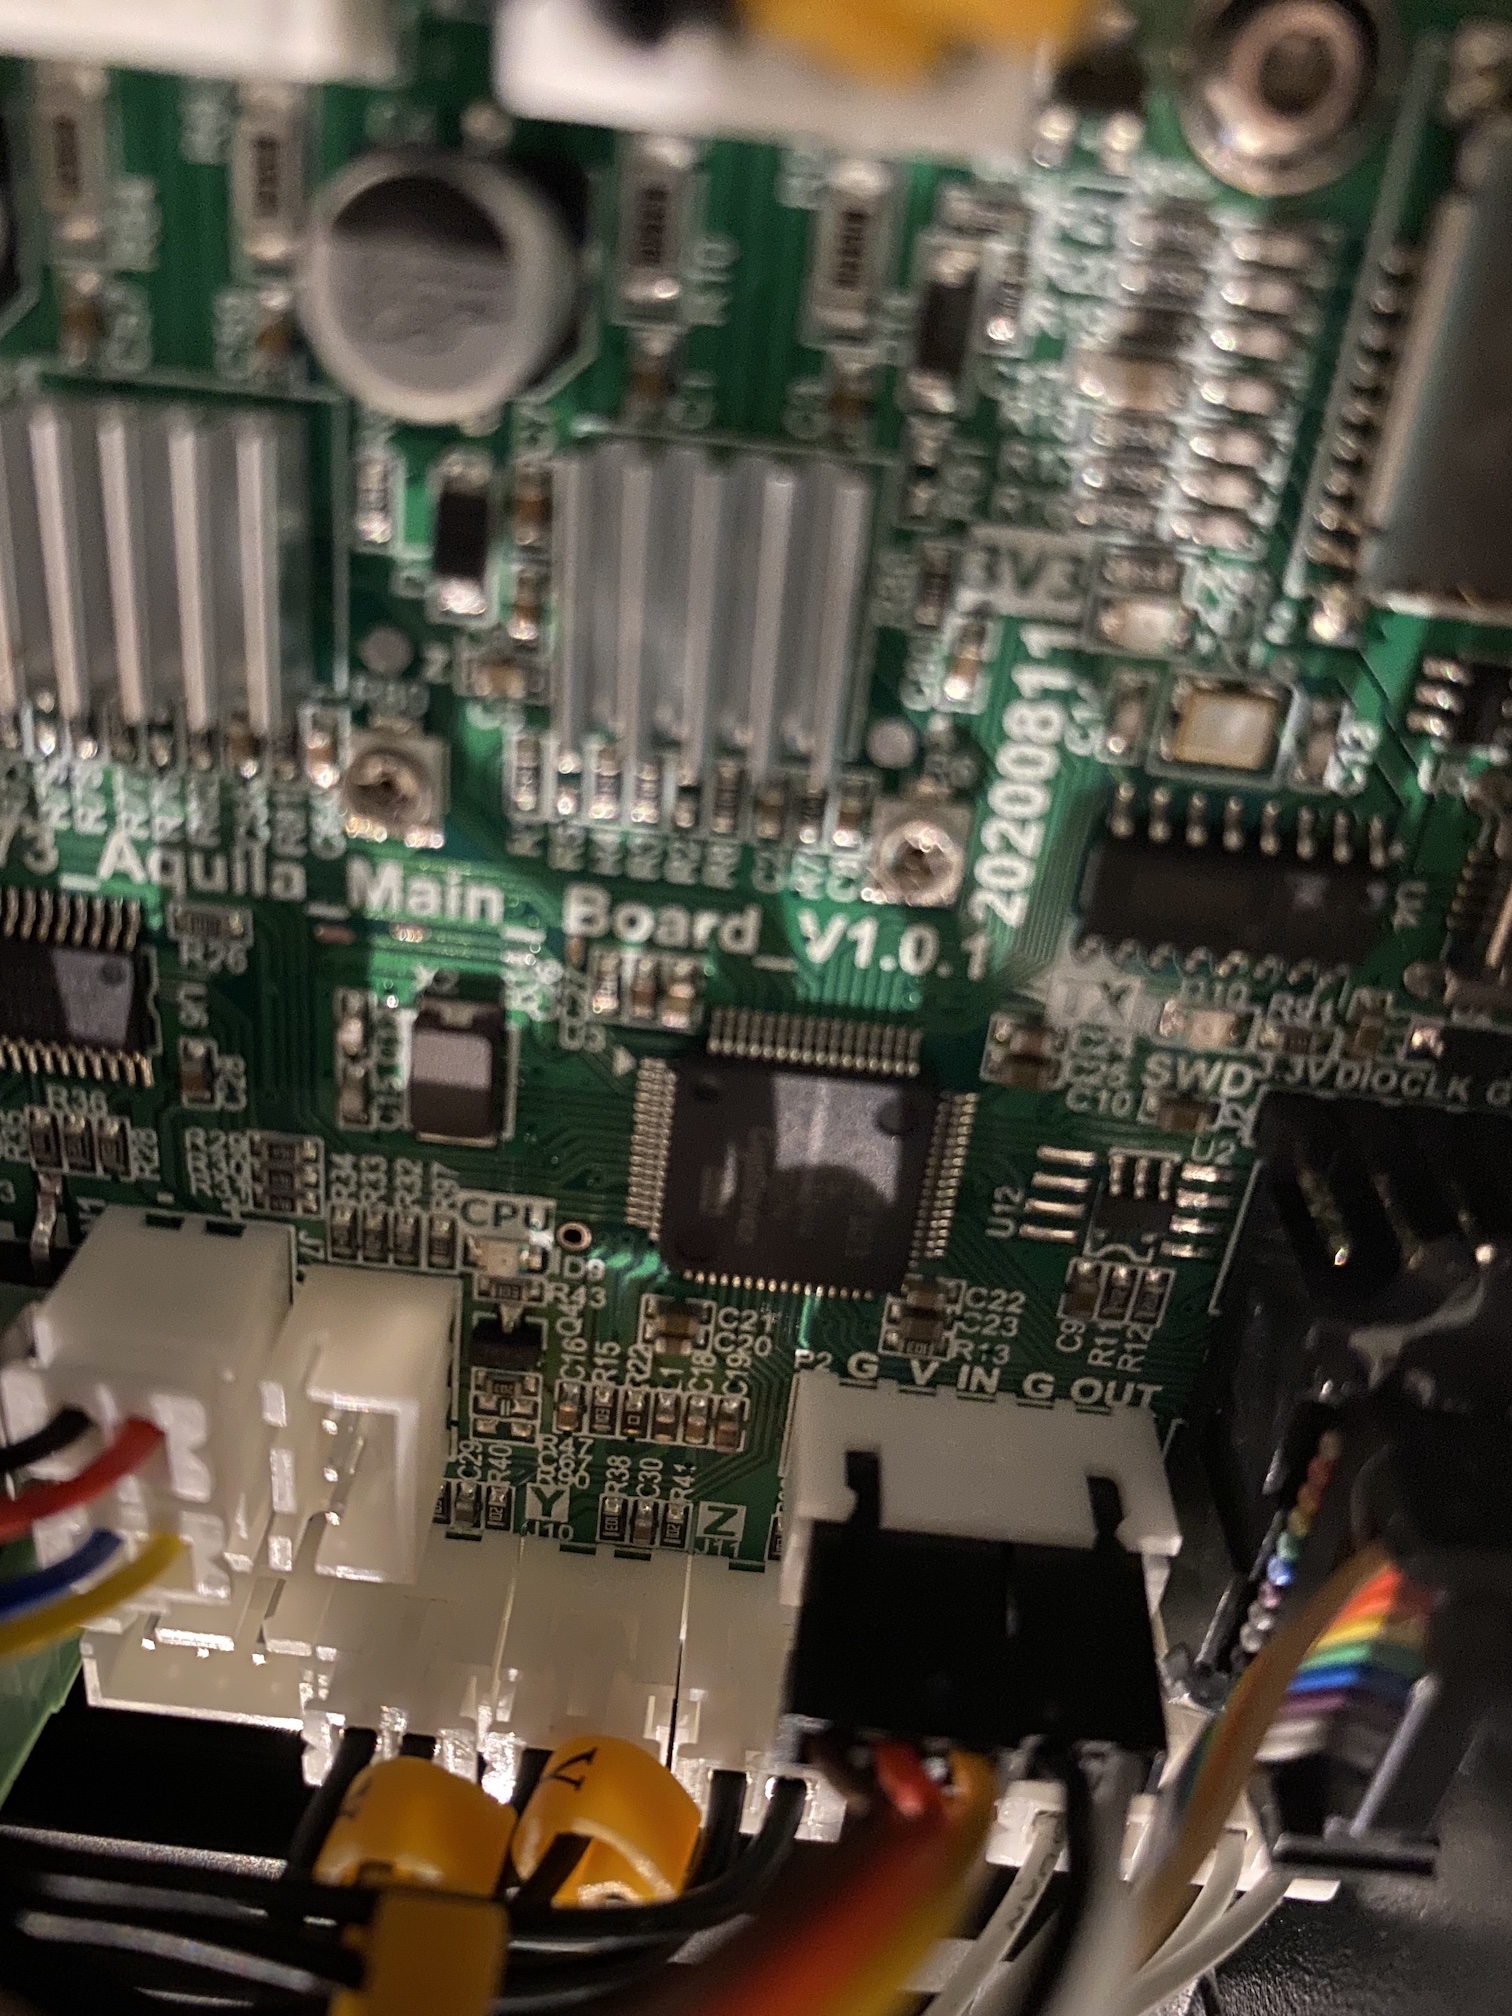
I used the wiring guide from the AliExpress listing and the labels on the main board.
I then turned on the printer and luckily nothing blew up. I then proceeded to flash the 9×9 High Speed firmware using the method from a previous blog.
Leveling and Software
I ran a mesh level for the printer after flashing the firmware. The process quite a while as it was probing 81 points. I realized mid way that I didn’t heat the bed and would need to create another mesh afterwards.
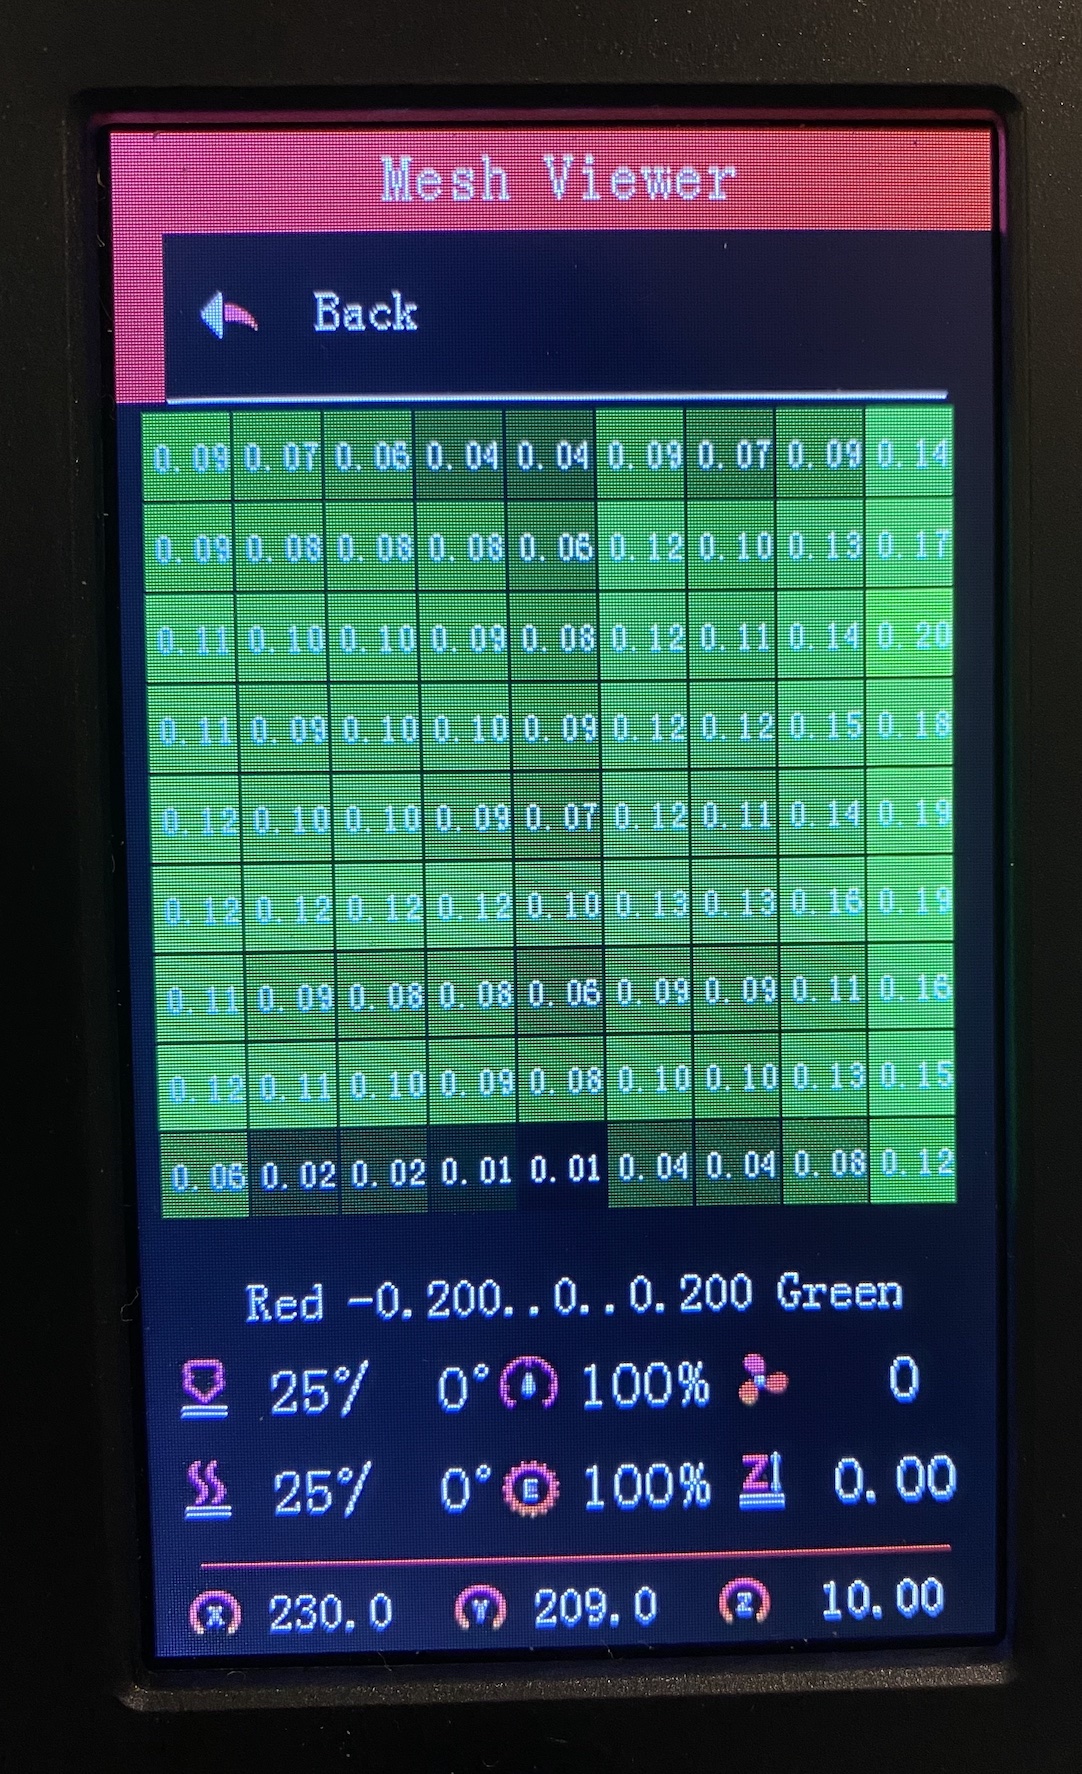
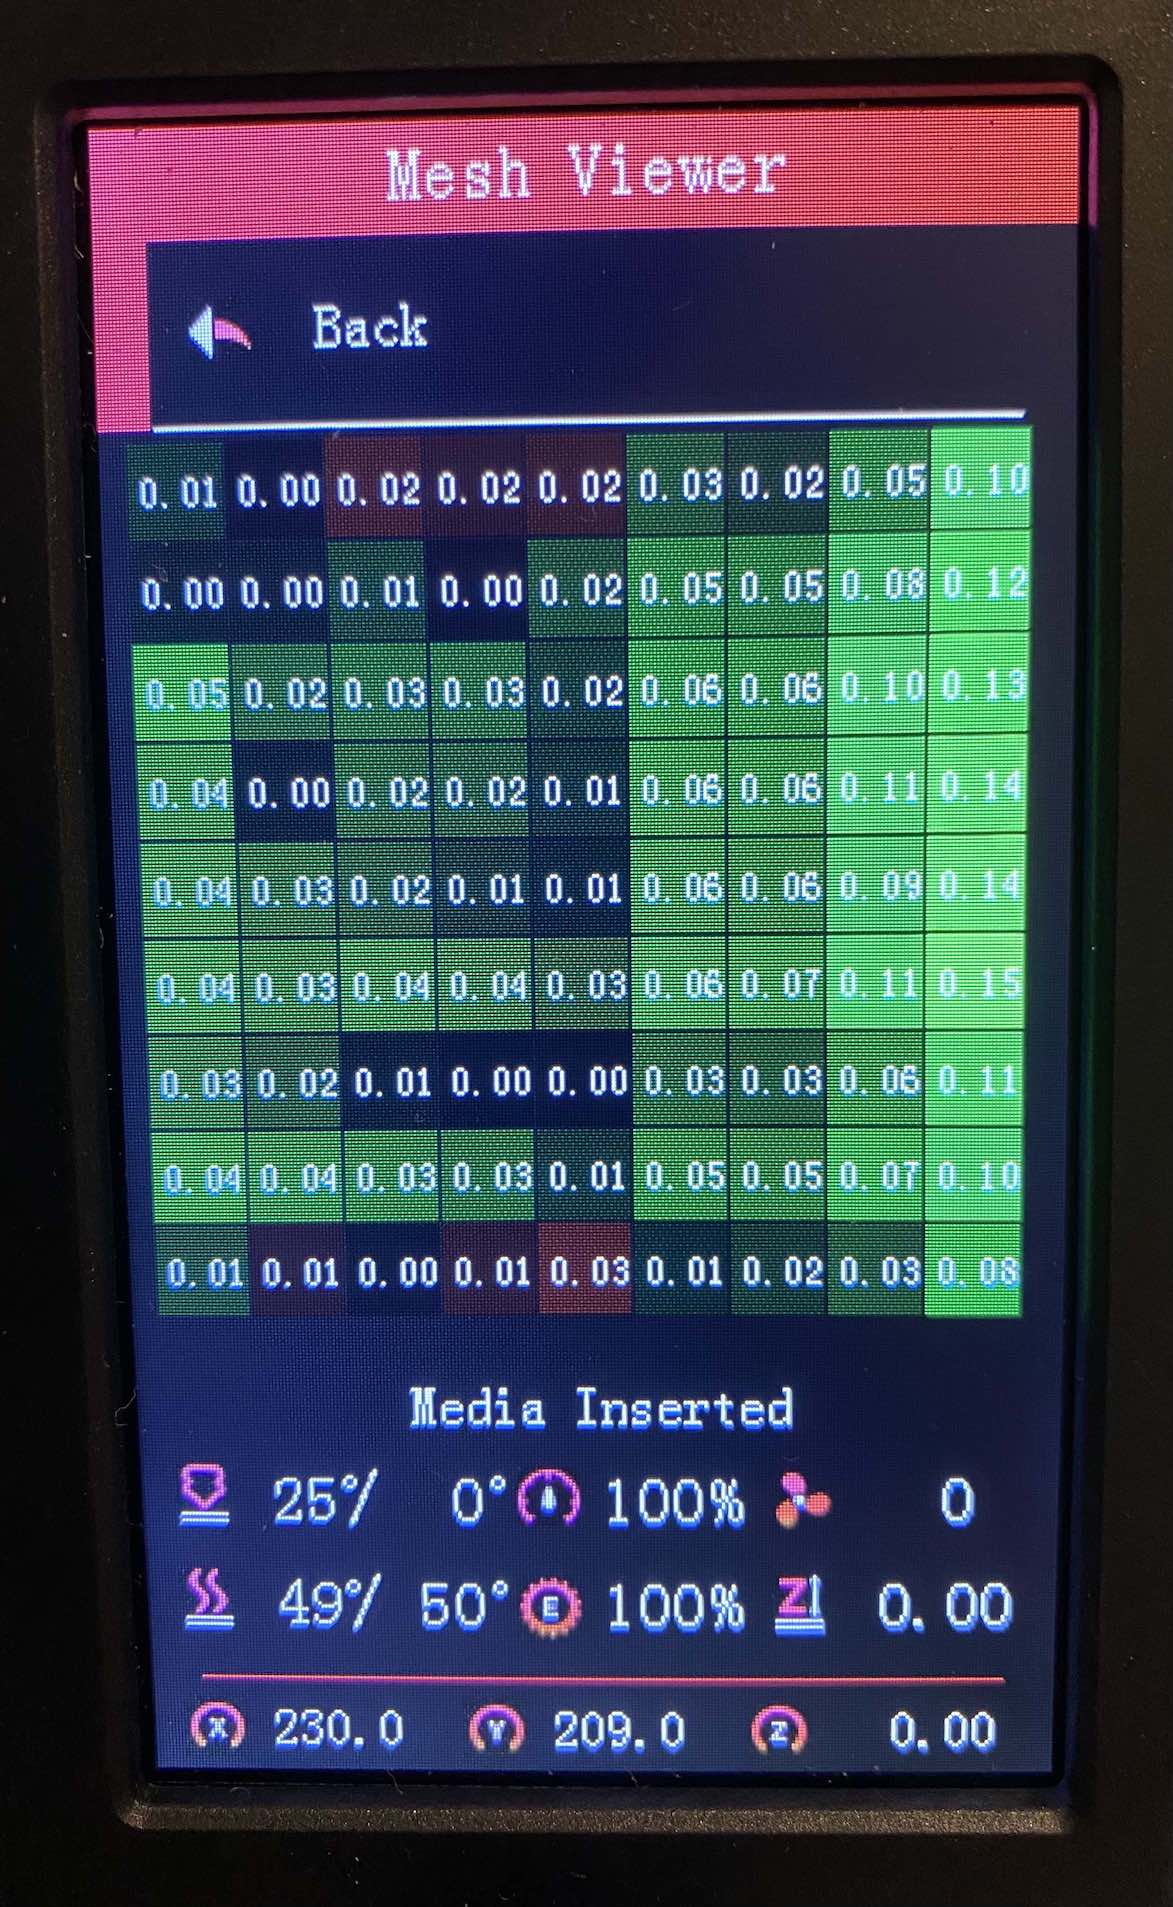
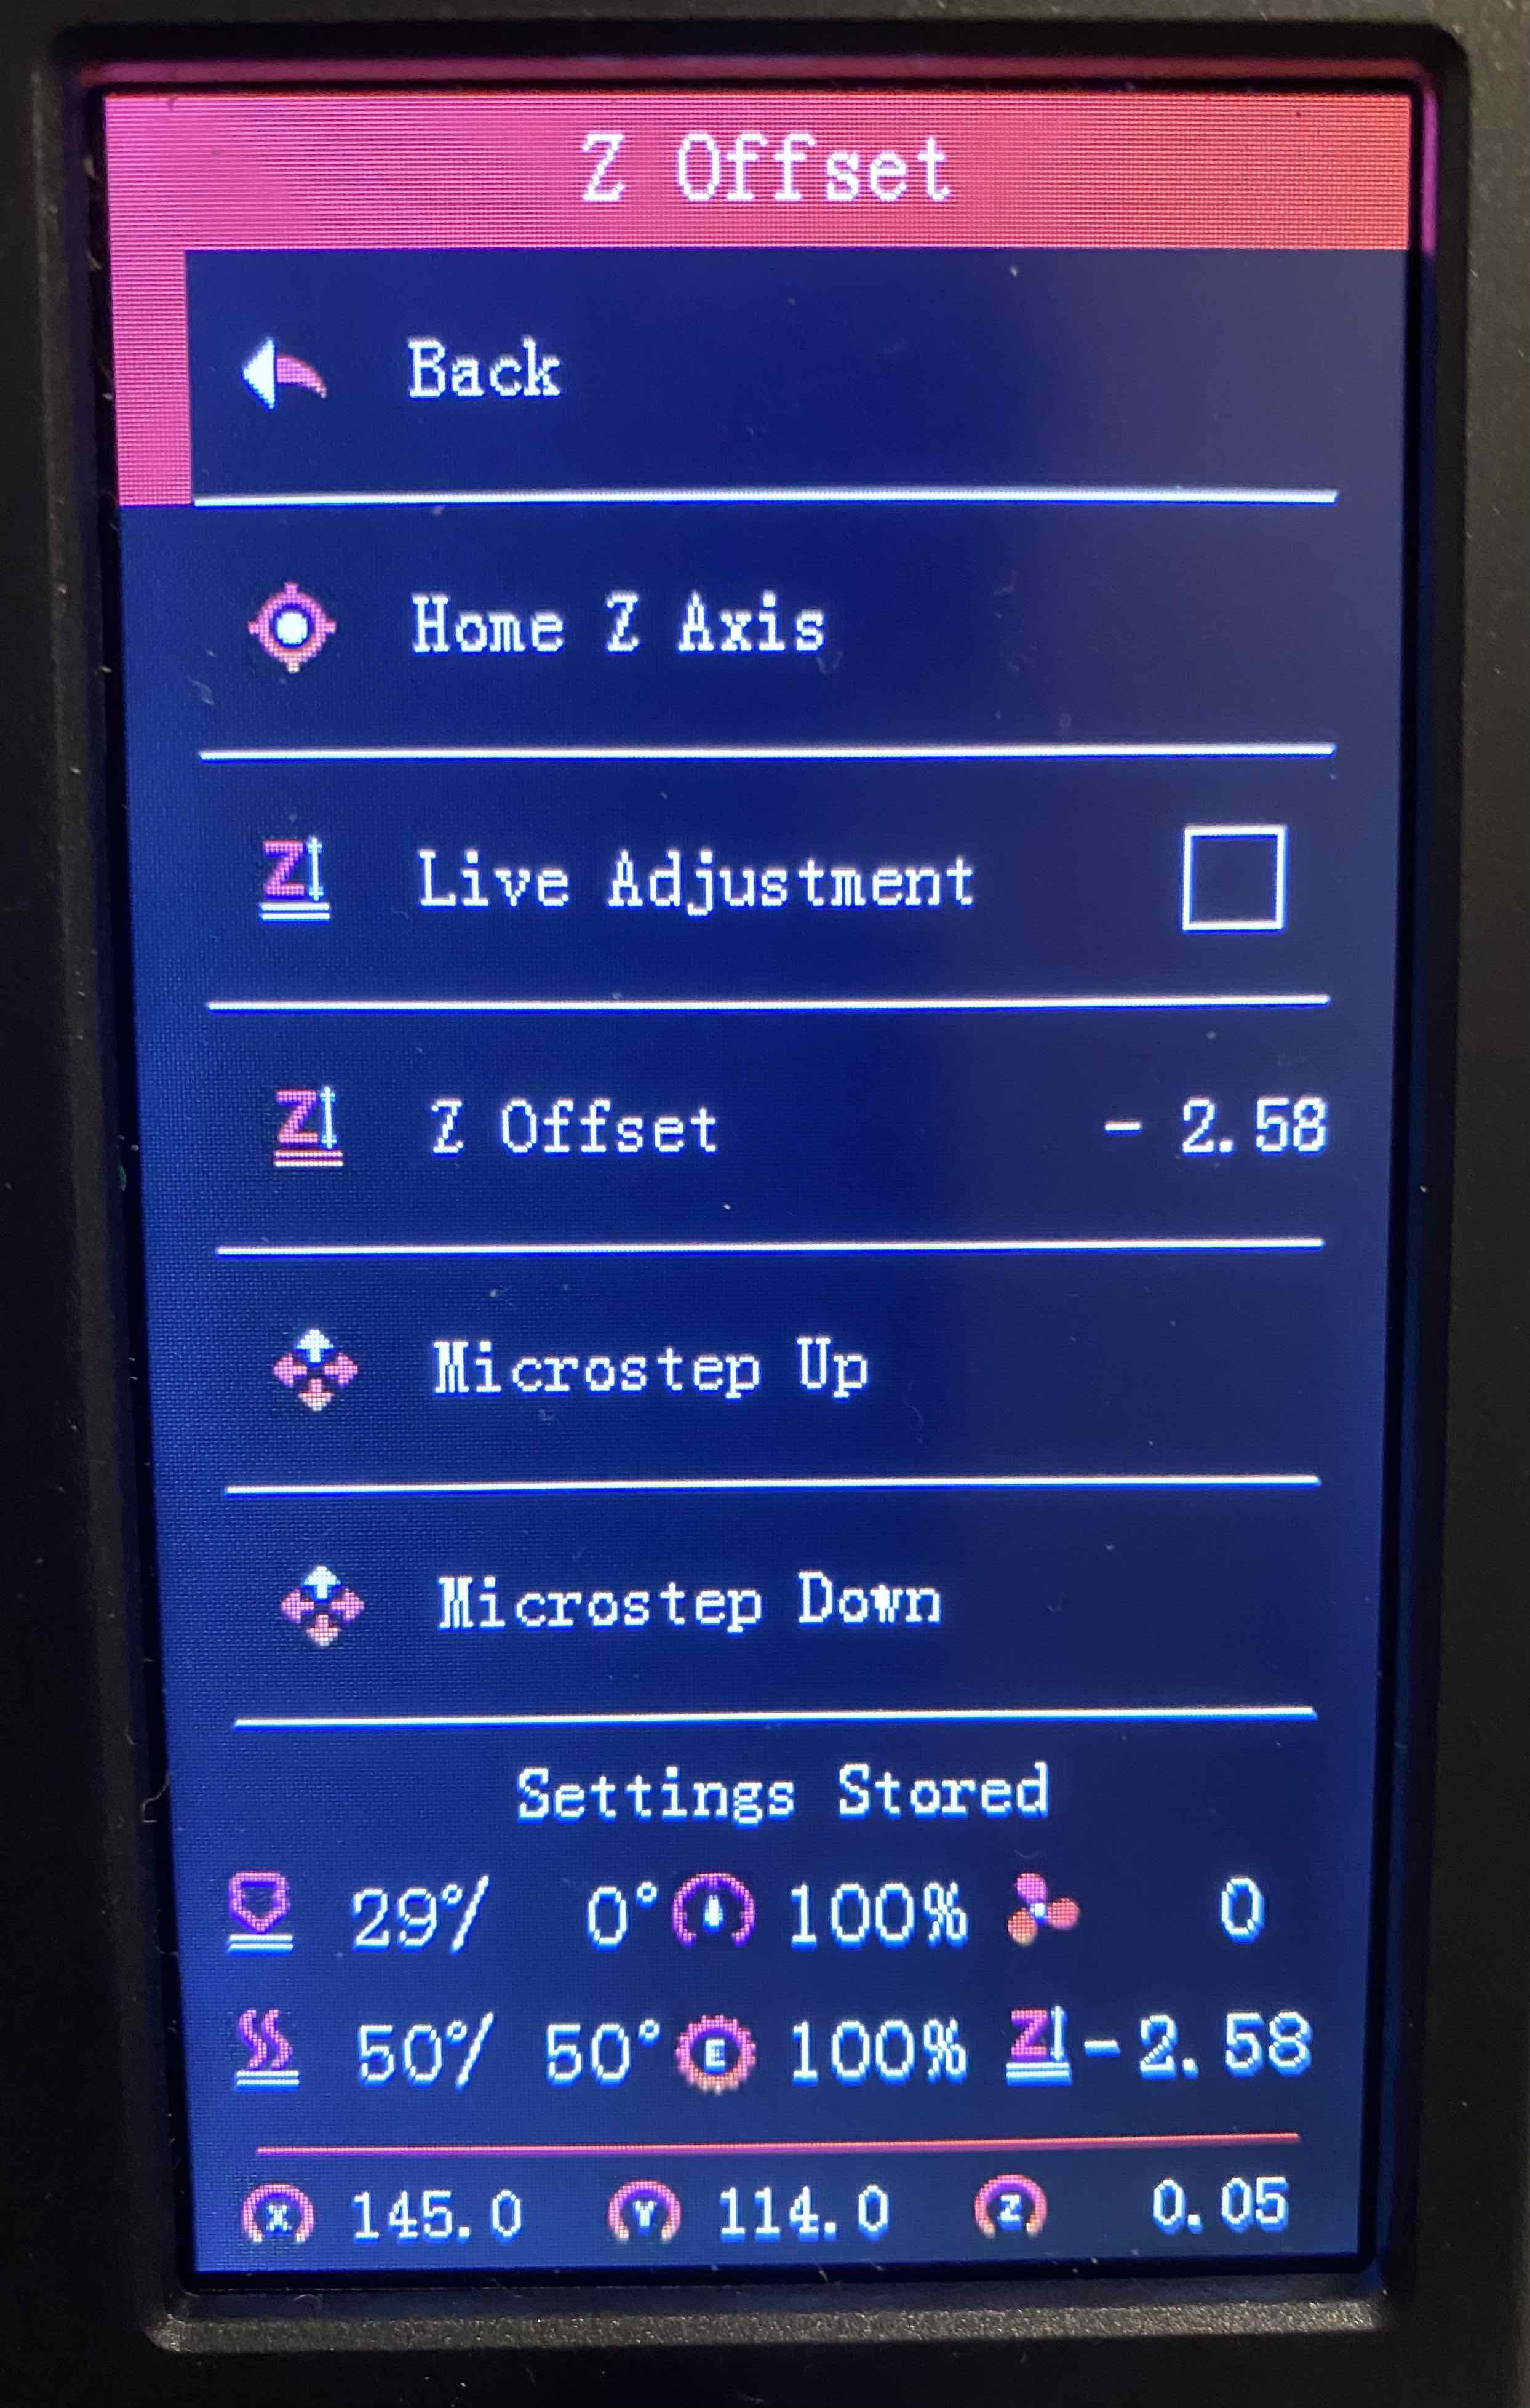
After creating another mesh with a heated bed, it was time to lower the Z-Offset. I homed the printer and moved the X-axis down to 0. I then proceeded to lower the Z-Offset. I repeated the process until my paper was slightly being dragged by the nozzle. I ended up setting a Z-Offset of -2.58.
With the mesh saved and the Z-Offset set, I could then adjust my slicer, Cura, so that it would utilize the mesh. I added the M420 S1 command after G28 and proceeded to slice a Benchy.

Conclusion
The installation and set up of the 3D Touch was much easier than I thought it would be. I look forward to utilizing it in future prints and not needed to level my bed as often.
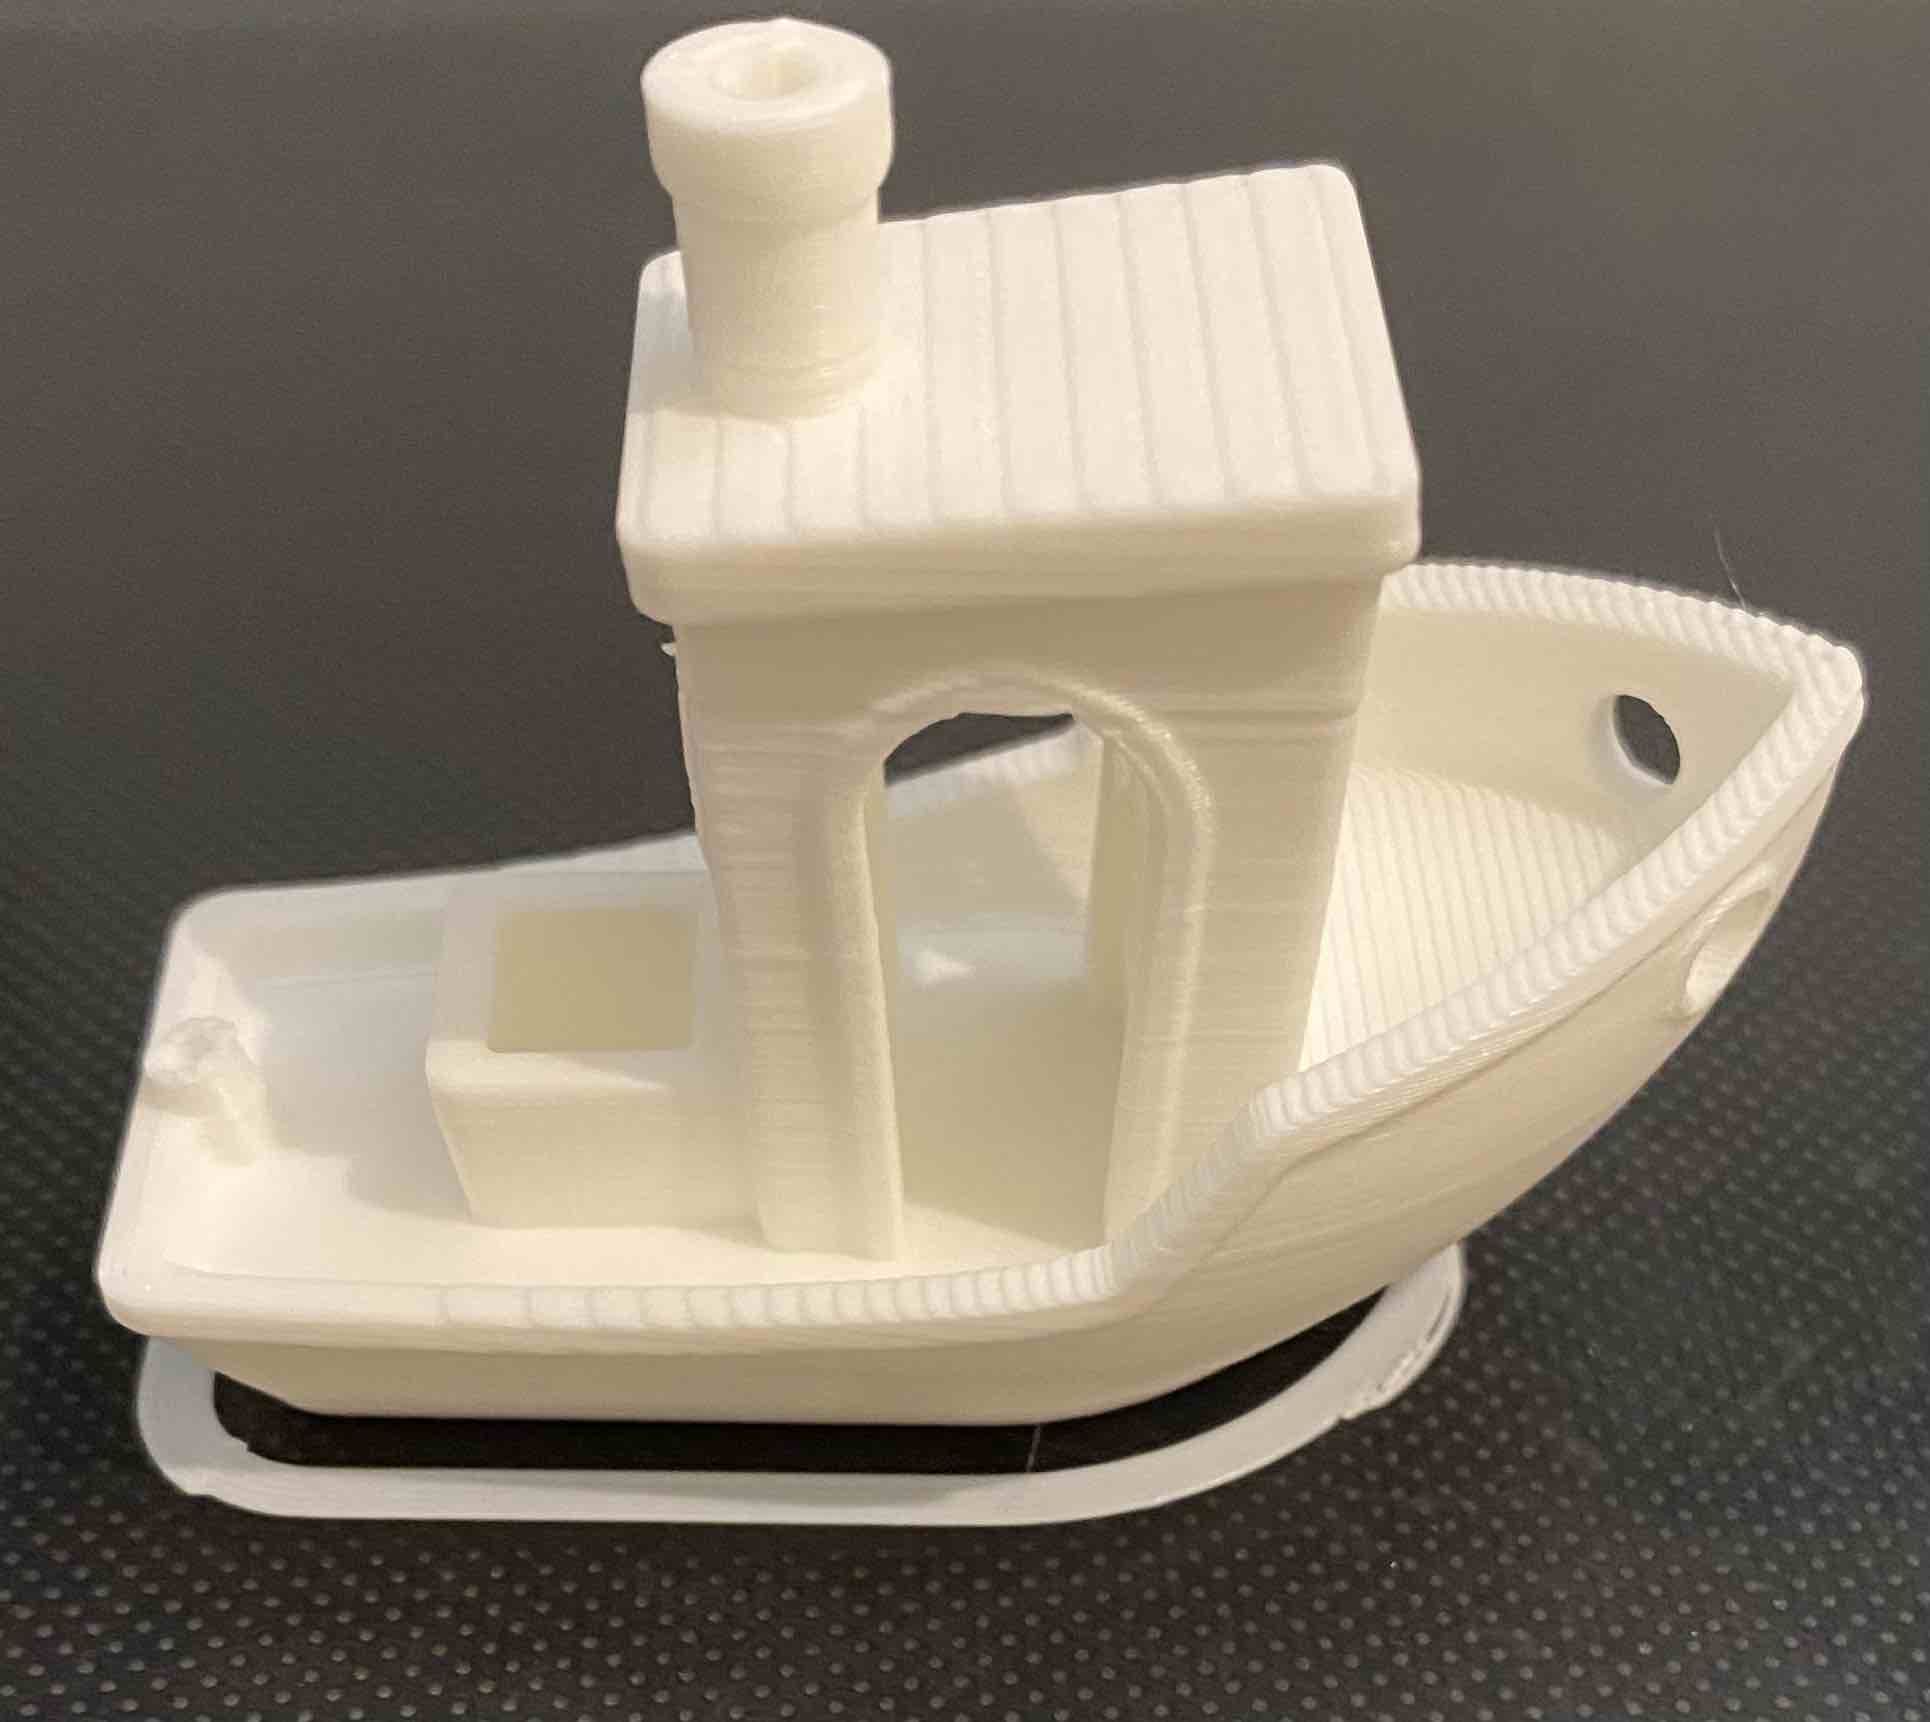
First print with 3D Touch