Table of contents
Day 8 (August 9)
I was mostly done with the hardware part of the project, so it was time to move onto the software side.
I followed Voron’s Docs for this. I picked Mainsail because it was the last software I used for my Aquila. I used the Raspberry Pi Imager to select Mainsail OS and write to my SD card. I also set up my WiFi credentials.

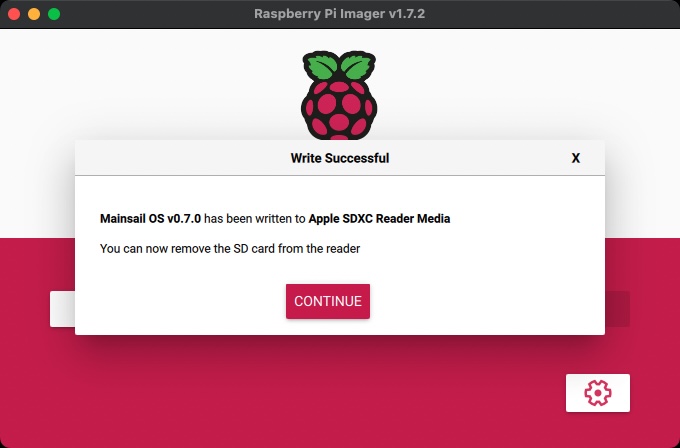
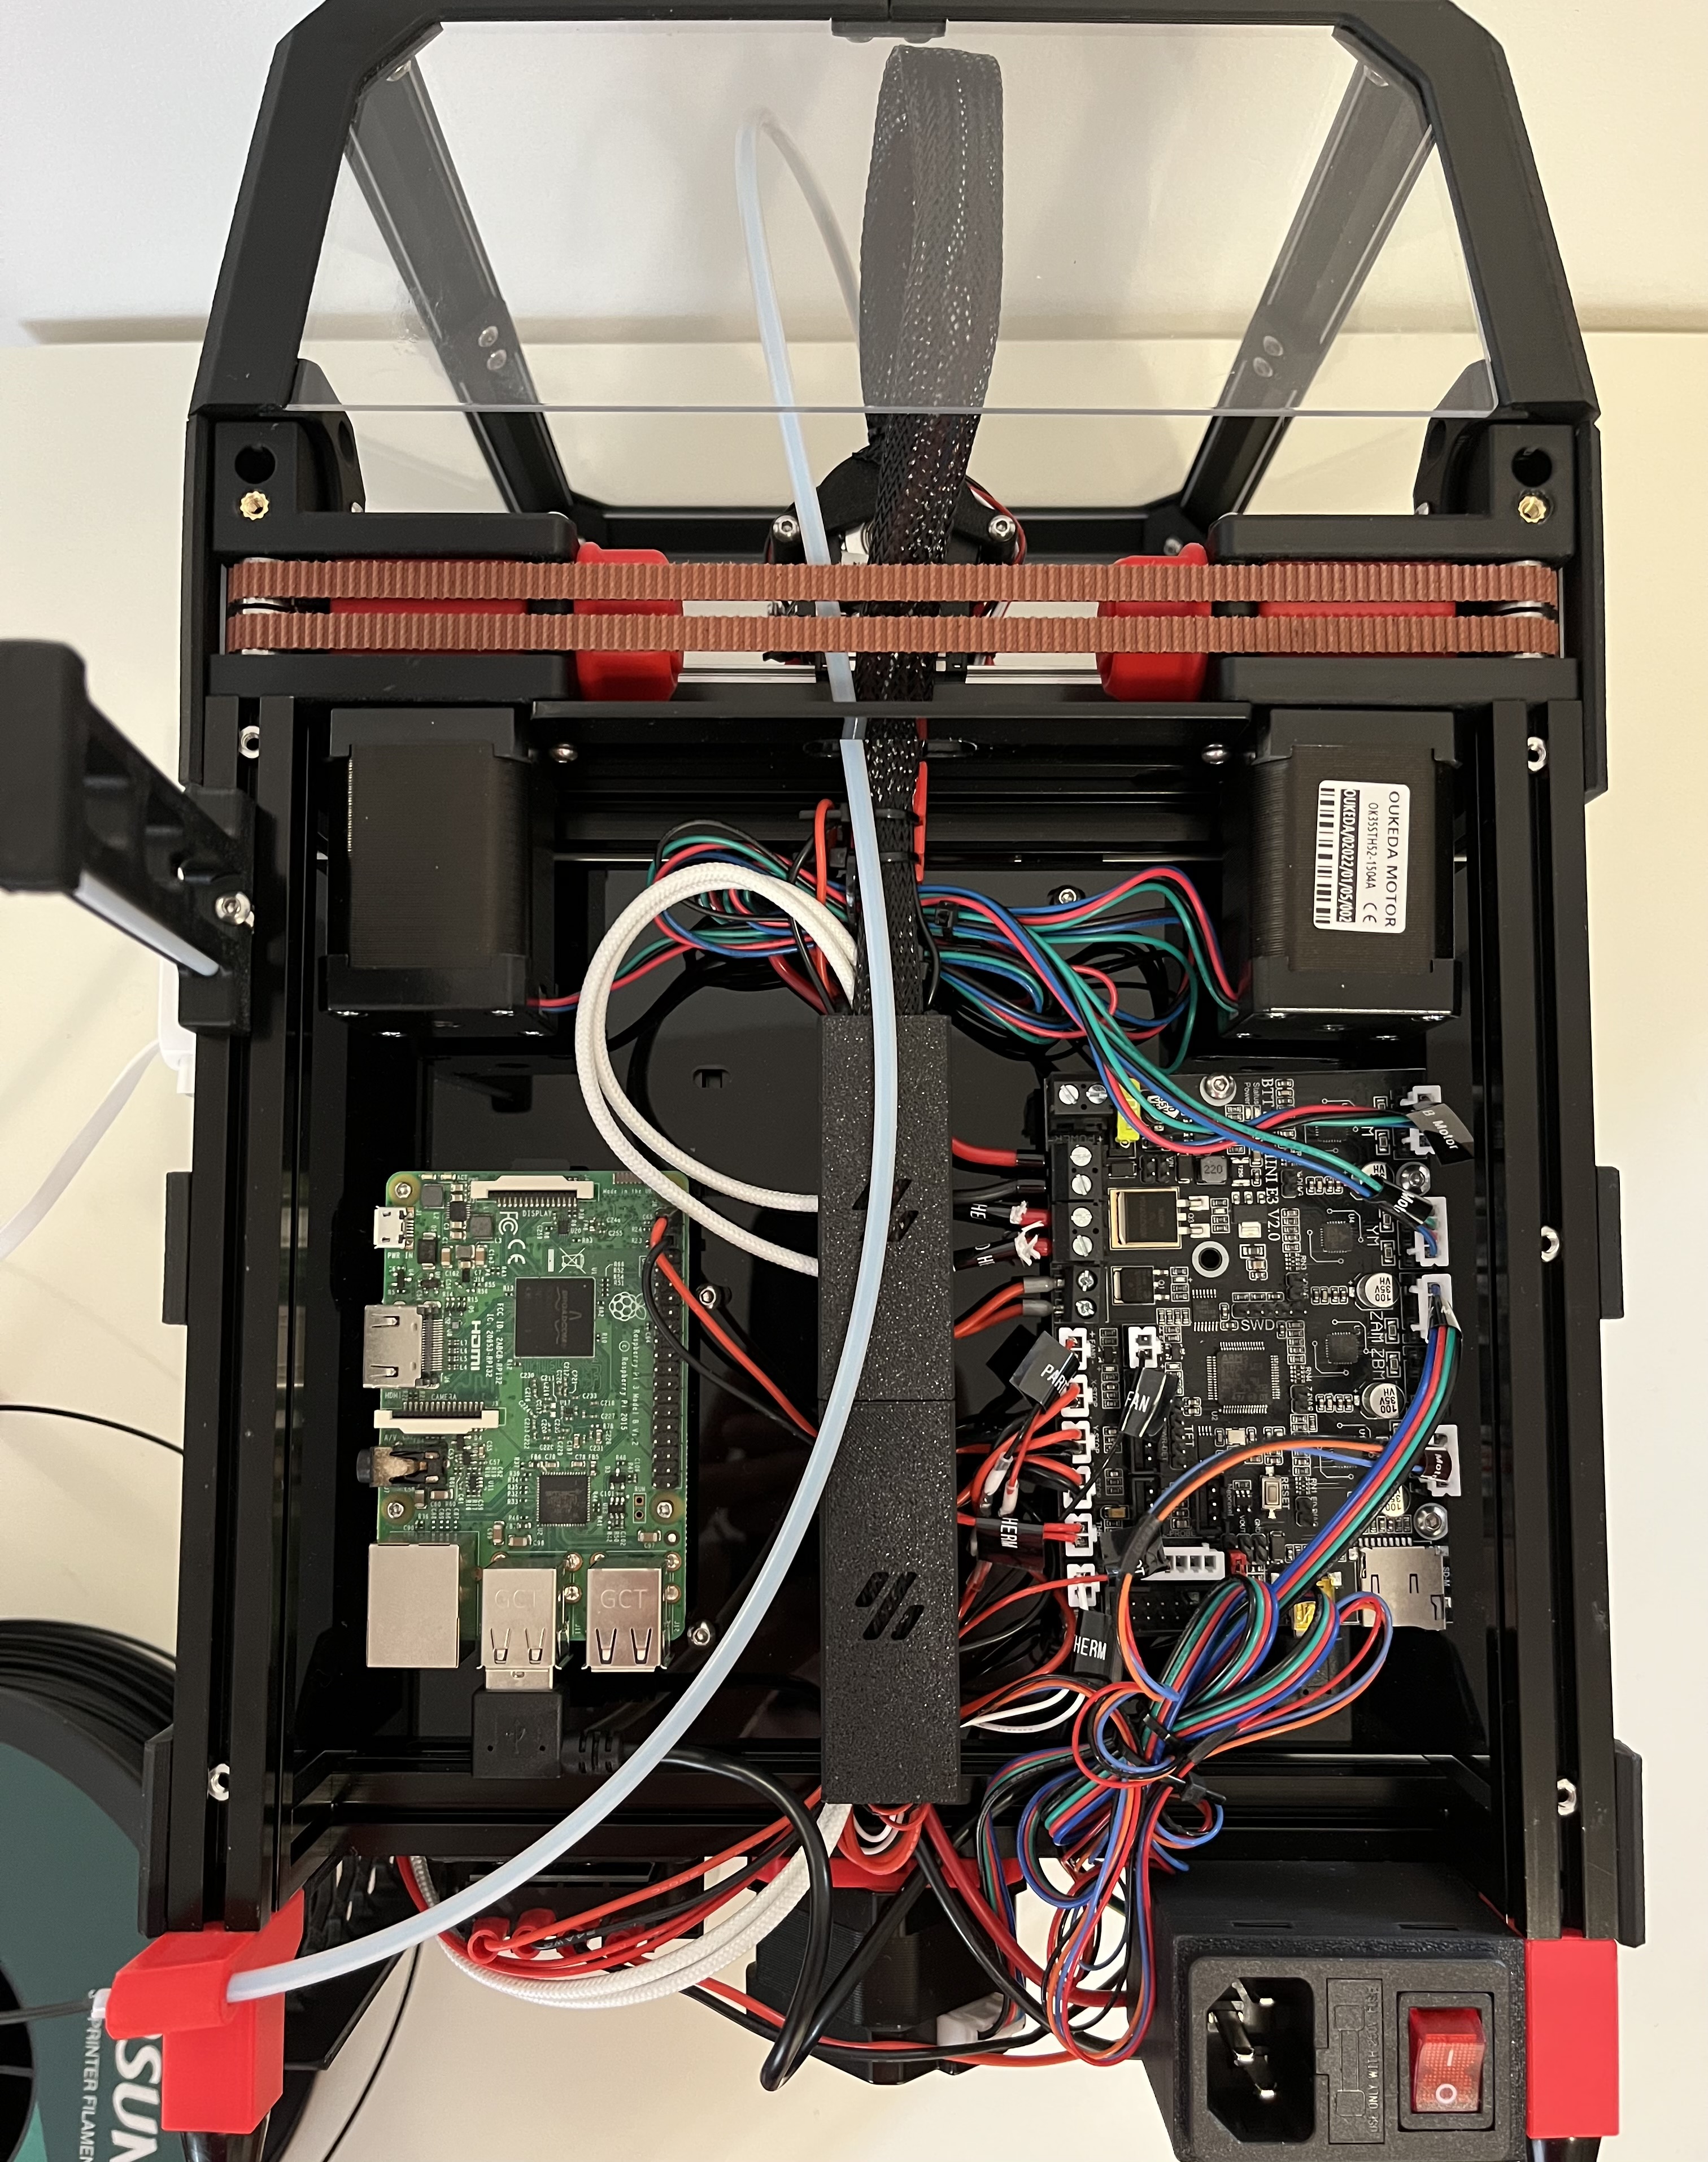
After the flashing was done, I put the SD card into the Raspberry Pi and powered on the printer. I found the IP of the Pi from PFSense and SSH’d into it. I was also able to access the dashboard from http://mainsailos.local/.

I went to the Machine page and updated the firmware to the latest. After the reboot I checked again to ensure it was up to date.


I then moved onto creating the firmware for my SKR mini E3 V2.0. I ran the following on the Raspberry Pi:
sudo apt install make
cd ~/klipper
make menuconfig
I followed the configuration from the documentation. Below are my resulting settings.
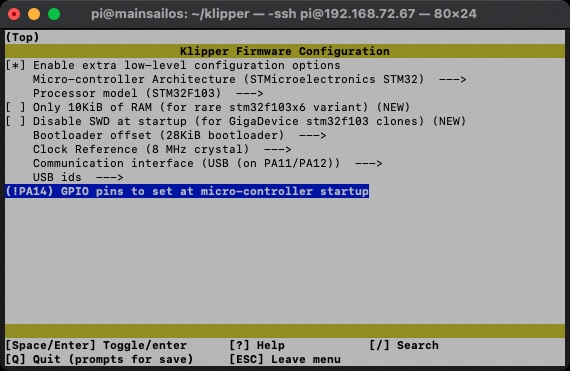
After I ran the following to create the firmware:
make clean
make

I ended up having issues with using SCP, so I used cp ~/klipper/out/klipper.bin ~/klipper_logs/ to move the firmware into the logs and downloaded it from there.

I then renamed the file to firmware.bin and put it onto a freshly formatted SD card. I inserted it into the SKR and proceeded to the software configuration.
I downloaded the printer configuration for the SKR and renamed it to printer.cfg.
After uploading it to Mailsail, I needed to edit the config. I ran ls /dev/serial/by-id/ on the Pi to find the MCU path, but ended up geting usb-LeafLabs_Maple-if00.
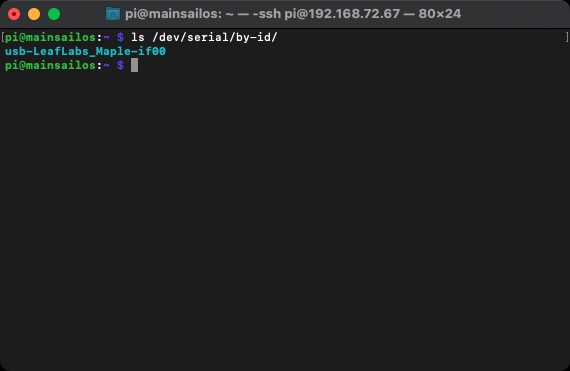
This meant that Klipper wasn’t installed correctly. I was worried that this would happen as I experience similar problems while flashing my Aquila. I’ll use Windows and format the USB to FAT32 and move the files there the next day.
Day 9 (August 13)
I got another SKR board and was able to try flashing it instead. I was able to flash the board with an 8GB microSD card formatted FAT32 with 4096B allocation space. I was now able to run ls -l /dev/serial/by-id/ and input the result in the MCU.
I ended up needing to change the [extruder] sensor type to Generic 3950, the [heater_bed] sensor type to Generic 3950, the [tmc2209 extruder] run_current: to 0.4, and the [tmc2209 stepper_z] run_current: to 0.2.
I also included [include mainsail.cfg] in the configuration. After all that was done I saved and restarted.
I was able to verify my heaters by adding a value to the Extruder and Heater bed. The temperature steadily increased, so I set it back to 0 and watched it slowly fall.
I verified the stepper motors by doing STEPPER_BUZZ STEPPER=testing_motor with testing_motor replaced with the items below.
stepper_x
stepper_y
stepper_z
extruder
I tested by endstops by running QUERY_ENDSTOPS and confirming that they were all open. I then held down on an endstop and ran QUERY_ENDSTOPS again to ensure that it said triggered. I did this for all three endstops.
I homed X with G28 X and it worked perfectly fine. I homed Y with G28 Y and it went in the opposite direction. I ended up needing to switch the A and B motor connecotrs on my board. I also reversed the direction of my z stepper as the bed would move up everytime I homed it.
I did G28 X Y to define my 0,0 point. I moved the toolhead to the bottom left corner and it was pretty close, so I didn’t modify anything.
I homed my z a couple times and adjusted the screw in the T8 nut block until the bed was close to the nozzle. I then did Z_ENDSTOP_CALIBRATE to conduct the paper test. I did TESTZ Z=-.1 until there was too much friction and then TESTZ Z=+ to lessen the friction. I then did ACCEPT since I was happy and SAVE_CONFIG.
I homed everything and set both the X and Y to 60 so it was centered. I was able to do a PID tune of my bed with PID_CALIBRATE HEATER=heater_bed TARGET=100 and did SAVE_CONFIG after it completed.
I then did a PID tune of my hotend. I first set the part cooling fan to 25% with M106 S64 and then did PID_CALIBRATE HEATER=extruder TARGET=245. I did SAVE_CONFIG again after it finished.
I decided to leave additonal bed leveling to another day as everything was still hot and it was late.
Day 10 (August 14)
I did BED_SCREWS_ADJUST to adjust my bed screws. I did the paper test until there was some friction and then typed ADJUSTED. I kept doing this until all three screws had friction. I then did ACCEPT after I didn’t need to make any more adjustments.
To adjust the Z-Offset, I ran G28 and put my toolhead in the middle. I then did Z_ENDSTOP_CALIBRATE and TESTZ Z=-0.1 until I got friction with the paper test like before. Since I already did this before, I didn’t need to make any modifications.
I followed Klipper’s documentation on calibrating rotation distance instead of Voron’s. I set my nozzle to 210 Celsius and purged some filament. I then measured 70mm from the end of my PTFE tube and marked it.
I extruded 50mm of filament with G91 and G1 E50 F60. After it was finished extruding, I remeasured the mark to the end of the PTFE tube and got a new rotation distance of 22.897. I saved and restarted, and did the calibration again. It was pretty close to extruding the exact amount so I didn’t do another calculation.
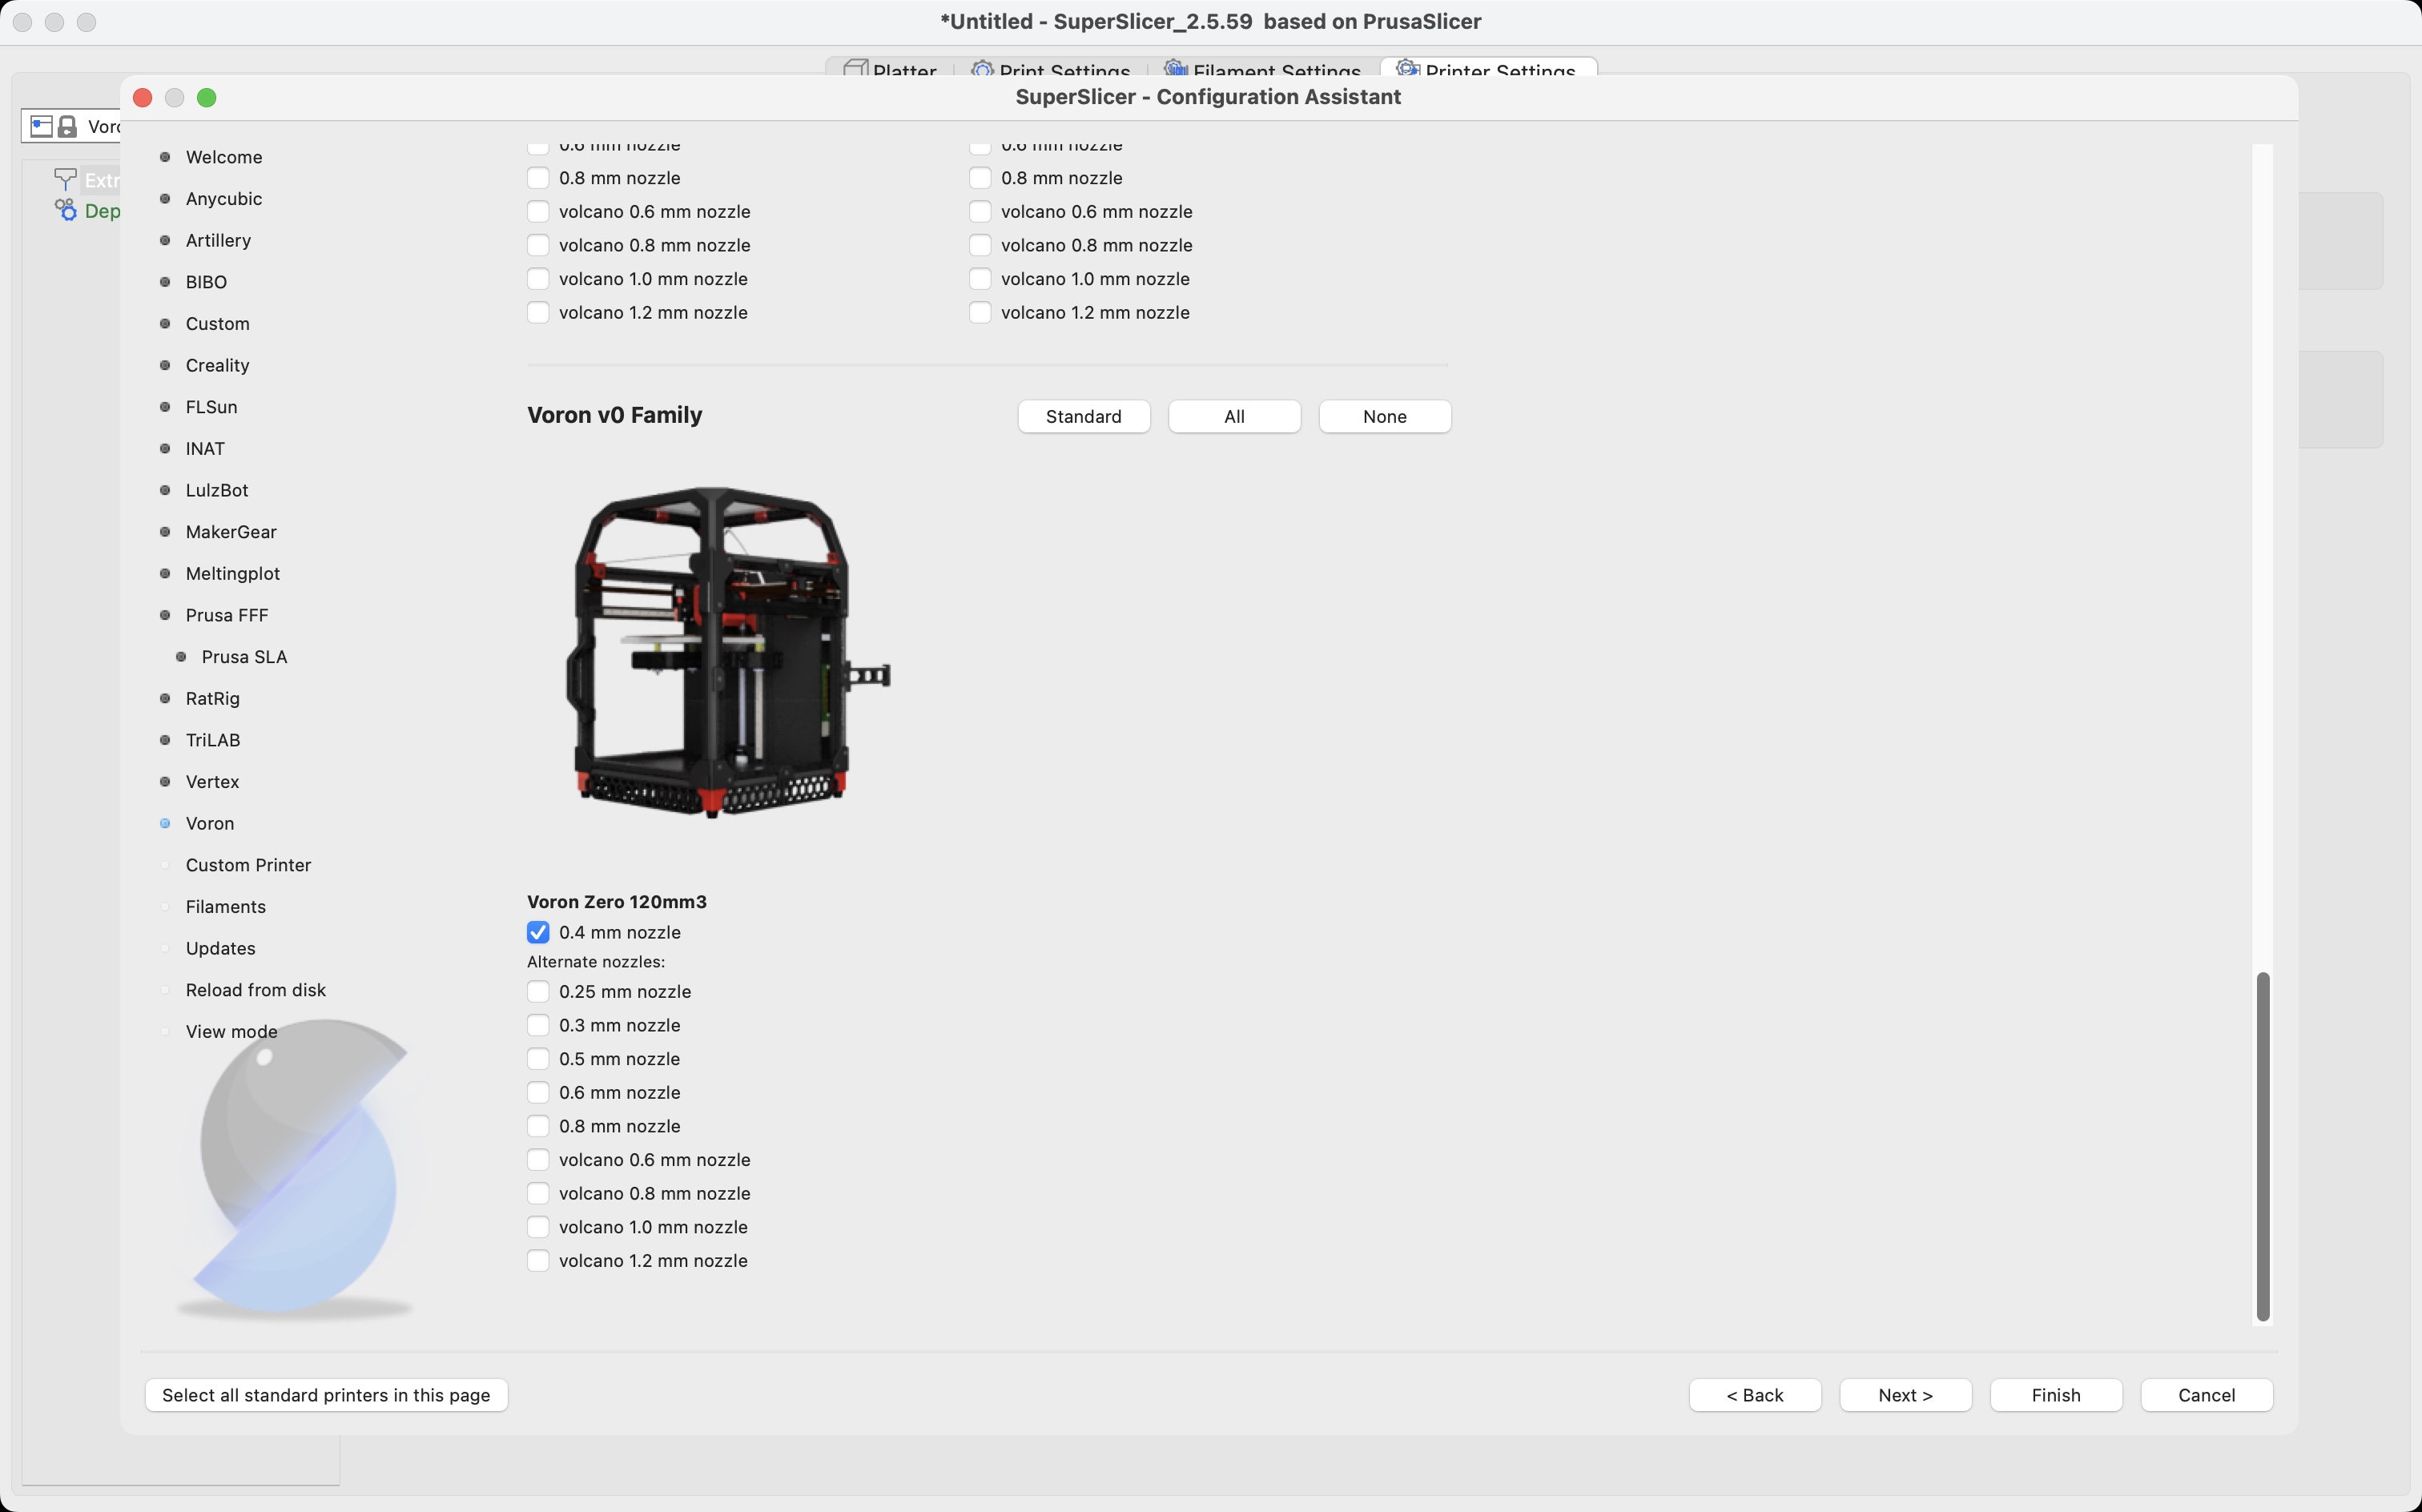
For my slicer, I opted to use SuperSlicer since I saw people prefering that over Cura. I downloaded the latest release at the time which was the Arachne edition.
There was already a preset profile for a Voron V0, so I selected the 0.4mm nozzle and proceeded to slice the Voron_Design_Cube_v7.stl.
The default temperature was already fine for PLA, so I picked the 0.15mm preset, sliced the file, and sent it to Mainsail.
Day 11 (August 16)
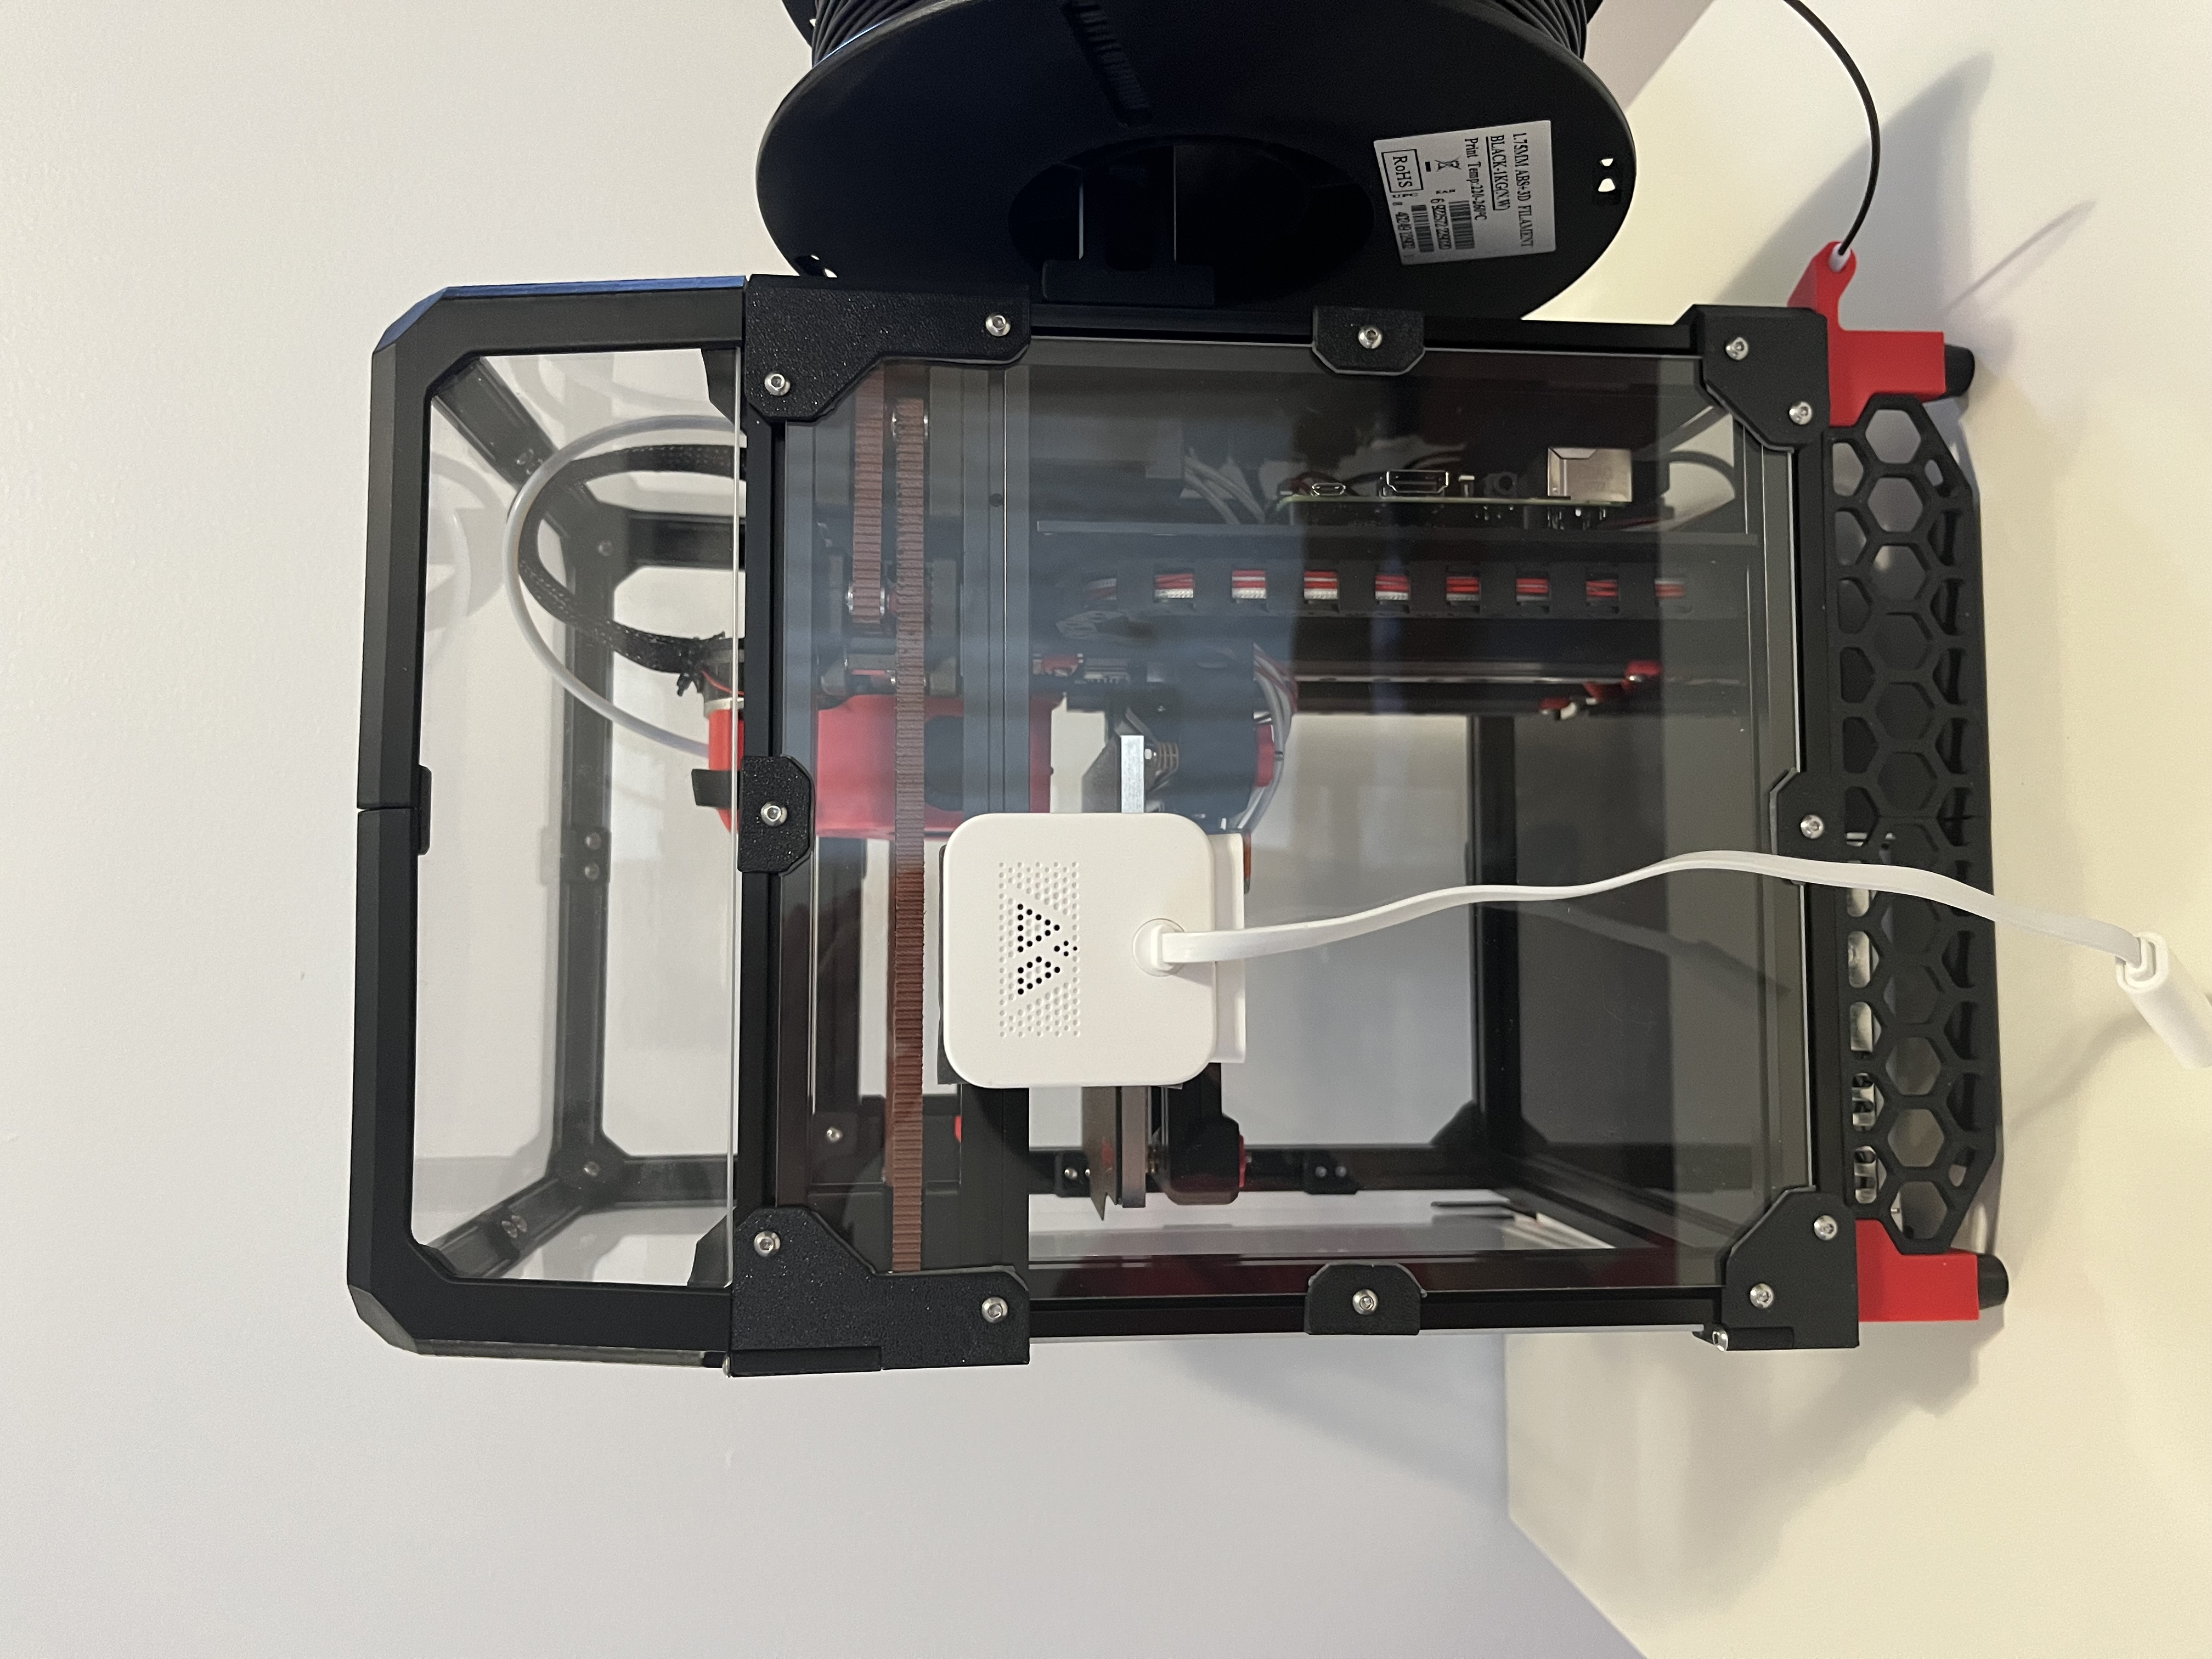
I taped my panels onto the Voron to prepare for ABS printing.

I wanted to use eSUN ABS+ since I’ve had good experiences with their PLA+. Unfortunately, black was sold out at DigitMakers and I couldn’t justify driving to get a single spool.
I ended up paying Amazon’s inflated price, but on the bright side I got refillable reels for filament for free.
For SuperSlicer, I ended up using the default ABS profile and modified the print settings to match PIF requirements. Below are the settings I had.

After the filament arrived, I set my heater bed to 100 Celsius to heat up the chamber for 20 minutes. I started printing another Voron_Design_Cube_v7.stl. The cube turned out fine, so I began printing parts for the printer.
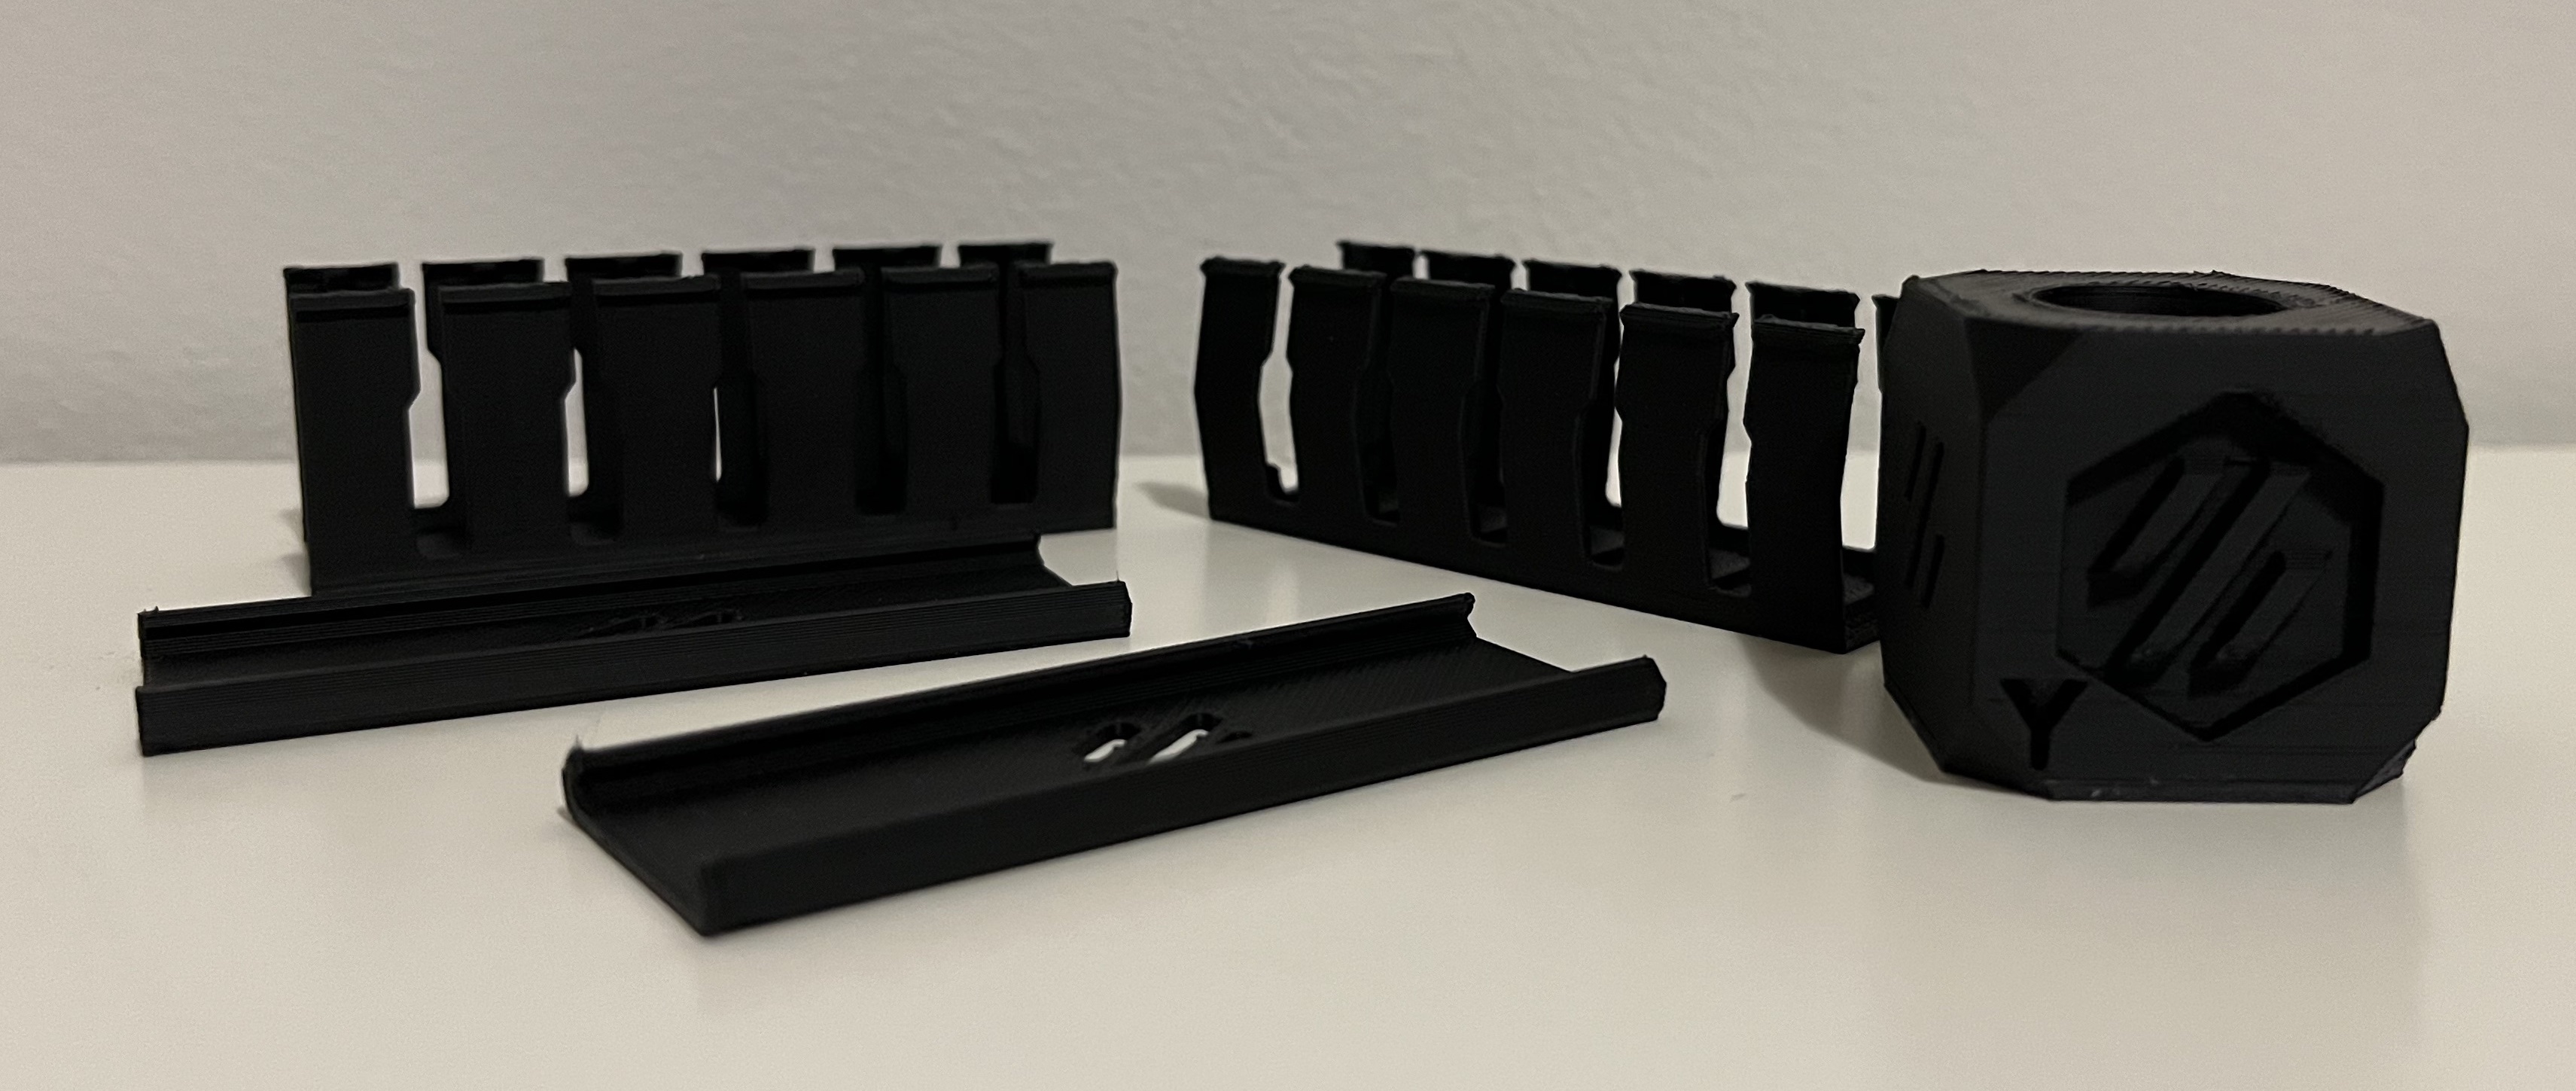
I was able to print cable management ducts for the printer before turning it off for the night. I still have a lot of panel parts to print for another day.
Below are the prints from the day.
Day 12 (August 20)
From the last day to this one, I printed some cosmetic non-essential parts from this spreadsheet. Below is a list of the parts I ended up printing.
- PSU_Cover_x1
- Skirt_mirror_x3
- Skirt_x3
- Door_Handle_x1
- Door_Latch_x2
- 2point5mm_Bottom_Corner_Front_x1
- 2point5mm_Bottom_Corner_Side_mirror_x1
- 2point5mm_Hinge_Bottom_A_x1
- 2point5mm_Hinge_Bottom_B_x1
- 2point5mm_Hinge_Top_A_x1
- 2point5mm_Hinge_Top_B_x1
- 2point5mm_Middle_Clip_x8
- 2point5mm_Top_Corner_Front_x1
- 2point5mm_Top_Corner_Side_mirror_x1
- 2point5mm_Top_Corner_Side_x2
- 3mm_Bottom_Corner_Rear_mirror_x1
- 3mm_Bottom_Corner_Rear_x1
- 3mm_Middle_Clip_x1
- 3mm_Top_Corner_Rear_mirror_x1
- 3mm_Top_Corner_Rear_x1
I also ended up taping a Wyze Cam v3 to the door so I could monitor the prints.
I ended up messing up the polarity of my door handle, so I needed to purchase more magnets and print a new handle. The cable management device was very helpful in cleaning up the rear. The printer is fully built except for the door handle.
Below are the pictures of my progress from Day 12.


Day 13 (August 23)
I noticed that ever since I built my printer, the bed would wobble a lot up and down. I thought this was normal at first, but I realized it was because my screws on page 20 of the manual had loosened a lot. These screws were extremly difficult to access and required me to loosen and position the electronics panel to partially unscrew each side.
After tightening, the bed wobbles much less and is much more stable. After doing another BED_SCREWS_ADJUST, I was able to print a Flexi Rex. I had issues with the tail sticking, but it finally stuck on the first print after fixing the screws.
Conclusion
It was a great experience building my Voron v0.1. There were quite a few difficulties, but it made the finished product much more rewarding. I’ll probably mod the printer in the future, but for now the build is done.